Low light photography presents unique challenges, but it also offers the opportunity to create dramatic and evocative images. With the right techniques and a bit of practice, you can capture stunning photos even in the darkest conditions. Here’s a comprehensive guide to mastering low light photography.
Understanding Low Light Photography
Low light photography involves shooting in environments with limited light, such as indoors, during twilight, or at night. This type of photography requires a good understanding of how to manipulate your camera settings to get the best results without compromising image quality.
Essential Techniques for Low Light Photography
Use a Wide Aperture: A wide aperture (low f-stop number) allows more light to enter the camera, making it easier to shoot in low light. Apertures like f/1.8 or f/2.8 are ideal for capturing more light and creating a shallow depth of field, which can add a beautiful bokeh effect to your images.

Increase ISO Sensitivity: Raising your camera’s ISO sensitivity allows you to capture more light, but be cautious of introducing noise. Modern cameras perform well at higher ISOs, so experiment with different levels to find the best balance between brightness and noise.
Slow Shutter Speed: A slower shutter speed allows more light to reach the camera sensor, but it can result in motion blur if your camera or subject moves. To capture sharp images with slower shutter speeds, use a tripod to stabilize your camera.
Use a Tripod: Stability is crucial in low light photography. A tripod helps eliminate camera shake, allowing you to use slower shutter speeds without blurring your images. If you don’t have a tripod, try stabilizing your camera on a solid surface.
Manual Focus: Autofocus can struggle in low light conditions. Switch to manual focus to ensure your subject is sharp. Use your camera’s live view and zoom in to fine-tune the focus.
Advanced Techniques
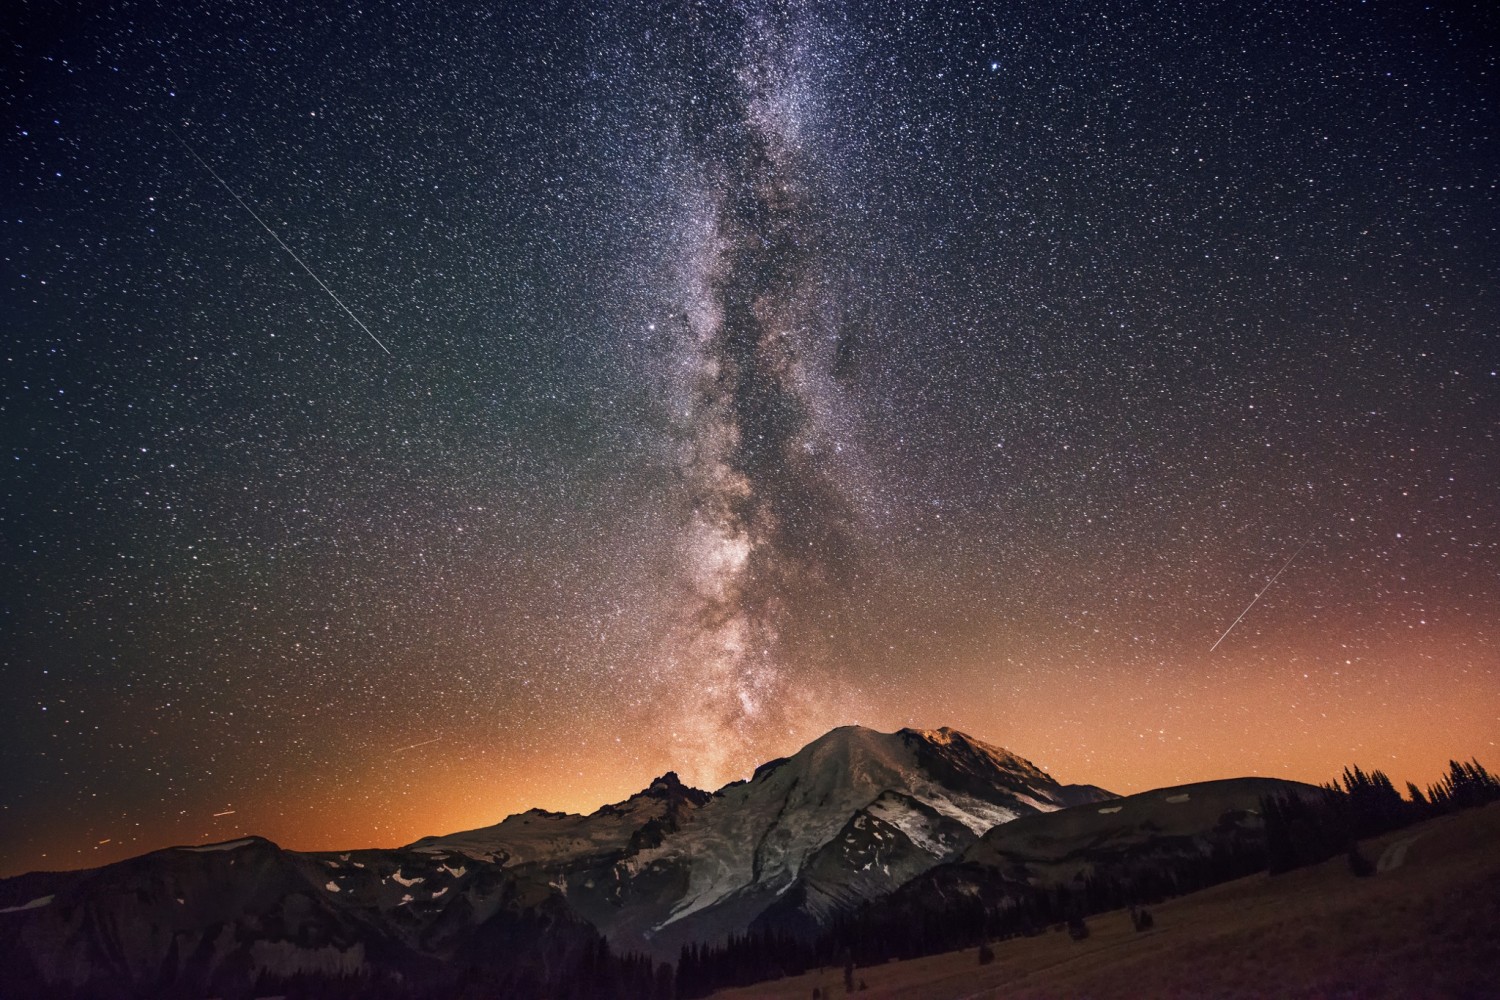
Long Exposure Photography: Experiment with long exposure techniques to capture light trails, smooth water surfaces, and star trails. Use a tripod and remote shutter release to stabilize your camera during long exposures.
Bracketing and HDR: Use exposure bracketing to capture multiple shots at different exposures. Combine them in post-processing to create a High Dynamic Range (HDR) image, which preserves details in both the shadows and highlights.
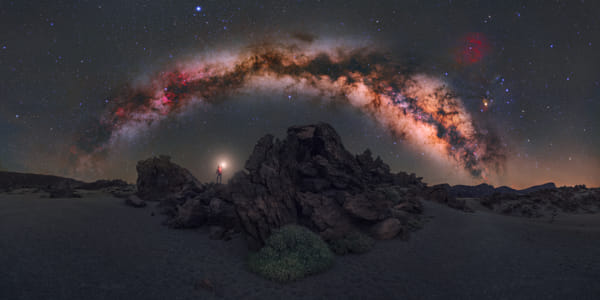
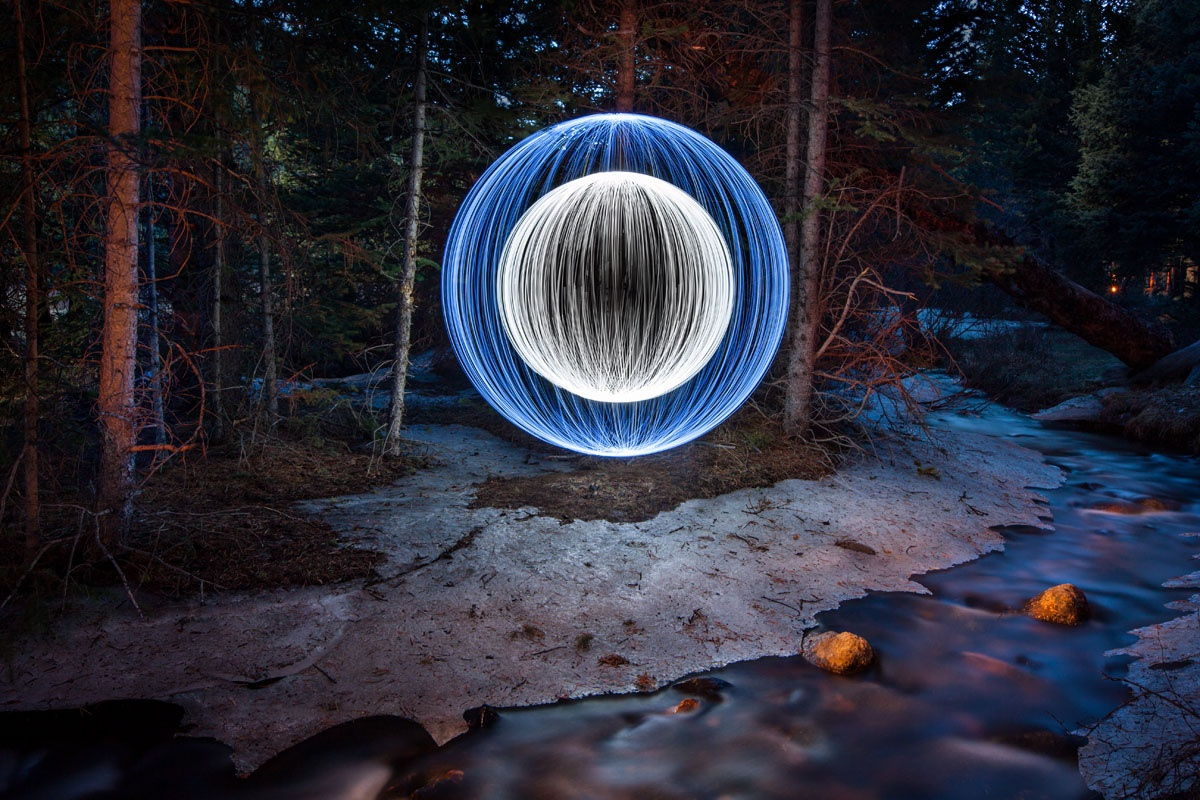
Light Painting: Use a flashlight or other light sources to add light to specific parts of your scene. This technique, known as light painting, can create unique and creative effects in your photos.

Post-Processing: Enhance your low light images in post-processing by adjusting exposure, contrast, and noise reduction. Software like Adobe Lightroom and Photoshop offer powerful tools to fine-tune your images.
Practical Tips for Low Light Photography
Shoot in RAW: RAW files retain more information than JPEGs, giving you greater flexibility in post-processing. This is especially important in low light photography, where you may need to make significant adjustments to exposure and noise.
Use a Fast Lens: Fast lenses with wide apertures (e.g., f/1.4, f/1.8) are excellent for low light photography. They allow more light to enter the camera, making it easier to capture sharp images.

Take Test Shots: Before you start shooting, take a few test shots to check your exposure and focus. Make any necessary adjustments to ensure you capture the best possible shot.
Low light photography can be challenging, but with these techniques and tips, you can capture stunning images in any lighting condition. Practice and experimentation are key to mastering this art form, so don’t be afraid to try new techniques and push your creative boundaries.
Not on 500px yet? Sign up here to explore more impactful photography.


Leave a reply