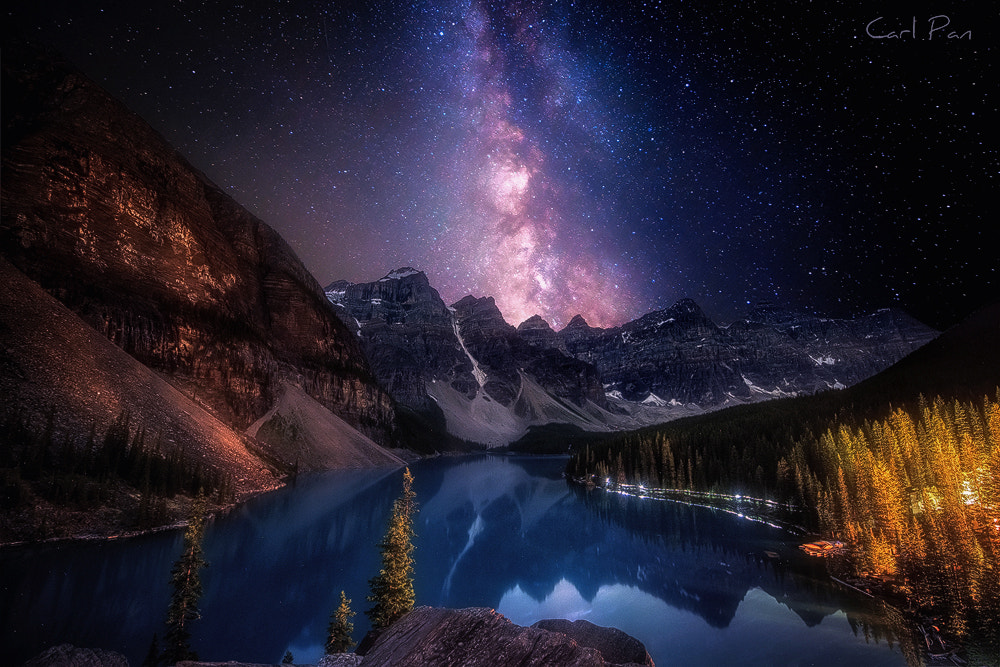
If you’ve been on social media enough in the past five years, you’ve probably seen that view of Lake Moraine come through your feed, or the bridge with the mountain in the back of the Lofoten Islands, or the waterfall that falls into the ocean in the Faroe Islands. Nothing wrong with these popular places—actually, they’re so incredible that people flock from around the world to photograph them!
But if you’re driven to differentiate your work from most of what you see online, you’ve probably wondered, “What if I had the key, the recipe, to find places that few get to experience?”
I’ve thought about that a lot, and over the years, I’ve figured out a thing or two through my own trial-and-error experience in finding off-the-beaten-path shoot locations. If you’ve got other tips, I’d love to hear about them in the comments!
Part 1: Pre-trip research
This is the foundation to my trip. To make this more applicable, let me give you an example: I’ve heard the state of Arkansas is beautiful, and now I’ve got some free time to take a trip there.
Work with what you know
I know it will be spring when I go to Arkansas, which means the rivers and waterfalls the state is famous for will be flowing hard. I also love the wilderness, and I’m always up for a hike.
Start as broad as possible
I love having a starting point—the easier, the better. Remember, I’m still at home at this point, so I want to cast my net as wide as possible.
Keep it simple with a Google search
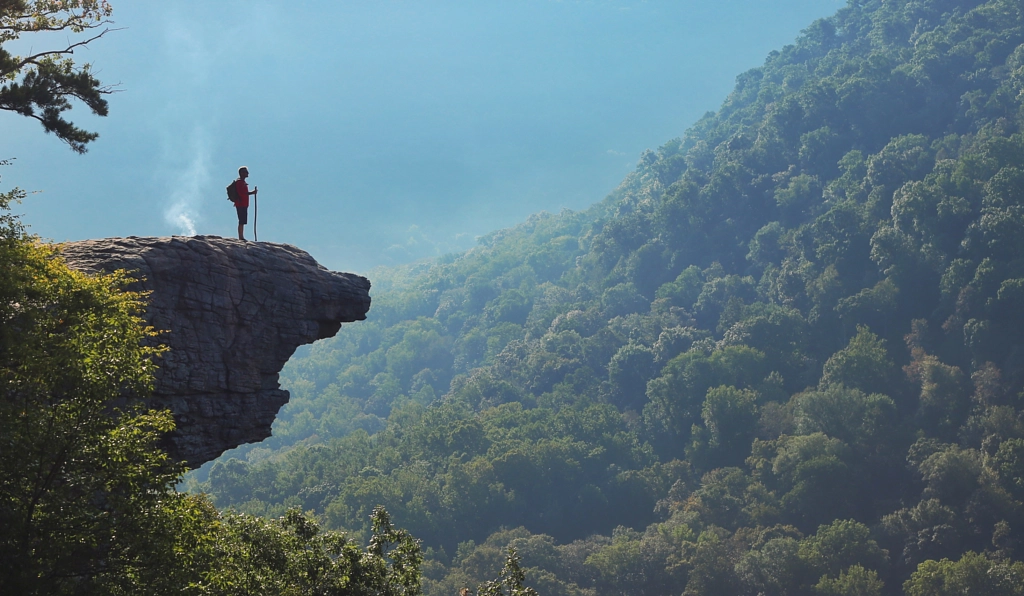
I ran this simple Google image search, and this image stood out to me. I clicked on it, but it took me to an unrelated website.
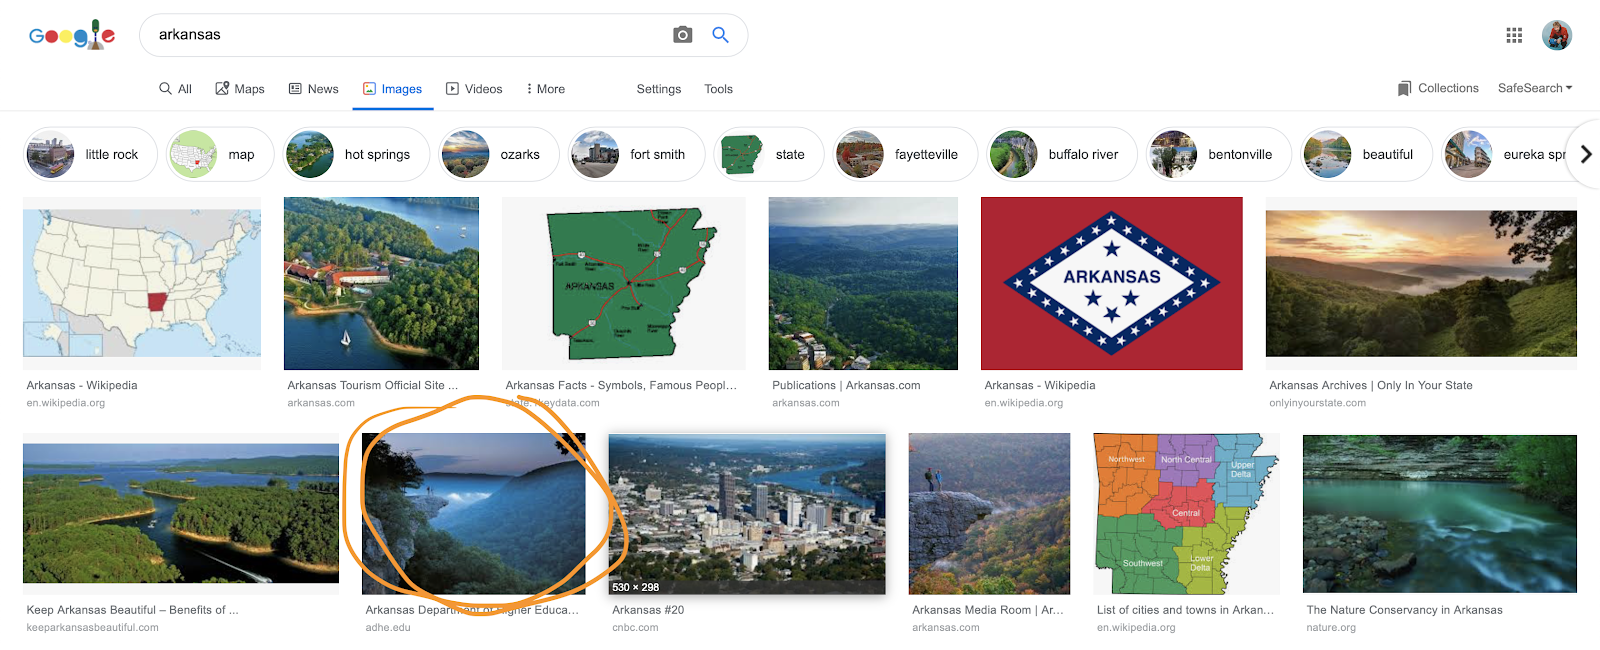
There are two things I can do to find this place:
1. Save and upload the image to images.google.com
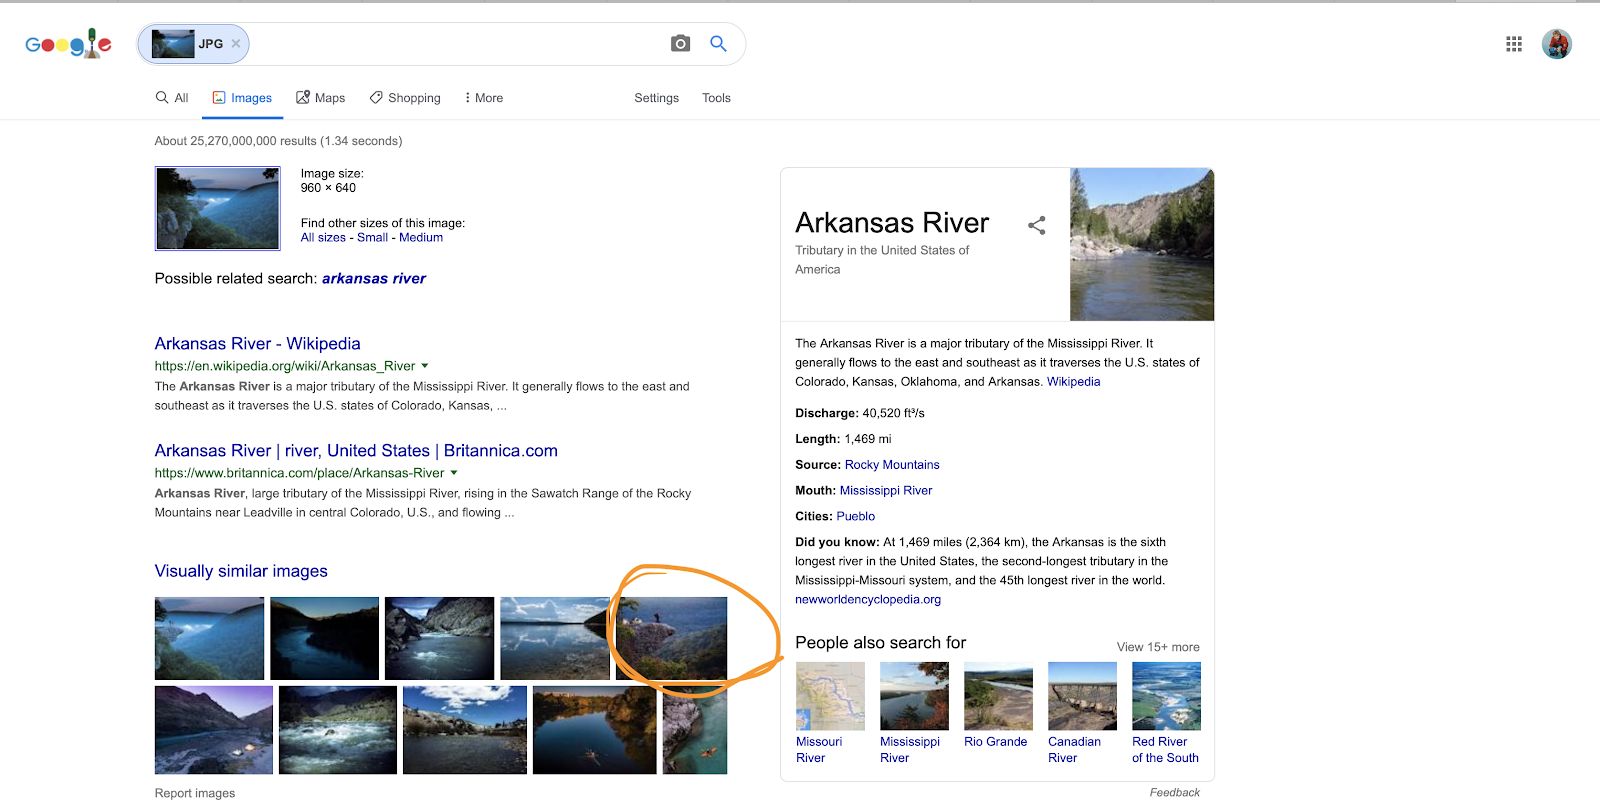
Google returns Arkansas River, which isn’t the most helpful, but still impressive nonetheless. In the “similar images” section, I find another view of the rock. I click it, and find—ta-da! The place is called Hawksbill Crag. Now, I can find where it is using Google Maps.
2. Look up the image URL
The second thing you can do to locate the place is to look up the URL of the initial image, which more often than not, will have more information on the place. In my case, it did. With this method, I found out that this place is either called Whitaker Point or Hawksbill Crag.
Okay, I have my first location. It isn’t exactly “secret,” but it’s a nice place to start.
Now I can continue skimming Google images with more specific keywords, or start using photo sites. Let’s move on to photo sites.
Use 500px and photo blogs
This is one of my favorite stages of research because it’s very visual. Thanks to my earlier research, I’ve narrowed down my area of focus to the Ozark National Forest. So I type that into 500px.
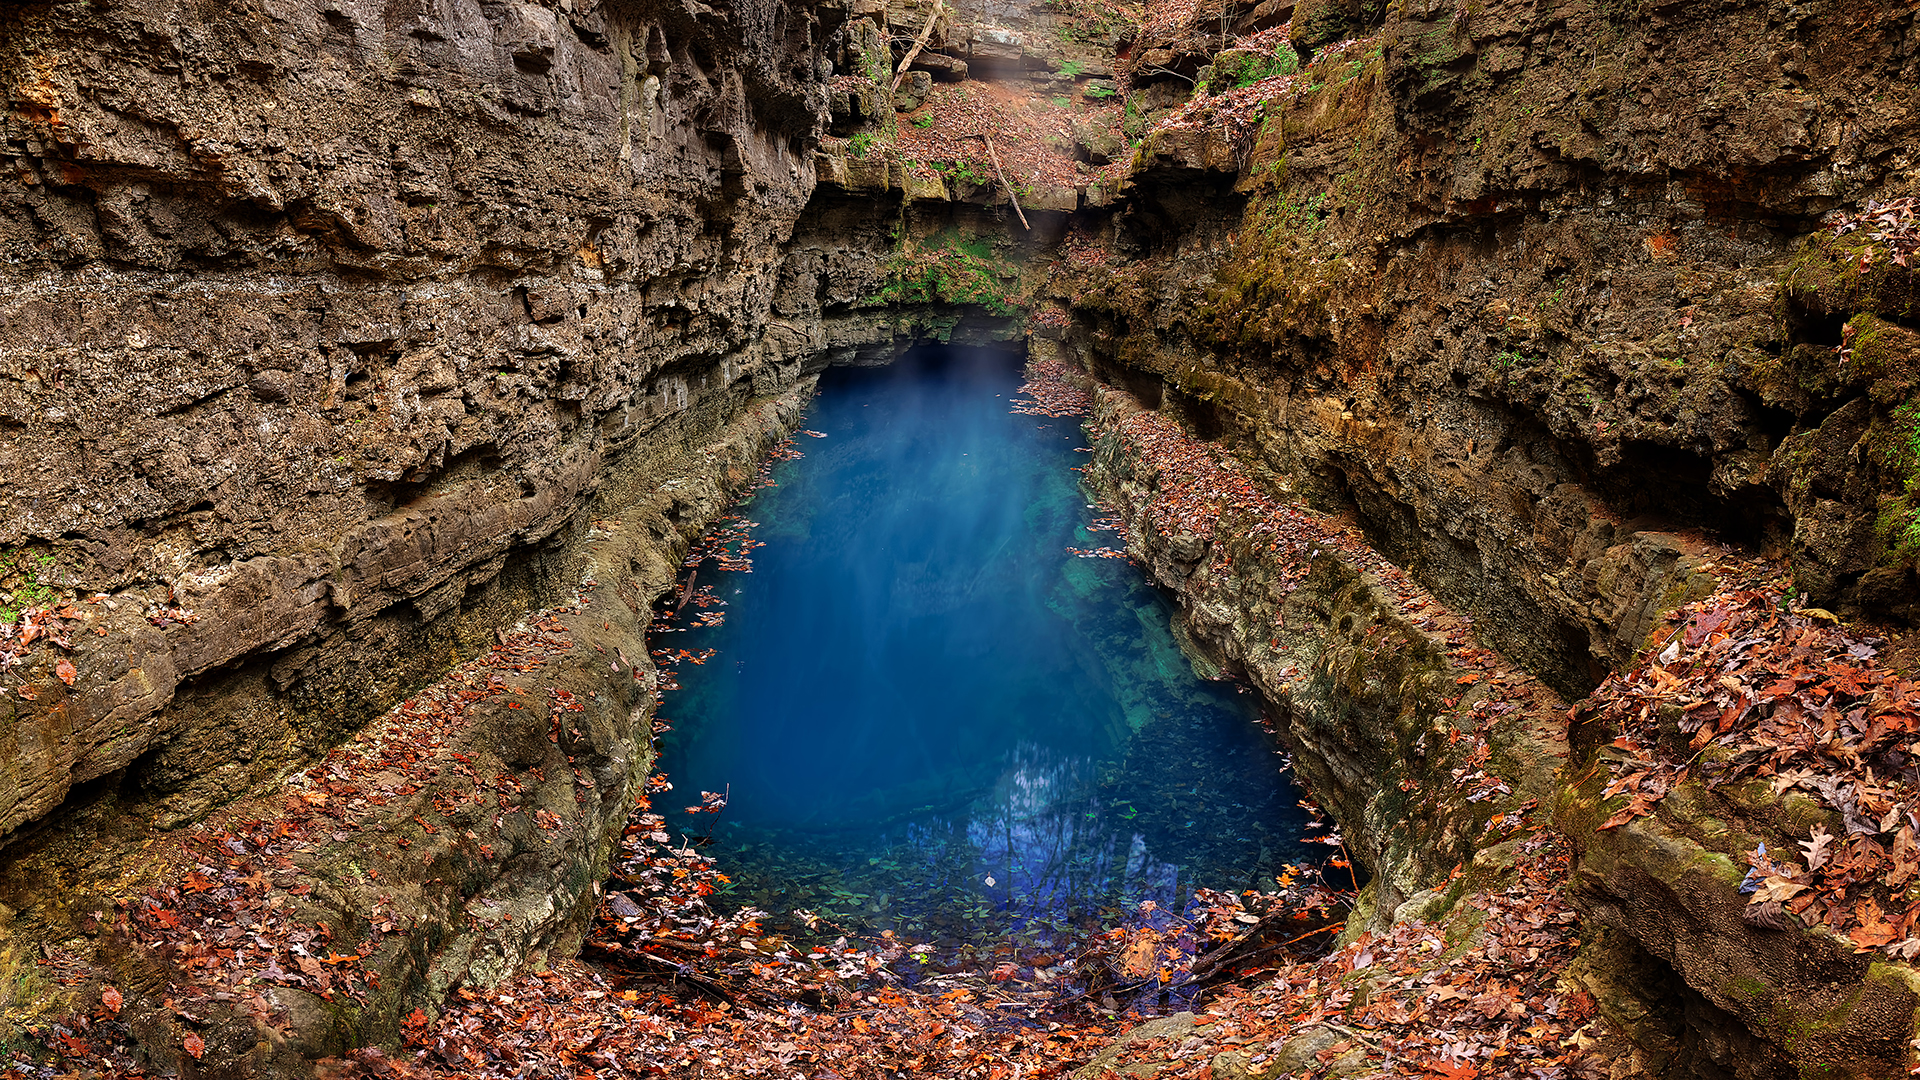
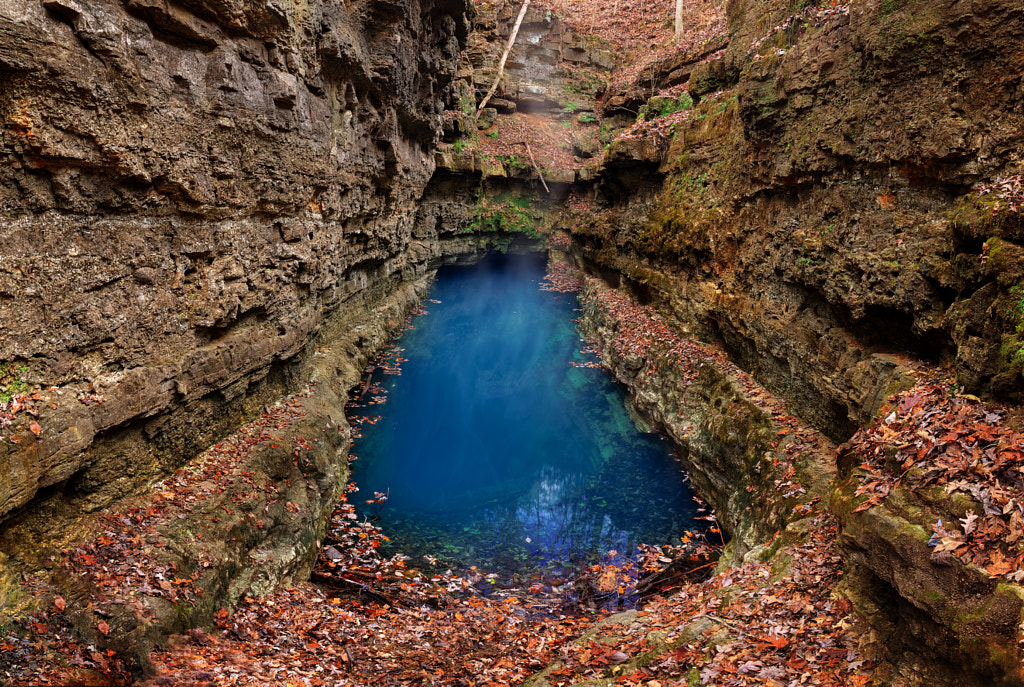
After some scrolling through many photos of the forest, I stumble on this show-stopping blue gulf:
Saved it! Usually, when I find an interesting place on someone else’s feed, I’ll like the photo and go through their feed to see if there are other places that intrigue me. No luck here.
Now I have my second location: the gulf near Mill Spring.
Moving on to another highly useful resource: the Outbound.
It’s pretty self-explanatory: just type in “Arkansas” and you’ll be shown a lot of hike ideas. I saved two that seemed really interesting, mainly because they’re circuits. And circuits add a layer of storytelling to the images: I’m on a loop and there’s a beginning, a middle, and an end.
Now, I’ve found my third and fourth locations: Lost Valley and White Rock Rim Trail.
Blogs
I’ve found some of the best hidden gems for shoot locations using small blogs. They’re great because they’re used by sub-cultures, meaning I might find a hiker, a geologist, or a hunter’s blog. All are people who know places intimately, add an additional layer of information you may not otherwise come across, and regularly go off the beaten path, driven by their passions.
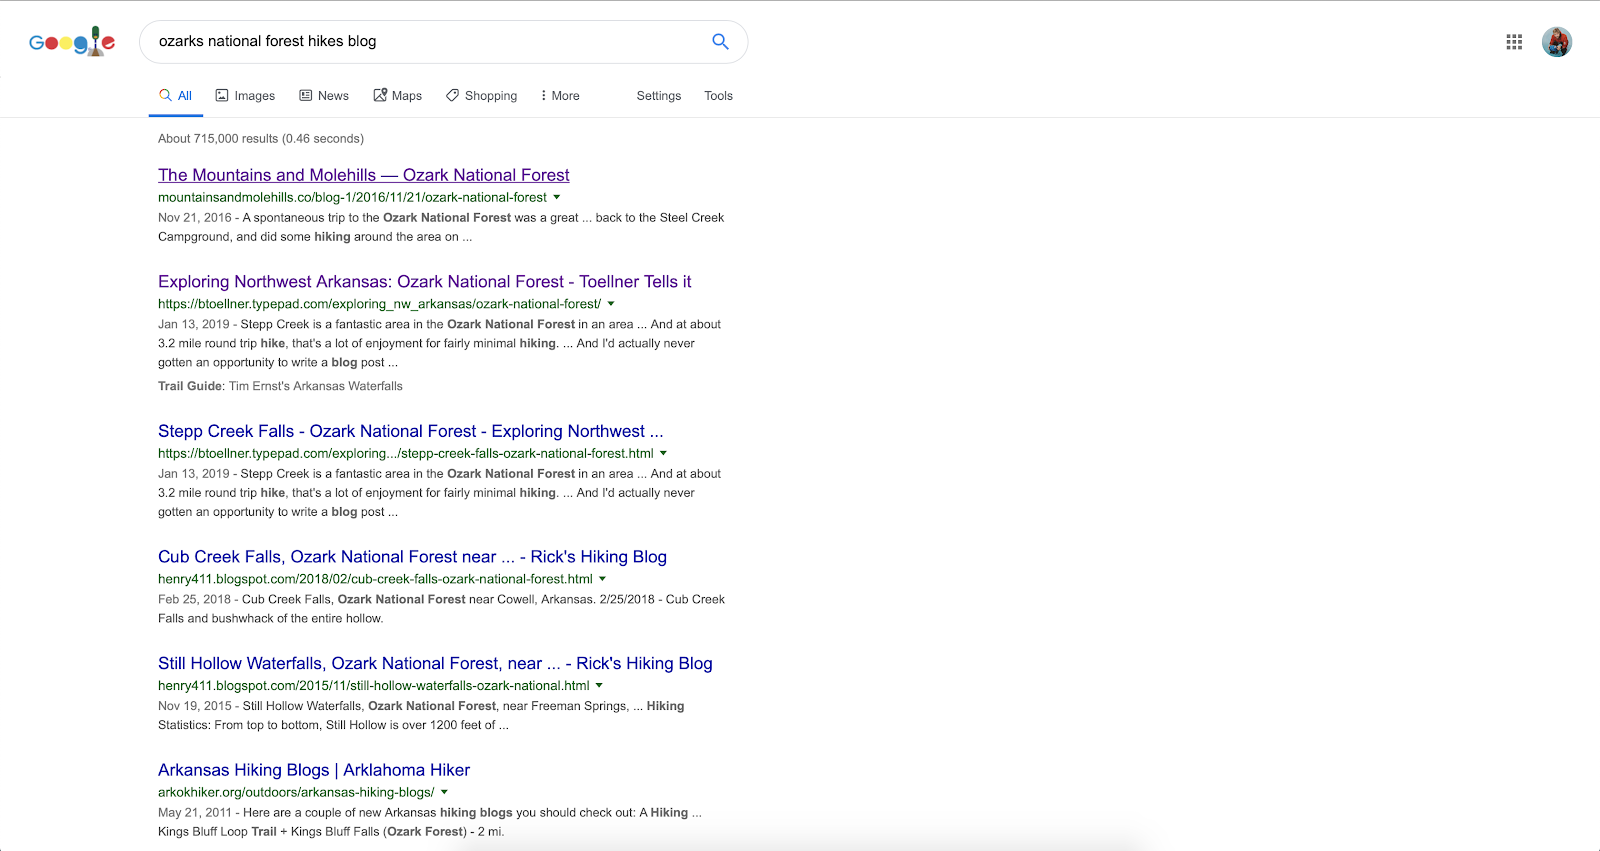
Here is another one of my favorite blog finds, through which I found other really interesting locations for my trip.
Use maps and satellite imagery
This one is not for everyone. I know people whose eyes light up at the idea of scouring satellite views for hours in search of a hidden gem—and I’m one of them! Even if you aren’t one of those people, I recommend giving it a try.
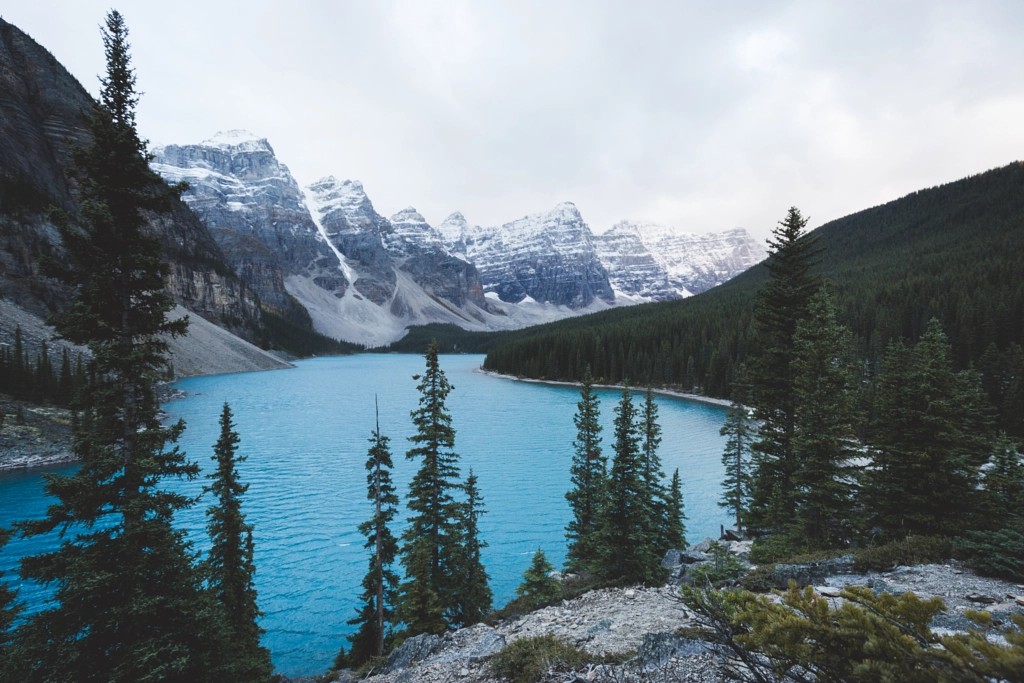
Let’s use the example of the most popular alpine lake in the world: Moraine Lake, Alberta.
Again, this is a great starting point. Now that I have an anchor in the landscape I want to check out, I can start flying around it via satellite.
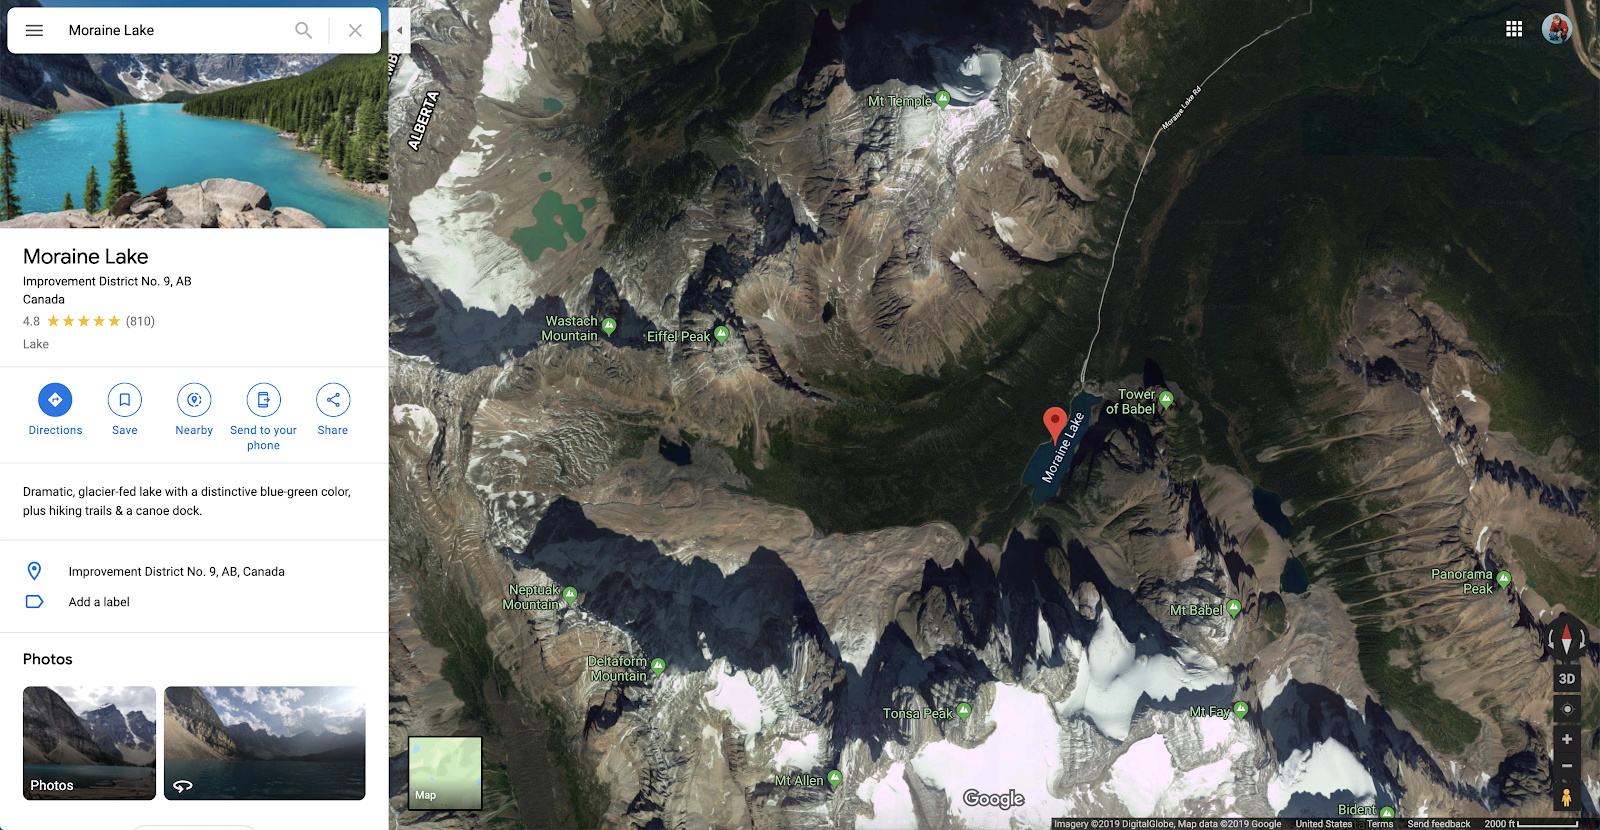
I take note of how close (or far) the nearest road is when I’m browsing, so I can ensure that access to that location is realistic. There’s no use in finding a place that looks amazing, but that is only accessible by helicopter.
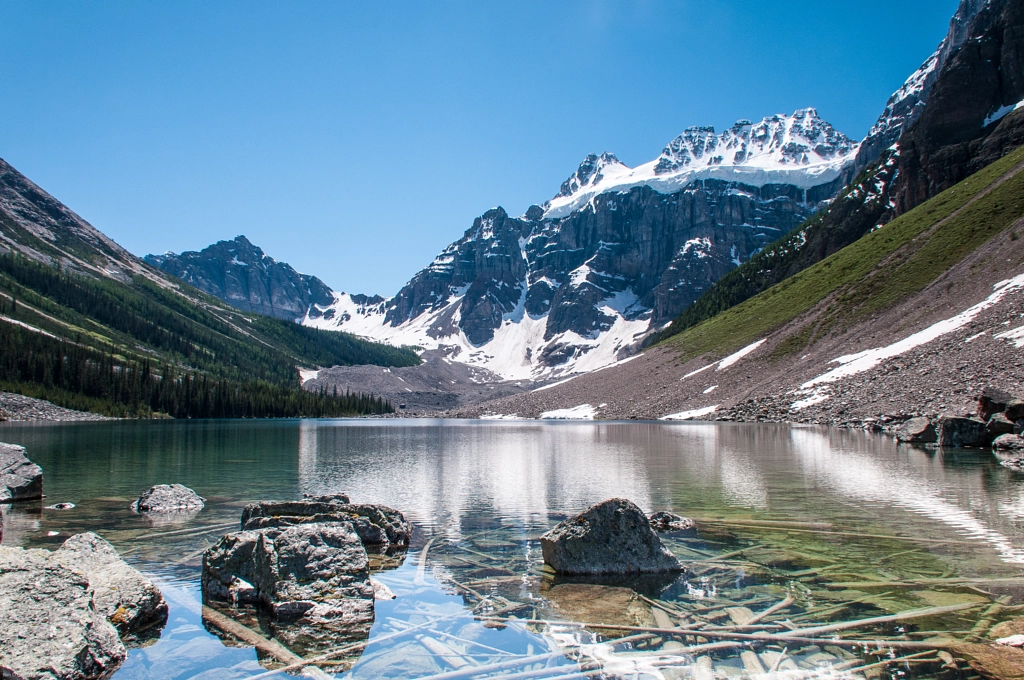
Without going too far, just east of Moraine Lake, I notice this chain of two lakes in a narrow valley.
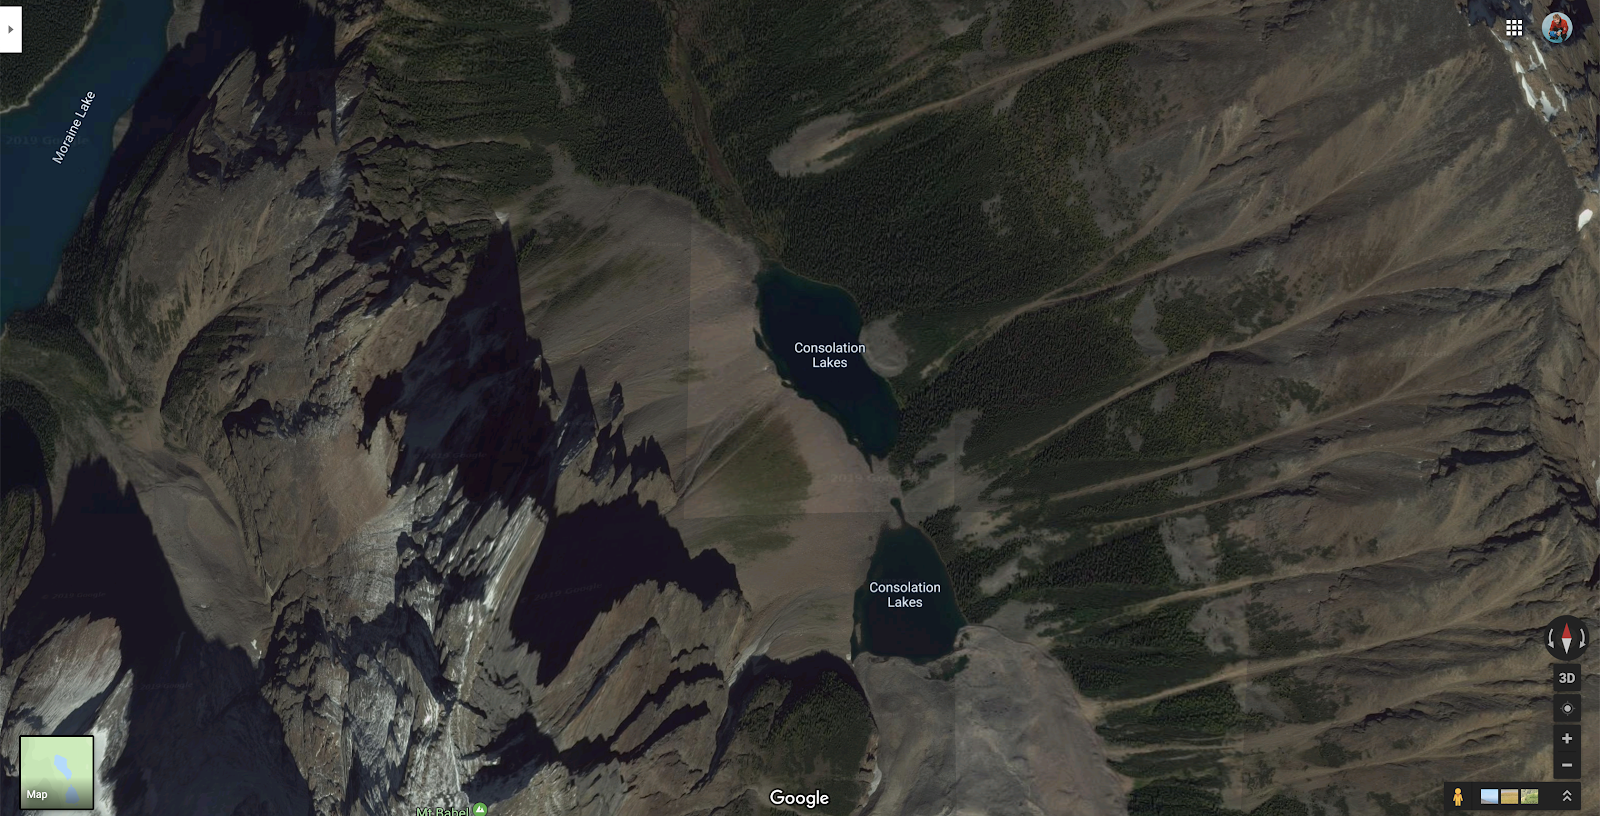
I run a quick search on them and learn that I’m in for a treat.
The lakes are 3.9 miles from the Lake Moraine parking lot, and they’re moderately trafficked, according to All Trails.
This is just one example of a place that I’ve never seen a photo of until now, and which is literally 4 miles from the most-photographed place in the Canadian Rockies.
My point here is that Google has made extremely detailed satellite views available for anyone, and it would be a shame not to use them to our advantage for photography.
That’s it for part 1 of my series on how to find the best off-the-beaten-path locations—stay tuned for part 2, coming next week!
Not on 500px yet? Sign up to discover more incredible photos of off-the-beaten-path landscapes.



Leave a reply