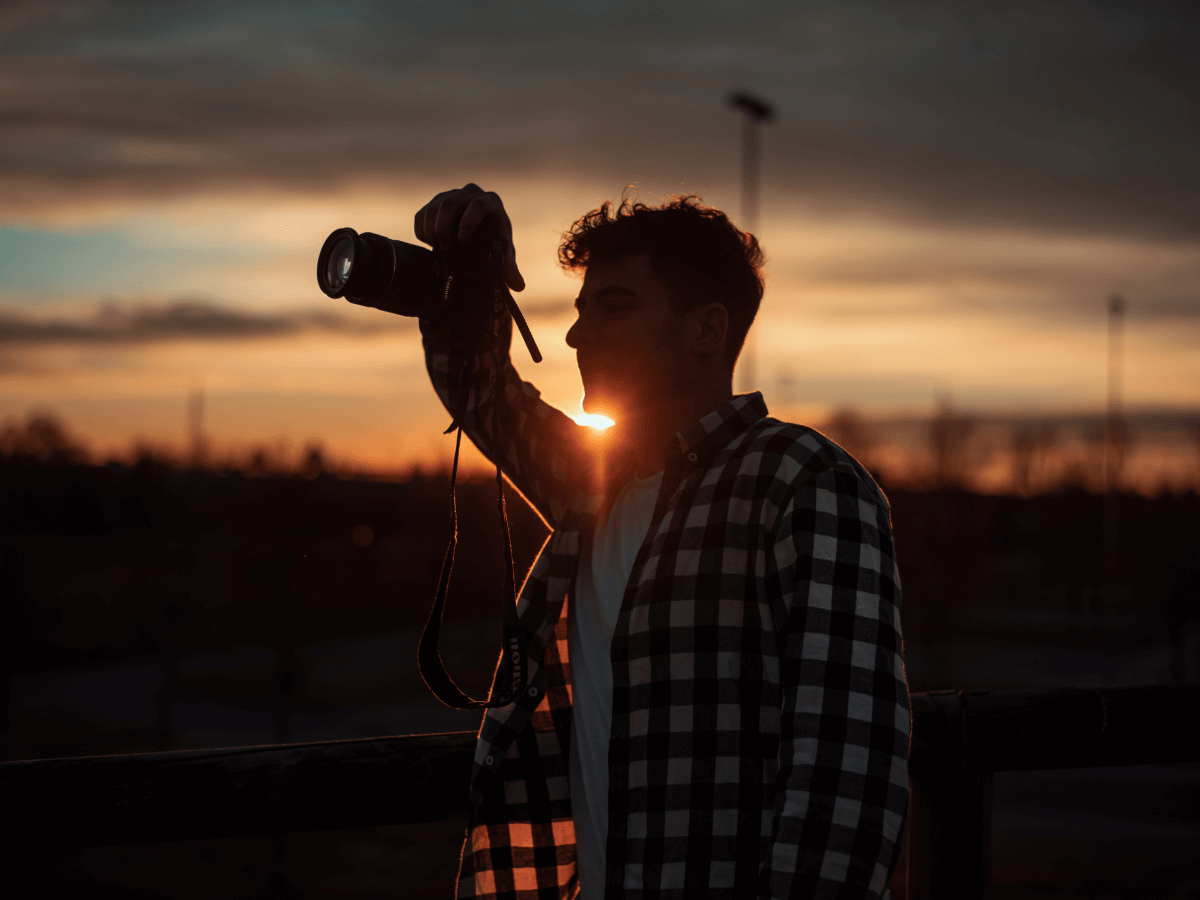
Golden hour, the brief window just after sunrise or before sunset is a magical time for landscape photographers. The low angle of the sun casts long shadows and bathes the world in warm, golden tones, enhancing textures, colors, and depth. Whether you’re capturing mountain ranges, seascapes, or open fields, mastering golden hour light can elevate your photos from ordinary to extraordinary.
Why Golden Hour Light Transforms Landscapes
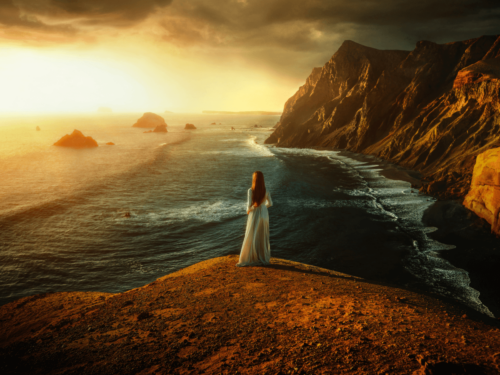
Golden hour light is soft and diffused, reducing harsh contrasts and providing a natural warmth that enhances the landscape’s visual appeal. Compared to the flatness of midday sun, golden hour offers:
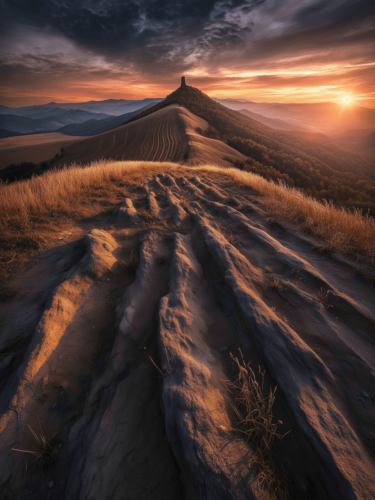
- Enhanced textures: Low-angle light reveals surface details in rocks, trees, and terrain.
- Vibrant color tones: Warm yellows, oranges, and reds create a dreamy, painterly effect.
- Natural depth: Shadows become longer, creating depth and dimension in your scene.
Planning for the Perfect Shot
Timing and location are everything in golden hour photography. Use apps like PhotoPills or The Photographer’s Ephemeris to determine exact sunrise and sunset times, as well as light direction.
Scout in Advance
Arrive early to explore compositions, adjust your gear, and anticipate how the light will move across the landscape.
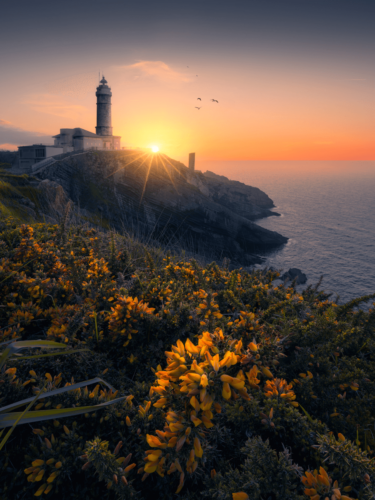
Consider the Foreground
Layer your composition with interesting foreground elements like flowers, rocks, or water, to create visual depth and guide the viewer’s eye.
Camera Settings and Techniques
Getting the best out of golden hour light also means fine-tuning your camera settings.
- Use a tripod to maintain sharpness in low light.
- Set a narrow aperture (f/8 to f/16) to keep most of the scene in focus.
- Adjust white balance manually to preserve the warmth of golden hour tones.
- Shoot in RAW to retain flexibility for post-processing.
Golden Hour Tip
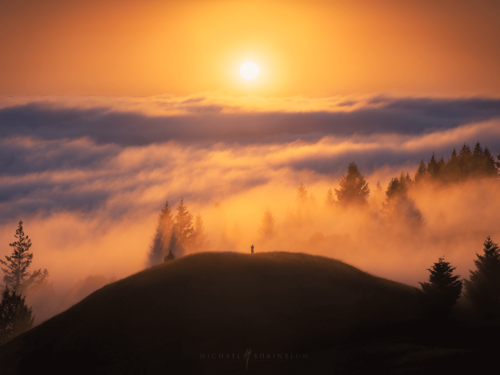
Leverage Backlight for Atmospheric Effects
During golden hour, position the sun behind trees, mountains, or your subject to create a natural rim light or glow. This backlighting can highlight textures like mist, grass, or leaves, adding a soft, ethereal quality to your landscape. Try slightly underexposing to preserve details in the highlights while deepening the golden tones.
Going Beyond the Sunset
Don’t pack up right after the sun dips below the horizon. The light during blue hour, the 20–30 minutes following sunset, can be equally stunning, offering cooler tones and moody shadows that complement golden hour shots in a series.
Extended reading: Creative Lighting Setups to Enhance Your Portraiture