Ever wish someone would create a detailed, step-by-step walkthrough for processing a great Milky Way photograph from start to finish in Lightroom? Us too. Which is why we were so excited when 500px all-star Michael Shainblum sent over an incredible Milky Way post-processing tutorial for our publishing consideration.
Editor’s Note: Of course, Lightroom is only ONE of the ways you can edit a Milky Way photo. There are others, and Michael wanted to make sure we mentioned that many of his images utilize Photoshop as well.
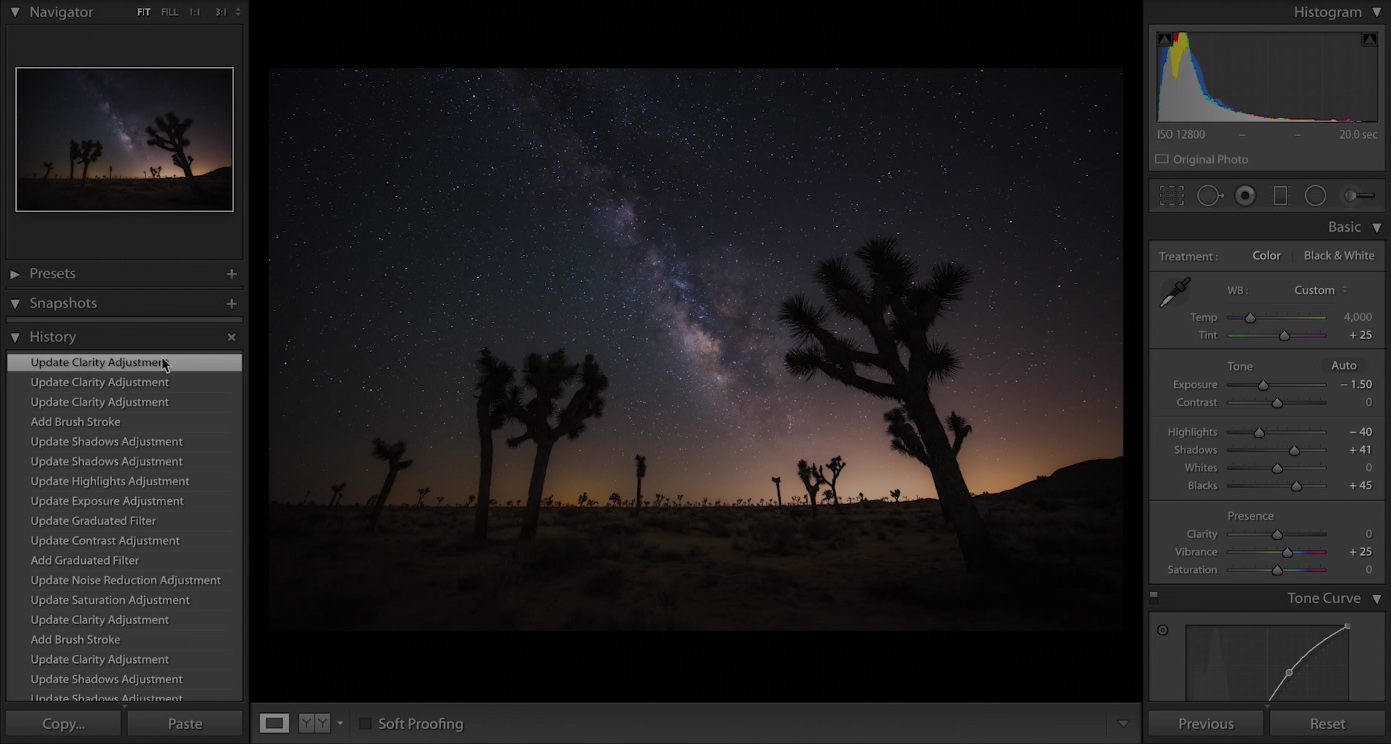
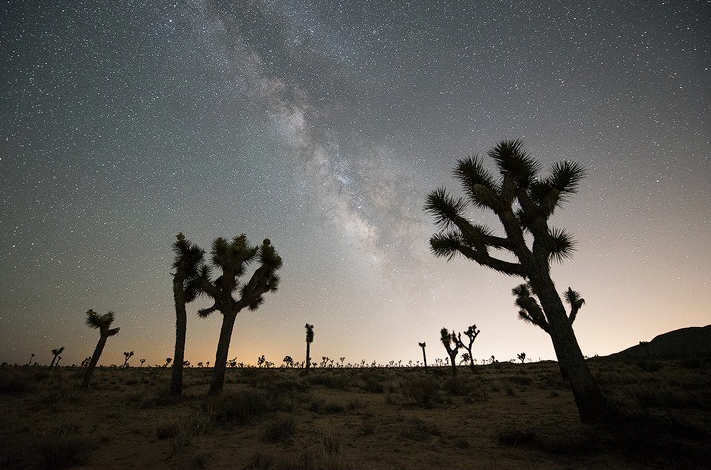
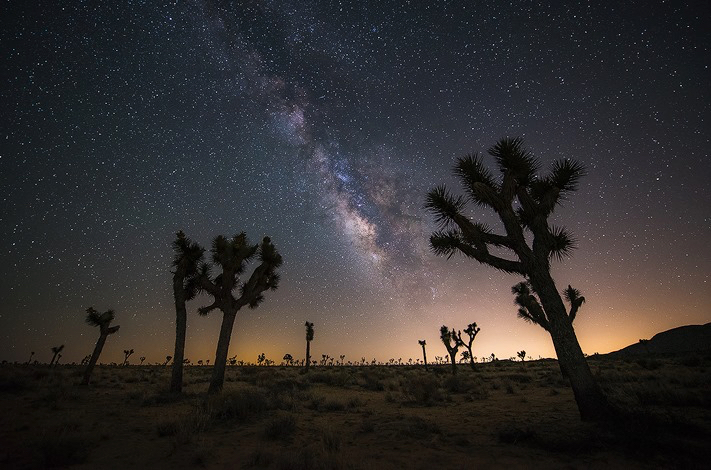
If you haven’t seen Michael’s work before, scroll down to the bottom to see a highlight reel of sorts. But before you do that, check out the video below to see how he created this amazing before and after:
In case you haven’t noticed, this isn’t a short video. At just over 20 minutes it is a detailed walkthrough the likes of which you rarely see online. The fact of the matter is talented photographers like Michael don’t have to share their secrets for free, but he did it anyway and we love him for it.
If you haven’t already, grab a pen and a pad and take notes as you watch Michael transform an image into something spectacular. Then, once you’re done, draw some inspiration from a few of Michael’s “greatest hits” below:


To see more of Michael’s amazing photography, give him a follow on 500px. You can also find him on his website, Facebook and Twitter and Instagram. And if you want to see more of his awesome tutorials, subscribe to his channel on YouTube.


Leave a reply