Jimmy McIntyre is a world-renowned travel photographer, educator, and 500px ISO contributor. His photos have been published in local and national magazines, including the BBC. His online courses on digital blending and post-processing can be found on his official website.
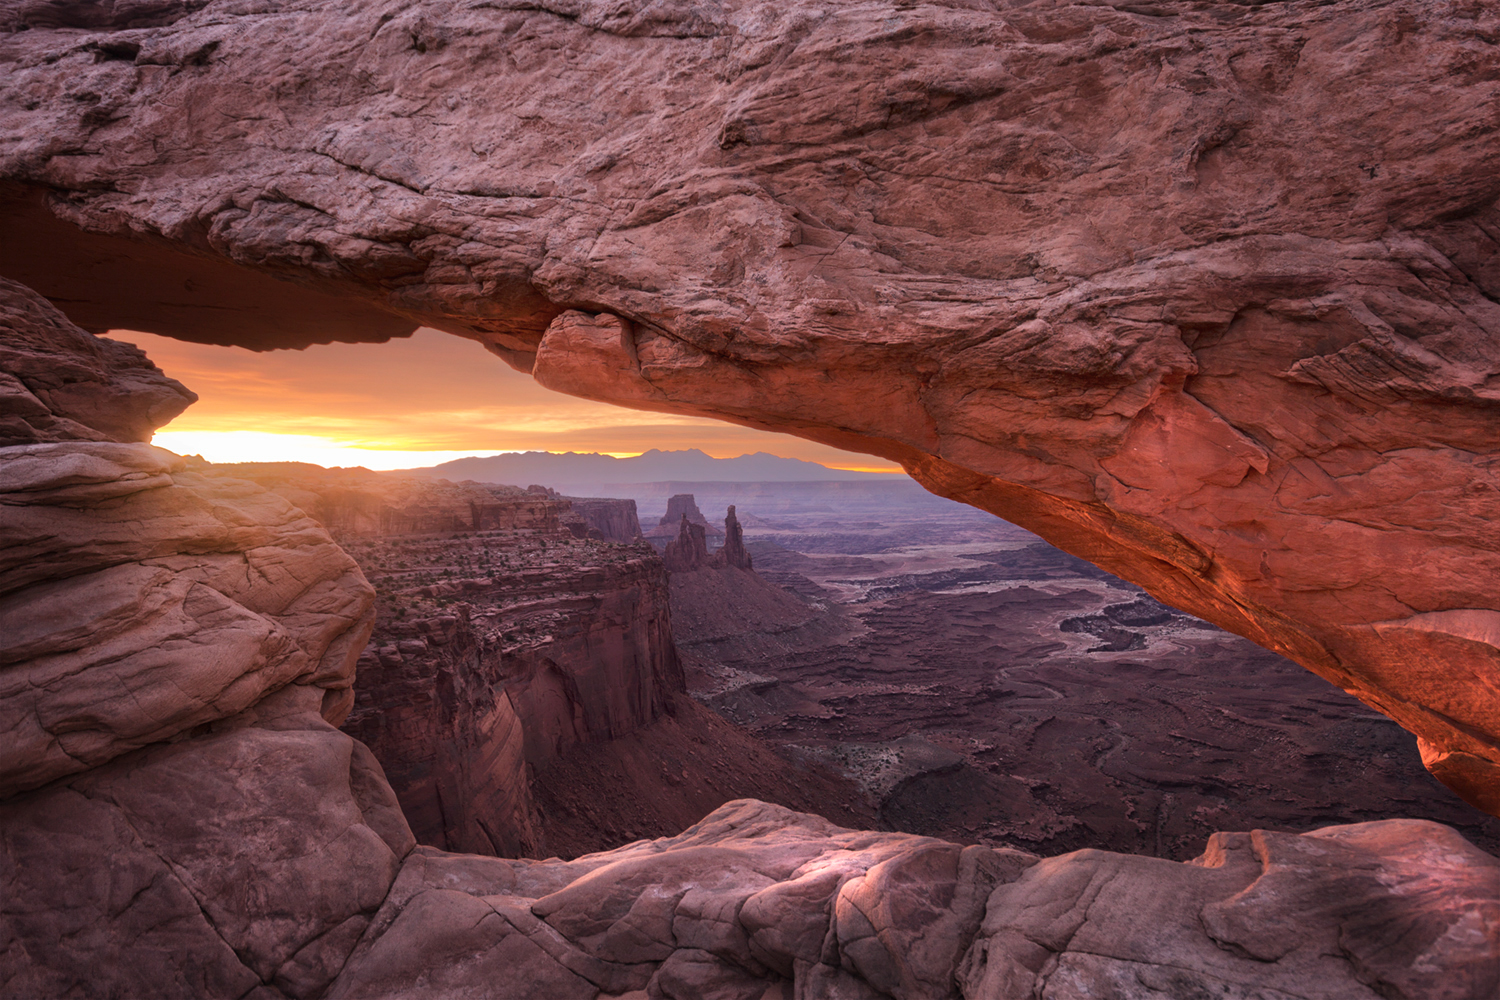
Every now and then, depending on the scene, equipment and settings used, we’ll find an image where Lightroom, ACR, or Photoshop struggle to deal with chromatic aberration. This great little technique will allow you to quickly remove stubborn chromatic aberration like this in Photoshop.
You can download the free action, and Easy Panel here: Easy Panel for Photoshop
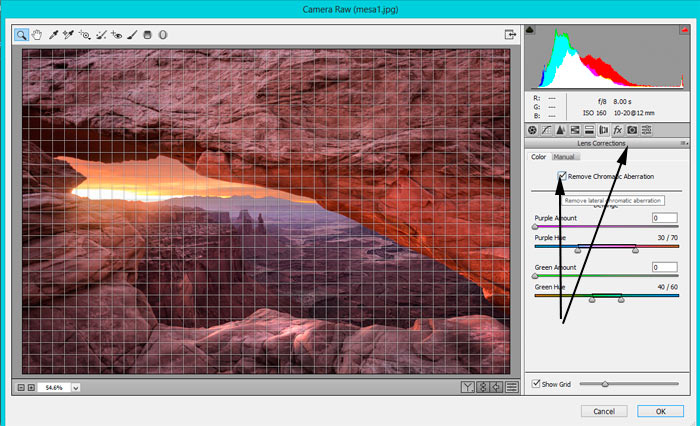
Before using this method, it would be wise to try and clean the chromatic aberration from your image in Adobe Camera RAW or Lightroom. To do this, go to the Lens Corrections module and simply check ‘Remove Chromatic Aberration.’ This often does an excellent job of cleaning up most CA.
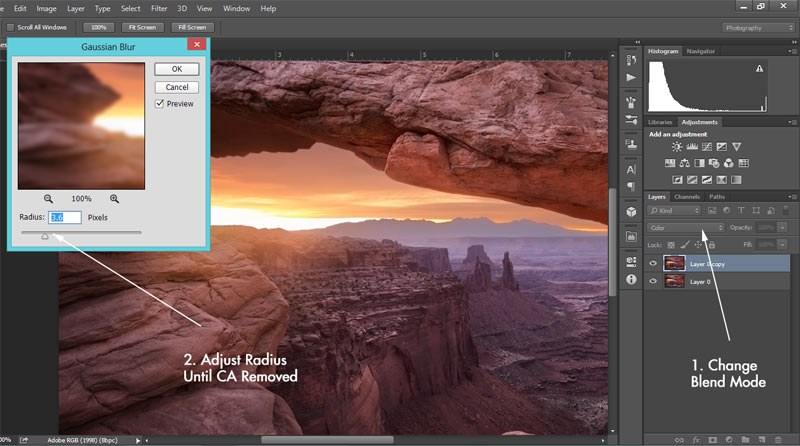
An alternative way of using the method in the video is to change the Blend Mode to Color first, and then adjust the Gaussian blur. The preview will allow you to see if you’re using too little or too much blur.
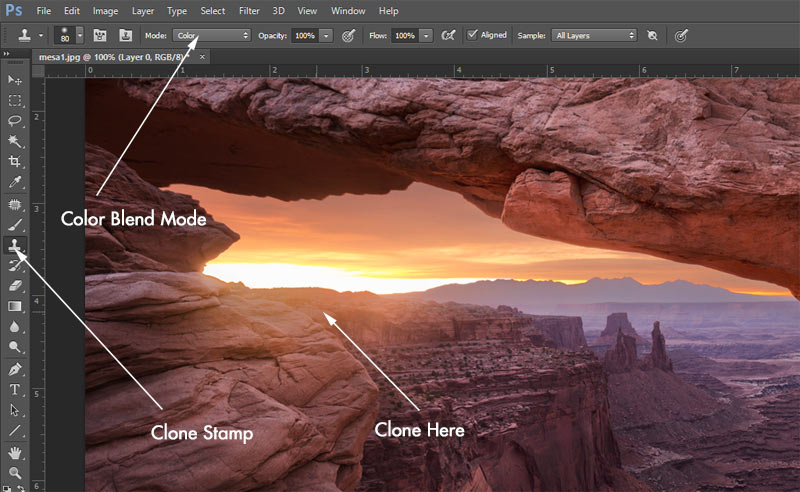
A longer but slightly more precise method is to use the Clone Stamp. If we change the Clone Stamp Blend Mode to Color, and then clone an area with the colour we wish to replace the CA with (in this case we’d clone the ridge under the area with CA), we can then simply paint over the areas affected with CA.
For more handy tricks in Photoshop, feel free to check out the other videos in the Photoshop Secrets series.
I’m always happy to connect with other photographers! You can visit me through the links below:
My website
My Facebook page
Youtube Channel for more videos
My photography newsletter Including The Free Easy Panel—sign up now!


Leave a reply