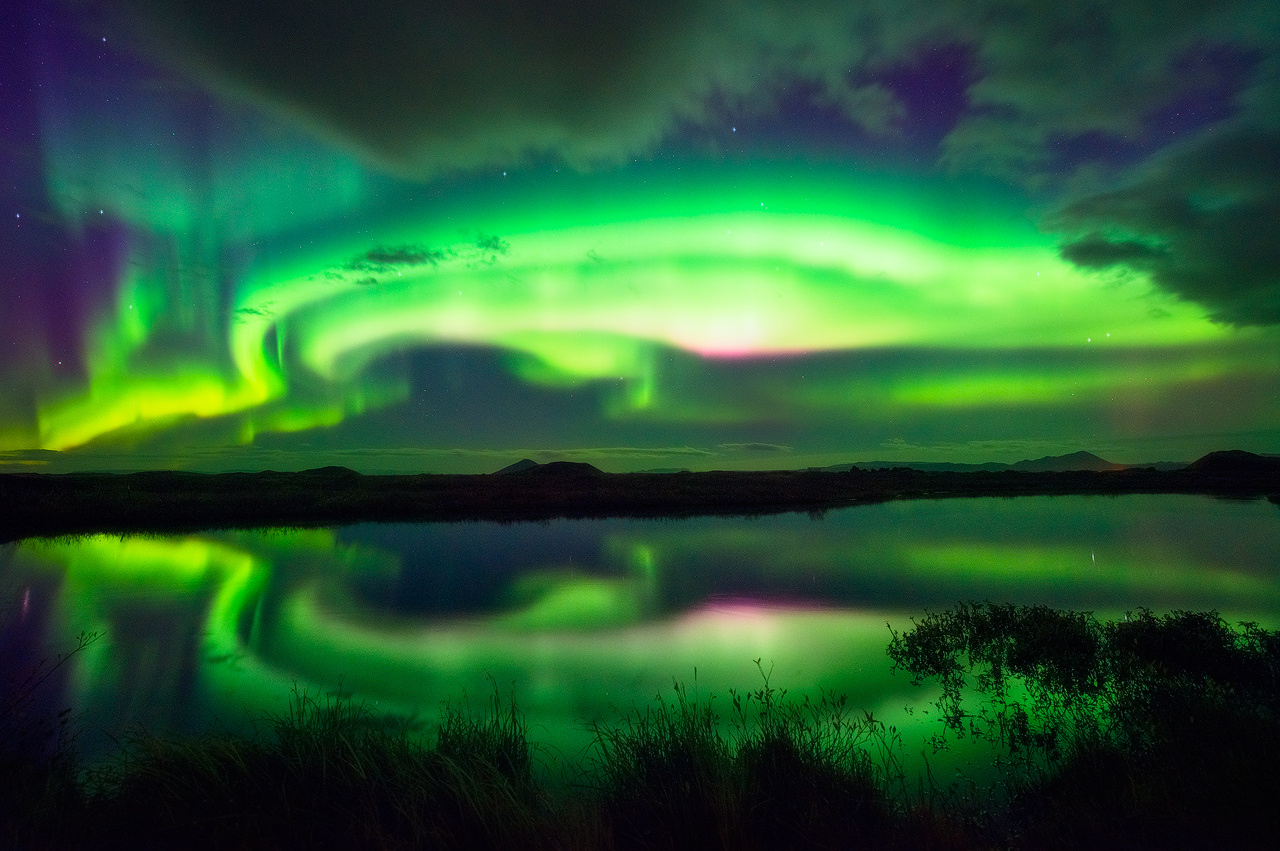
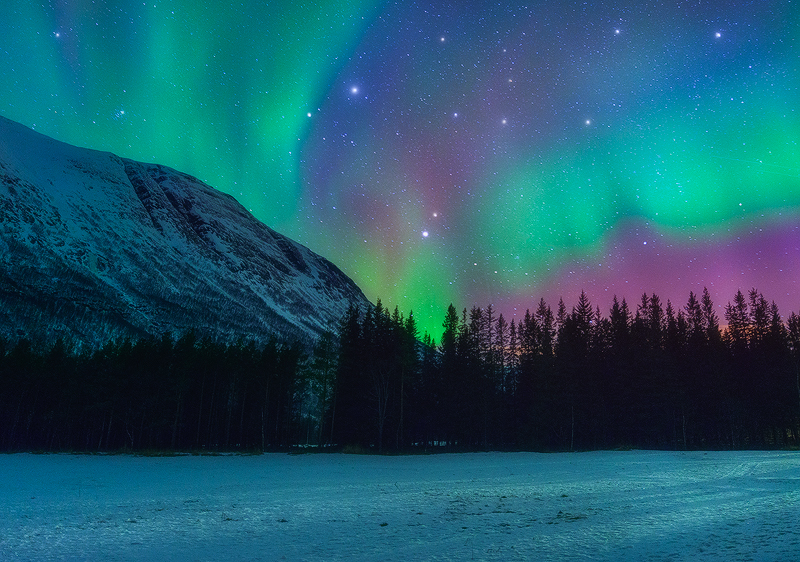
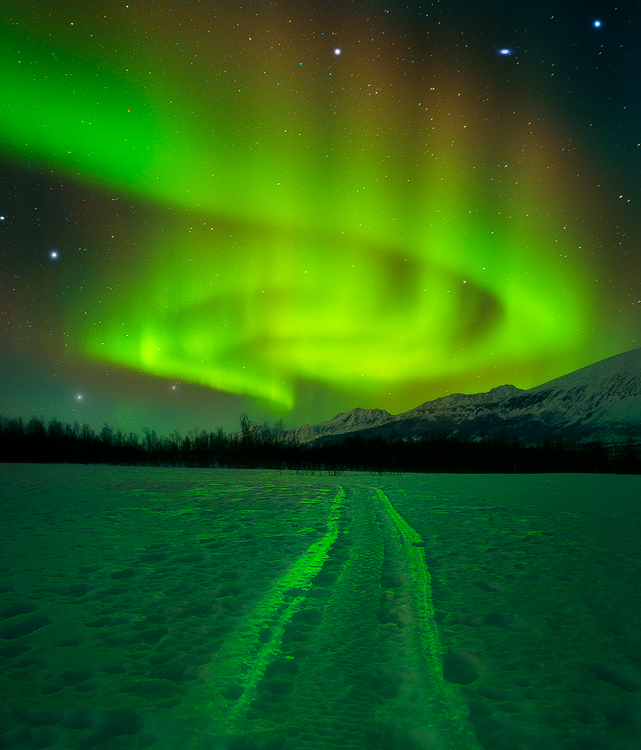
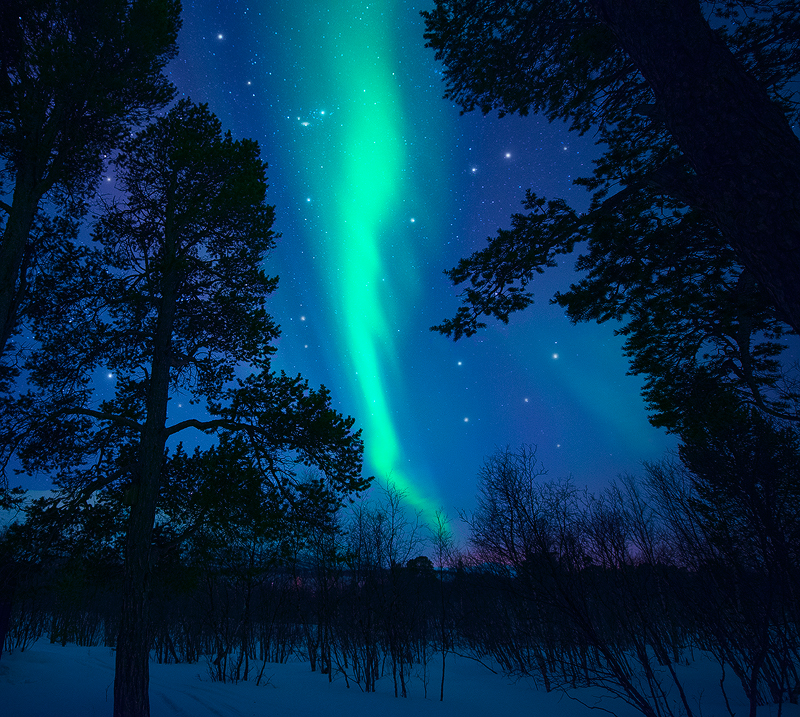
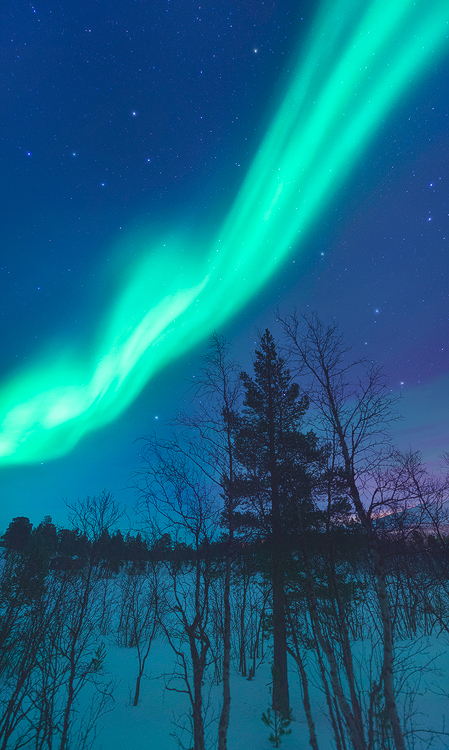
Northern lights photography is beautiful when done really well. With winter approaching in the Northern Hemisphere, many of you will be traveling to the Arctic North to view photograph the Northern Lights. My goal is to bring you a definitive tutorial covering all aspects of viewing and photographing the Northern Lights. From planning and scouting to shooting and post processing / editing, this tutorial has you covered!
The following page will provide you with the simple basics allowing you to capturing some awesome images of the Northern Lights. Master these basics and the results will be fantastic! After all, cameras are just tools of the trade; they shouldn’t ever get in the way of our artistic process.
Now let’s get started!
Planning Northern Lights Photography Shots
The first and arguably most important step in the entire photographic process is planning. To get some great shots of the Northern Lights planning is almost always necessary. I’ve simplified the process below providing some of my favorite websites and resources.
Step 1: Find Dark Skies
Without dark skies it will be nearly impossible to get nice shots of the Northern Lights. I like to use Blue Marble Light Pollution Map to scout out dark locations across the globe which to explore.
Unlike Milky Way photography you can photograph the Northern Lights under the moon light and still get fantastic results.
Step 2: Find Clear Skies
Without clear skies it will be very hard to get quality shots of the Northern Lights. You can get some nice shots with 20-30% cloud cover, but 0-10% cloud cover is preferred! Use the following tools along with a local trusted weather resource.
MeteoStar Weather Satellite Imagery Maps of the Northern Hemisphere does a great job of showing cloud cover conditions on a large scale. Using the IR (infrared) setting on their site you can see the cloud cover at night.
Unlike visual (VIS) satellite images which can “see” cloud cover during the day, IR satellite uses cloud temperatures to “see” cloud cover at night.
For in-depth explanation on this topic, I’d suggest checking out this informative post on How to Read a Satellite Image.
NOAA’s Geostationary Satellite Server also provides some great resources!
Step 3: Check the Aurora Activity
On the day of your shoot check the Northern Lights Activity using one of the following resources. I’ve also provided some additional resources on my How to Photograph the Northern Lights Tutorial on my website.
When checking aurora activity, you’ll want to look at the Kp-Index which ranges from 0-9 with 0 being low aurora activity and 9 being the greatest.
Space Weather Live OVATION Auroral Forecast provides some great insight on the current forecast; they also provide a multi-day outlook on their Aurora Forecast Page. For more info on KP-Index reference the two links provided above on Space Weather’s website.
What Gear Do You Need For Northern Lights Photography Shots
To capture some nice images of the Northern Lights you really don’t need much equipment. That being said, as in all night photography, a full frame ( 35mm or larger sensor ) camera and a wide angle lens will always improve your image quality.
I’ve compiled a list of my favorite star and night photography gear in the free eBook linked at the top of this page.
Minimum Requirements
1.Tripod – A tall and sturdy tripod always helps. I use a Really Right Stuff setup which works well.
2. Camera with Manual Mode – Any camera with manual mode will work. Manual mode means you can independently adjust the ISO, Aperture and Exposure time.
Recommended Gear
This gear list isn’t required, but it will greatly improve your photos and overall experience:
1. Full frame (35mm or larger sensor) DSLR camera – A full frame camera with high ISO capability will allow you to easily capture the Northern Lights without producing significant noise in your images.
2. 2. Wide angle lens (14-24mm range) with fast aperture – I’d recommend aperture settings of f/2.8-f/4. I usually shoot at f/2.8.
3. 5-7 fully charged batteries – When it’s really cold outside batteries die quickly. I rotate 7 batteries in my pocket when shooting at temps of below -10 degrees Celsius. The warmth of your body heat will keep the batteries “alive” for much longer. Swap them in and out as required.
Focusing at Night
Prior to focusing your lens, it will be hard to correctly perform any of the following steps, that’s why it’s always key to focus first!
Since the Northern lights and stars are far away from us, we can focus at infinity and obtain sharp focus. Most lenses have an ∞ symbol on them which denotes this focus point.
Just because you set your lens to this ∞ symbol doesn’t mean it will capture a perfectly sharp photo. Many lenses need to be tweaked slightly more to find this focus point.
That being said the ∞ symbol is a great place to start, along with the following technique.
Currently I have 8 different methods which I use to focus at night. I’ve provided one below, two more in the free eBook linked above, and a personal favorite in the Free
Focus Stacking Video Tutorial on my website. With practice you can come up with different techniques that work well in any situation.
Method 1: Preset Your Focus During the Day
It’s much easier to focus during the day, then set your lens to this found
focus point later at night. Here’s how!
1. Set up your camera during the day with the lens you will be using to take your night / low light photos. You can do this at your house, or anywhere else that’s easy, it doesn’t have to be at the location where you plan on taking your night photos.
2. Adjust your lens to focus at infinity, or at a far away horizon. I always like to use my camera’s Live View Mode, zoomed in, and focus on the furthest horizon in my composition. This will ensure that you’ve focused at infinity. You can also focus by looking through your camera’s view finder. This works very well too.
3. Next, manually make the final adjustments if required using the focus ring. I find that Auto Focus usually does very well during the day, but sometimes needs manual input to nail down the final focus in low light.
4. Take some more practice shots at an aperture of f/8 – f/11 and make sure the entire photo is in focus. If it isn’t focused, repeat Step 2 and Step 3.
5. Now your lens is focused at infinity.
6. Using a permanent marker, mark both the focus ring, and the barrel of the lens (non-rotating part of lens). Tape works as well, but may fall off over time.

Camera Settings For Stunning Northern Lights Photography
The following settings will work very well for taking photos of the Northern Lights. You can tweak them to your own liking as need be.
Image Format – RAW Image Format
Metering Mode – I use matrix metering on my Nikon D800 for night photography. I found this to work best after testing all of the metering modes. Matrix metering is called Evaluative Metering on Canon cameras. Test your modes and see what works best for you!
White Balance – Shooting in RAW you can always change your white balance in post processing. I prefer to adjust it in the field as well. Kelvin ( K ) mode at values of 2800-4000 work well for night / northern lights photos.
Aperture – Selecting an aperture is very easy for night photography. Just open your aperture to f/2.8, or as wide as it can go. It’s hard to focus at apertures wider than f/2.8 and I don’t recommend doing so for night landscape photos. The key is to allow the most amount of light to hit your camera’s sensor in the least amount of time, allowing you to keep your ISO at a lower value and inducing less noise. More on the ISO / noise topic below!
ISO & Exposure Settings – These two settings are grouped together since they directly reflect on each other. You will need to change both as required to get the desired results.
Additional Resource:
- The Best Cameras Lenses For Different Styles Of Photography
Ask yourself the following two questions prior to adjusting ISO and Exposure Settings when photographing the Northern Lights:
Question 1: How quickly are the Northern Lights Moving Through the Sky?
Keeping your exposure time between 5-25 seconds will work well. If the aurora is moving quickly in the sky aim for 5-7 second exposures. If it is moving slower try 10-25 second exposures.
Think about it like this: If the aurora is moving quickly in the sky, then a 30 second exposure will show the average of what each pixel captures over that 30 second timeframe, instead of the showing the instantaneous view your eyes see.
The shorter the exposure time, the closer your photos will resemble what your eyes actually saw.
Experimentation is key!
Question 2: How Bright are the Northern Lights in the Sky?
At the bottom of my How to Photograph the Northern Lights Tutorial on my website, I provide an in depth analysis for the following topic, including example images, camera settings and some video tutorials.
I guarantee after reading you will think different about photography, and learn something along the way; it’s very simple, yet powerful! You can also apply these concepts to any type of photography.
All of the other camera settings have been selecting, now it’s time to adjust ISO.
You will want to expose your photos for the brightest parts of the picture. The rest of the photo will look dark! That’s okay; you can recover these dark areas in post processing.
Always watch the left side of your histogram ensuring you’re not losing any dark detail and the right side of the histogram ensuring you’re not blowing out any of the color or luminance channels.
Keep in mind you’re shooting at night so the photos will be dark! Expose for the lights and you’re good to go!
1. Start out shooting with an ISO of 400-800 and take a practice shot.
2. After doing so, if your practice shot wasn’t bright enough, increase your ISO to approximately 1200 and take another practice shot.
3. If the photo still isn’t bright enough, continue to increase your ISO until it is. I usually shoot in the ISO range of 800-4000 depending on the situation. This is where it really helps to have a full frame camera which handles high ISO very well.
Post Processing Your Photos in Photoshop & Lightroom
I’ve created two free in depth video tutorials which will show you all of the basics of editing your Northern Lights Photos. You can find them at this link: How to Edit / Post Process Your Northern Lights Photos in Photoshop & Lightroom

Final Words of Advice on Photographing the Northern Lights
After spending few nights photographing the Northern Lights and using the techniques above you’ll easily start to capture some great images.
If you take anything from this tutorial remember the following: Increasing ISO degrades image quality, adjusting aperture and exposure time do not! Never increase ISO until you have “maxed out’ your aperture and exposure time per the steps above.
To see more of my photos, you can follow me on 500px.
To check out my tutorial on photographing the night sky, click here.

Dave Morrow is a landscape photographer, workshop instructor, and word slinger with a passion for travel, the truth, and all things strange. He teaches Milky Way & Star Photography Workshops & Tours , spanning the entire West Coast of the United States, Online Star Photography Post Processing (editing) Group Workshops, and provides Star Photography Post Processing Video Tutorials and a Free Star Photography Tutorial.
Dave’s goal is to educate photographers from across the globe, bring them together, and explore the night skies in some of nature’s darkest and most beautiful locations. In this tutorial, Dave shares his expert tips on how to photograph the greatest show on the planet—the Northern Lights. Scroll down, and get inspired!
Simplify what you need, and the rest becomes easy. After reading the following tutorial, grab a free copy of my 39 page Star &Night Photography eBook included with the How to Photograph the Northern Lights Tutorial on my website. I’ve also provided a free Northern Lights Post Processing Video Tutorial, plus a ton of other in depth explanations and useful information.

For additional free tutorials and of course more photos, head over to my website www.DaveMorrowPhotography.com, Facebook, and Google+.
Got a question for me about my tutorial or my work? Leave a comment below!


Leave a reply