Born in Kolkata India, Prakash Singh works & livs in Dubai, UAE. By profession, he is an Interior designer, but he has loved capturing photos from childhood. For 10 years, he shot exclusively with film cameras, moving on to digital in 2011. He enjoys shooting anything and everything, and loves to experiment.
To see more of Prakash’s work, give him a follow on 500px, visit his website, or show him some love on Facebook and Twitter. This post was originally published on 1x, and is being republished here with express permission from Prakash.

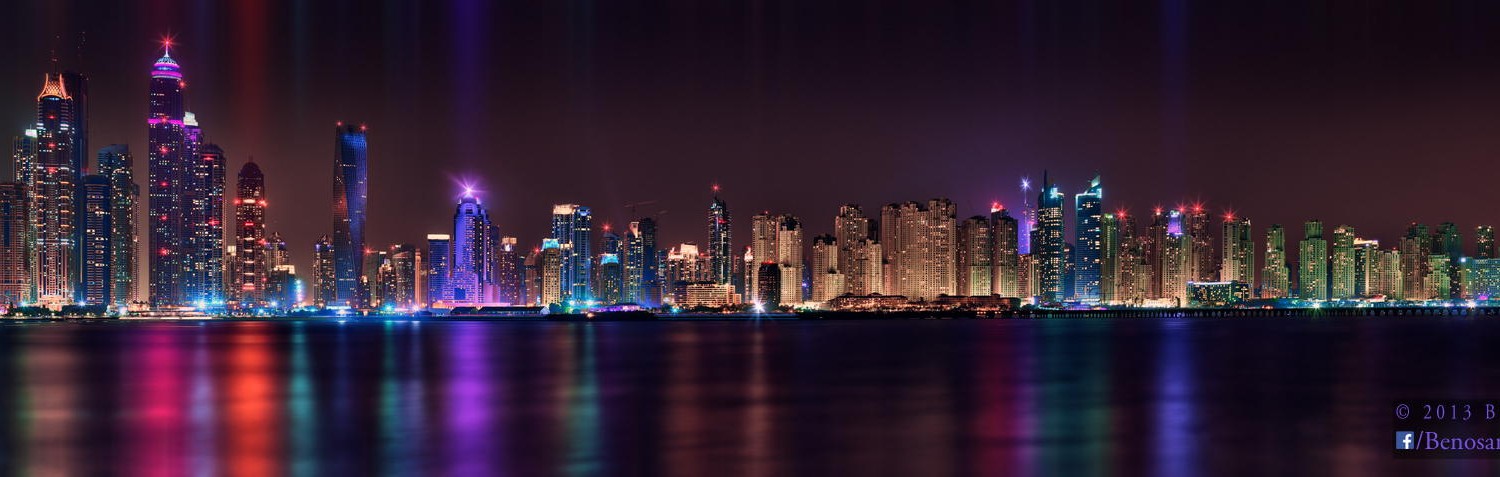
Fog in Dubai is very rare, but it’s an epic event when it happens. The city gets into the grip of a dense fog only 2-3 times in the whole year.
The Story
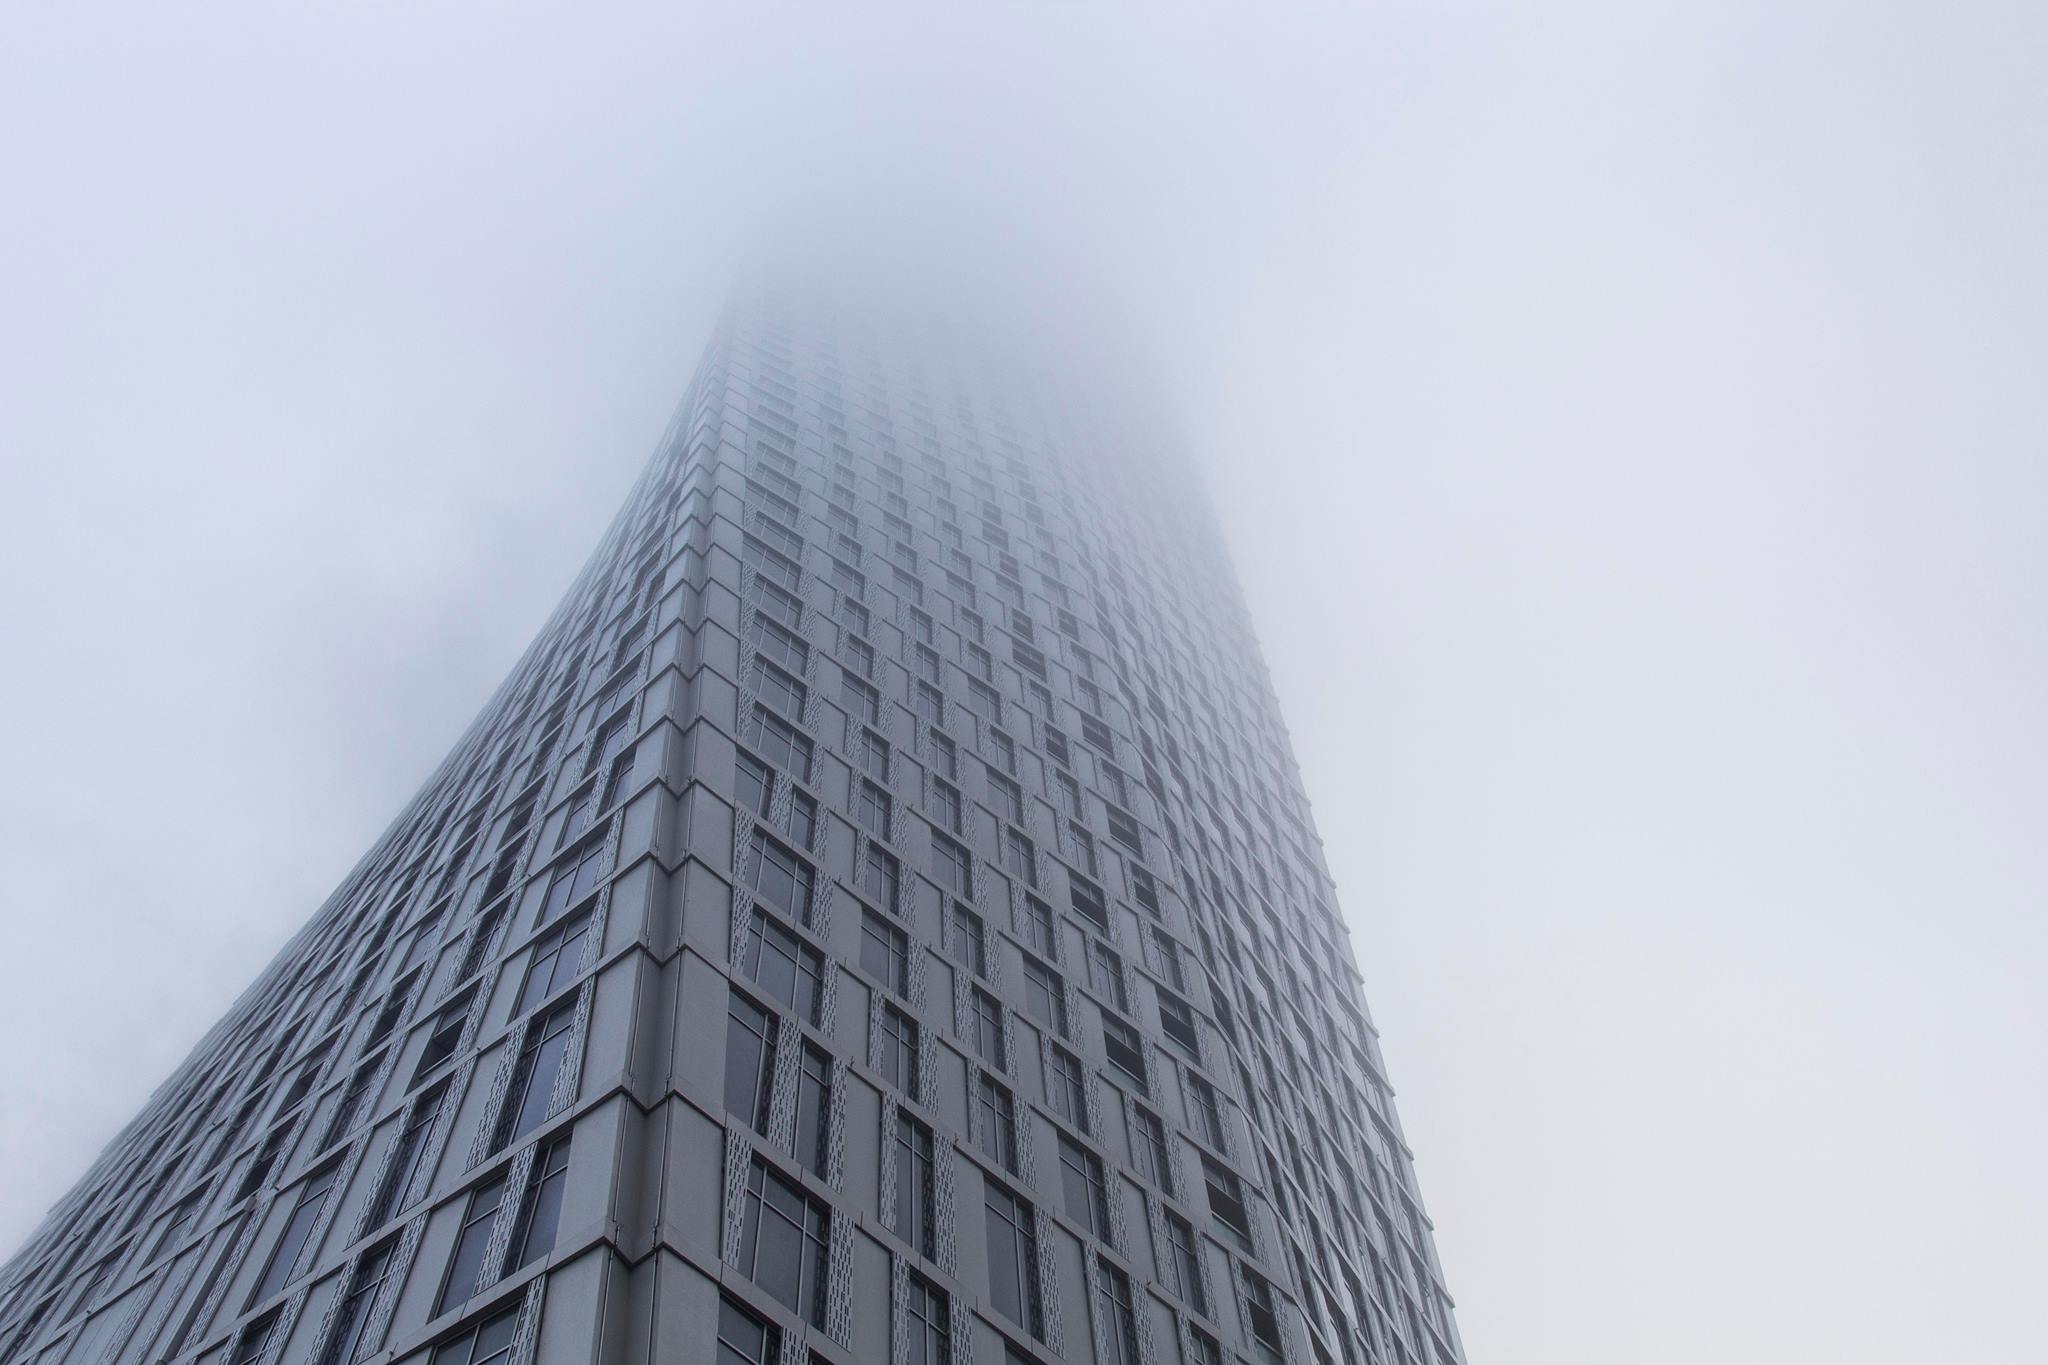
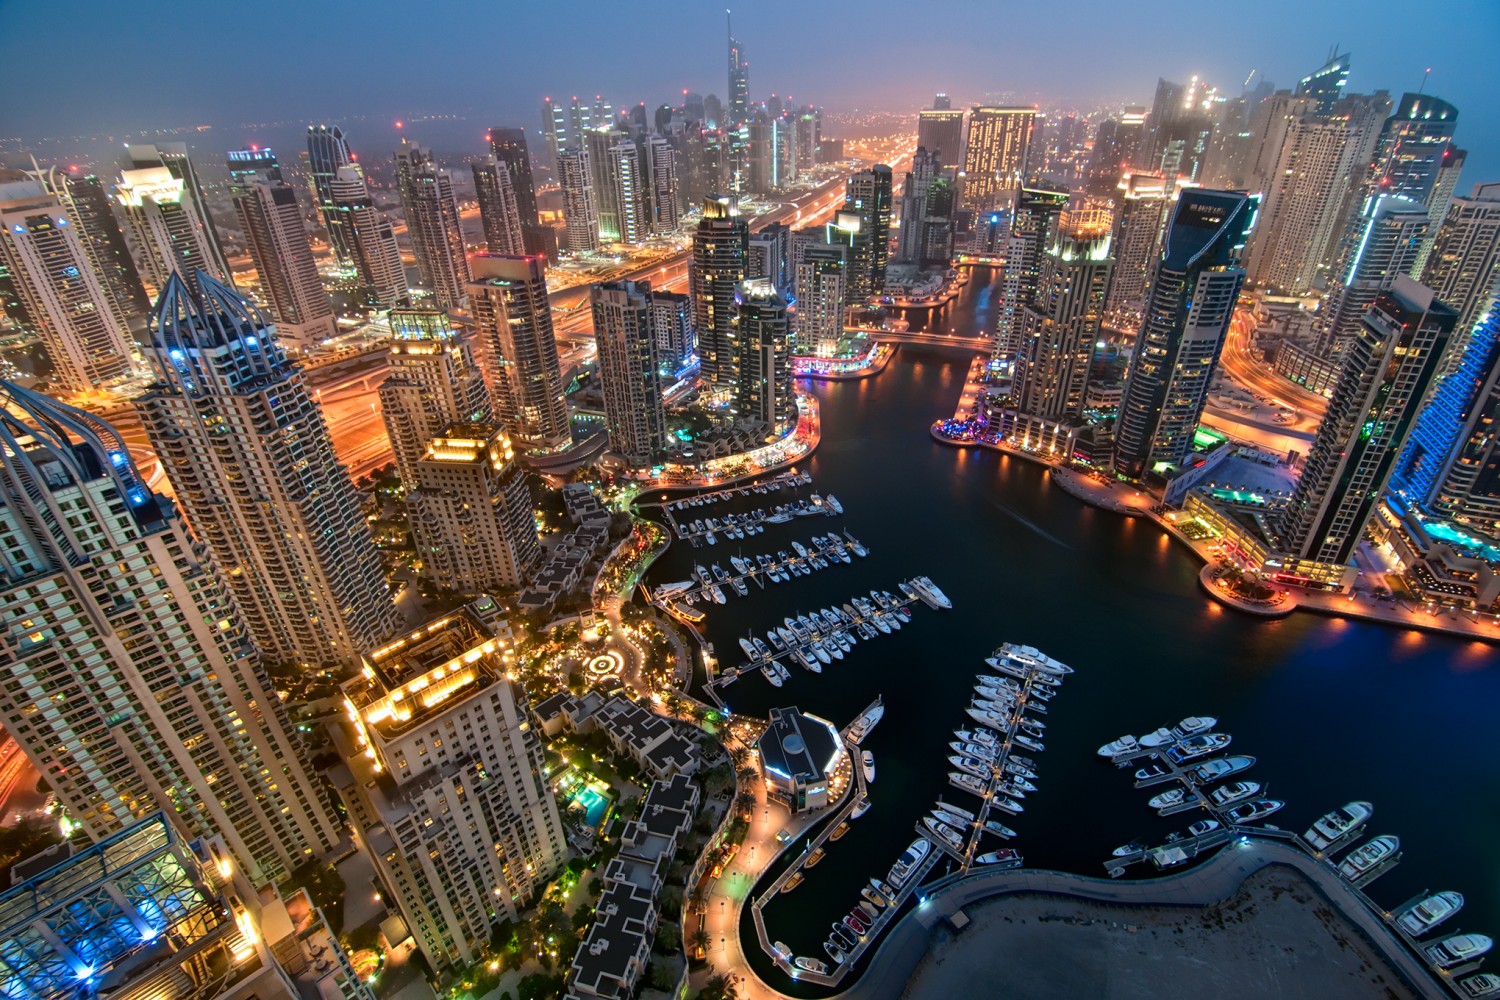
Dubai is surrounded by tall structures. Once you’re up there you can see the whole city, and the Dubai Marina is the best place to view the city from because this area has the tallest residential tower (101 floors), hotels, and the twisted tower — the tower from which I captured the above image.
Normally I am up till midnight because, this time of the year, if you want to see fog you have to be awake and follow the weather report into the night. You also need to keep an eye on your surrounding area; if the forecast says the night will be humid and there’s a chance of fog, you have to be ready to go out at a moments’ notice.
This very night, the forecast said there was a chance that the city would get fog, but right up until midnight there was no sign of it and I was ready to go to bed. My friend had called to say that visibility was bad on the highway, but after 30min the view still looked mostly unchanged to me, so I decided to go to sleep.
Suddenly, I woke up as my phone rang and, to my disbelief, the visibility was zero outside of my window.
I got ready ASAP and headed out (normally, all my gear stays in the car so I don’t forget anything when I’m in a hurry), but as I came out of my parking lot, I found driving was totally impossible as I was only able to see couple of meters in front of my car. Determined not to miss this opportunity, I soldiered on, and after missing a couple of exits I finally reached my destination.
Once I reached to the roof, the view was mesmerizing, and it took me a while to gather my thoughts and decide what I should do. Unfortunately, the fog level from this tower was very low, and I just wasn’t seeing what I wanted…
I decided to move to another place.
That place was Dubai Marina, and my decision was the right one. By the time I reached my vantage point, the fog level was high. I felt like I was standing on top of the world — the whole city was in grip of this massive layer of fog.
I positioned myself directly in front the roof fence. I got as close as possible to the fence (as far I could see it was only white fog) and took a couple of shots of the buildings that were visible above the fog, but those were clusters of buildings and the composition didn’t excite me as much.

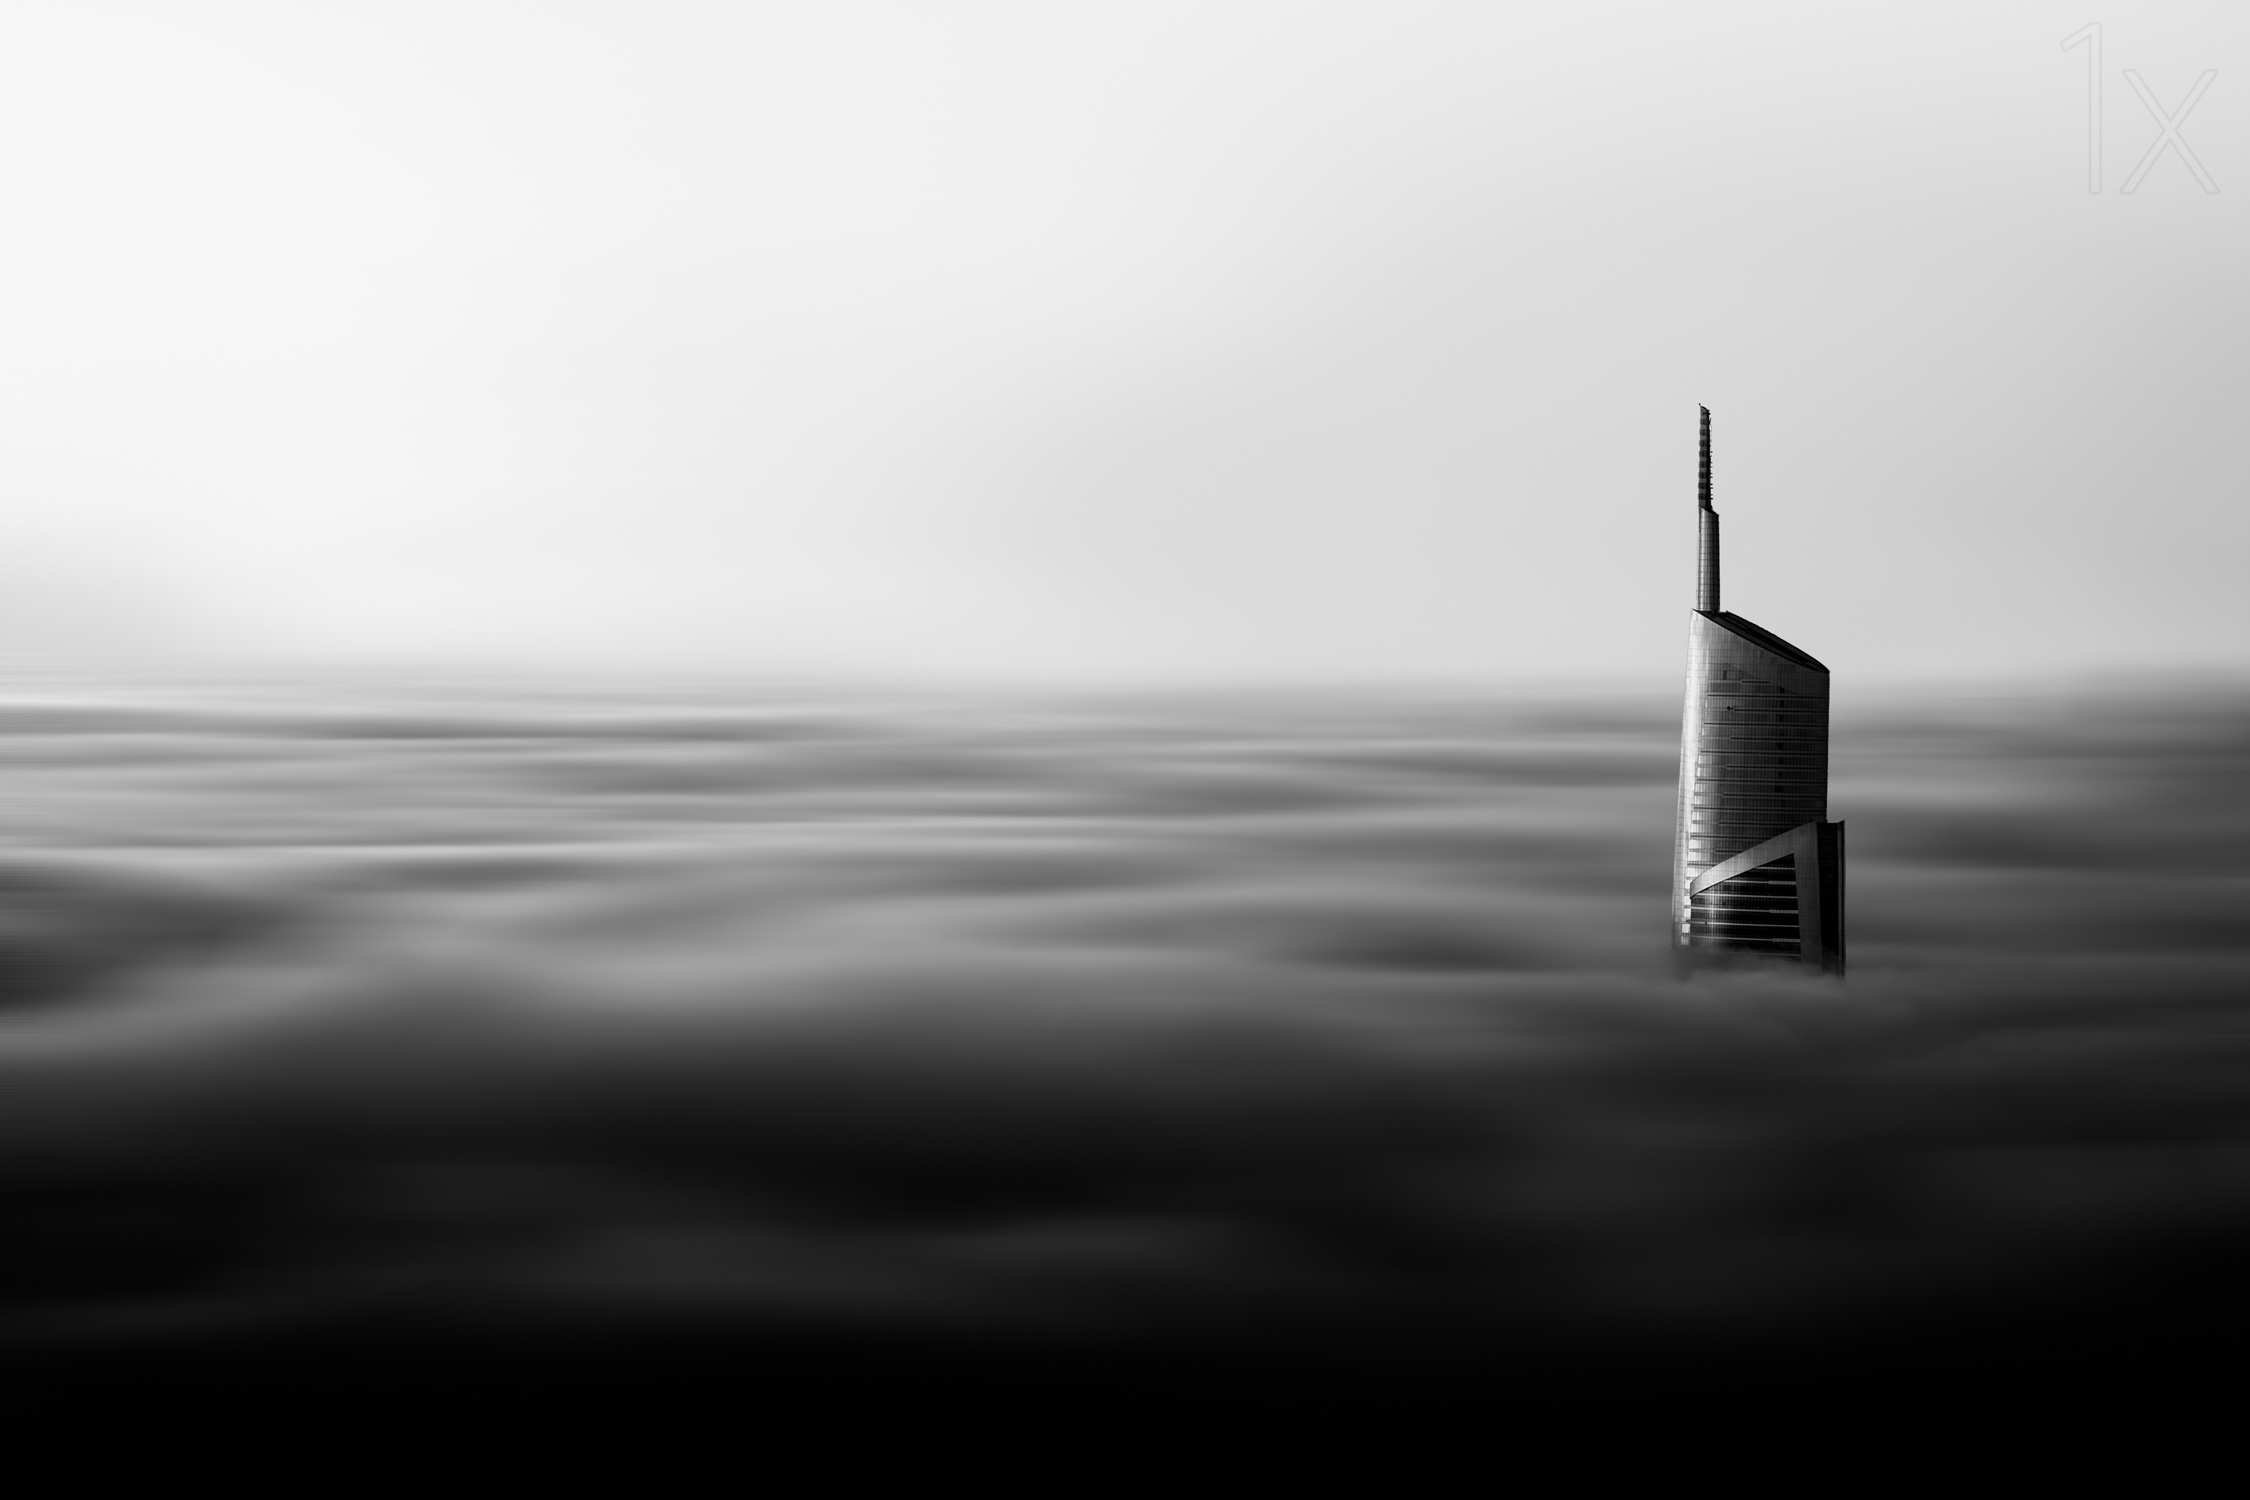
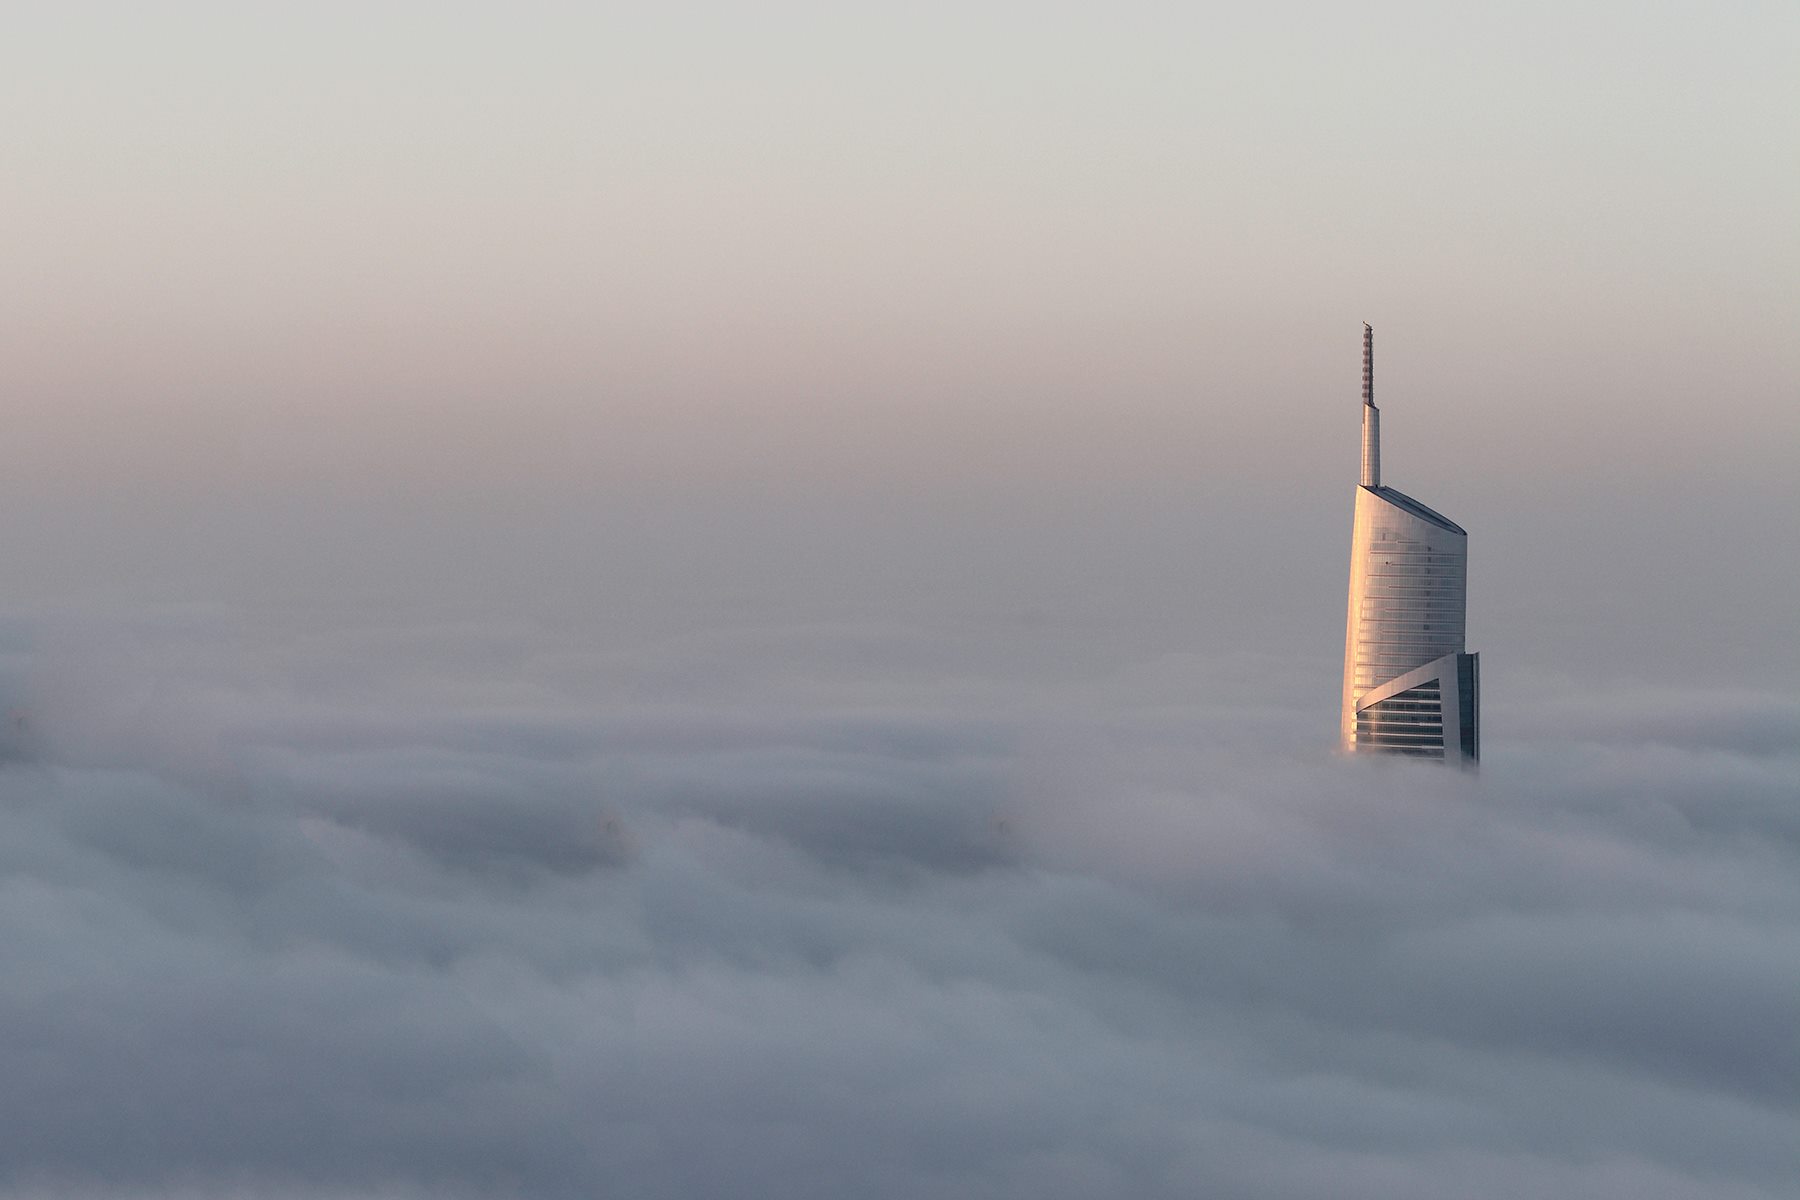
By this time the Sun came up, I decided to explore other sides of the roof and, suddenly, in distance, I saw this lonely tower poking out of the fog by itself.
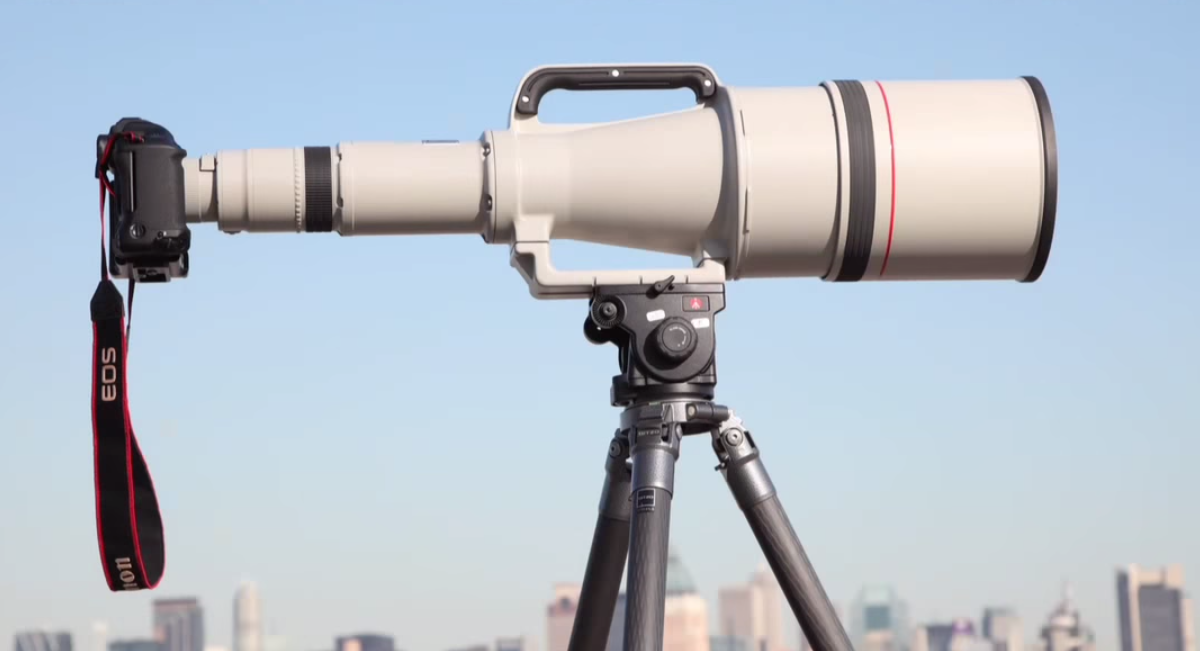
I quickly gathered my equipment and set up the camera, but the building was too far for a wide angle lens so I decided to switch to my zoom. Once I attached my 70-200, I found that only 200mm could capture a good shot, so zoomed in to 200mm and positioned my camera in a portrait format.
After a couple of clicks I realized I was taking very basic shots with the building in the center, so I decided to take a panorama and add the ND 500 filter to turn the shot into a long exposure. The first shot I took was a 90s exposure that captured a really pretty, dark kind of silhouette… so I doubled up the exposure to 180sec and finished it with three 90-second and three 180-second images.
Here is the final, unedited shot:
I particularly liked:
1. How this 1 structure was able to ‘survive’ this massive layer of fog, while the whole city slumbered beneath it.
2. A sense of emptiness & calmness in our busy life.
Post-Process
Normally my post-processing method starts by importing the Raw files to Adobe Lightroom. Here’s the workflow:
1. Once I import them, I do the lens correction so any aberrations will go away.
2. Then I move to basic adjustments: I tweak exposure, blacks, clarity, brightness, and contrast to give the image a little more visual punch — this should be done to your liking.
Once I applied all these adjustments to all 6 images I captured, I opened each set of 3 exposures in Adobe Photoshop using “merge to panorama in Photoshop.”
3. Once I open them in Photoshop, I got a pop up message asking me to blend these images together so:
- I kept the layout in auto
- Selected the option “Blend images together”
- Selected the option “Vignette removal”
- Selected the option “Geometric distortion correction”
- Clicked OK
I now had my landscape image: basically 3 portrait images made into 1 landscape image. By doing this, I increased the image resolution. I did the same with other set of three images and saved them in .tiff format.
4. Back in Lightroom I selected these two images and opened them in Photoshop using “open as layers in Photoshop”
5. I needed another low-key image to get the perfect shades from white to black, so once in Photoshop I switched to “Silver Efex Pro” to get my -2EV image.
6. Now I had 3 image +1EV for my highkey, 0EV for middle layer & -2EV for base layer.
7. I kept the high-key image on top and applied a mask to wipe out the extra highlights from the structure. This gave me a perfect look for the building.
8. Once this was done, I moved my -2EV image on top, added a mask on it, and used the gradient tool to wipe out the top dark part. The gradient tool gave me a perfect blending.
9. Once I was happy with the effect, I switched to “Color Efex Pro” to add little more contrast and sharpness to the image.
10. Then I moved to “Topaz Denoise” to remove the long-exposure noise from the image.
11. After all these steps, I finally saved the image in a different size as a JPEG to use in different places.
Before and After:
Hints
1. This kinds of shooting can’t happen with lots of planning, but it does require some knowledge about the weather format of the city and keeping a very close eye on the news. The rest is luck… sometimes you will get perfect weather to shoot this; other times you will get something that doesn’t suit your liking.
2. It’s better to keep your gear in the car so, if you’re ever in a hurry like I was this morning, you don’t forget any necessary items. It’s also better to keep backup batteries and memory cards on you at all times — once you’re far away from home, you don’t want to regret forgetting these small-but-crucial items.
3. You need to be quick and vigilant enough to make a decision if you are not happy where you are shooting from. Don’t try too hard to make it work; instead, think about whether or not you can get to another, better place to shoot from.
Leave a reply