About the Author: At 59 years old, successful business man and long-time photo lover Derrick Senior decided to spend the rest of his days pursuing his passion for photography—income be damned. He joined 500px, moved into a large studio, and began experimenting with high-speed dance photography.
To see more of his work, be sure to follow him on 500px, visit his portfolio, or check out a selection of his work in this 500px ISO spotlight.

Introduction
My father, now deceased, was a lifelong, highly passionate artist who loved photography and introduced his love of creativity to me and my siblings when we were quite young. He used to tell us often that he found sleeping an inconvenience that prevented him from using his creative energies every waking moment. I have spent most of my life building businesses and have come to realize that any monetary success I have had was largely due to this infectious approach to living.
I first became enamored with high-speed dance photography 12 years ago through a workshop I took with Lois Greenfield. We had the opportunity to watch as she shot high speed dance imagery and then immediately projected it on a large screen. From that day forward I have been enamored of high speed capture, especially the beauty of dance movement. Her amazing work can be seen here.
Unfortunately business interests at the time did not allow me to pick up my camera again until recently. Now, at 59, I have made the decision to spend the rest of my days fully engaged with photography and am learning and shooting on a full time basis – income be damned. My current goal is to create a “movement” portfolio that will one day attract widespread attention.
To this end I have moved into a large studio and after daily experimentation, have found flour to be a powerful vehicle to enhance high speed dance movements. I could not be happier in this environment, determined to create something unique every day.
Why High Speed? Why Flour?
In my life, high speed dance photography has come to mean capturing dance movements at 1/2000th of a second or higher. Ideally this is done NOT using the camera but using the flash units themselves. While this could be executed using high speed settings in camera, getting the flash to sync properly at these speeds is a challenge.
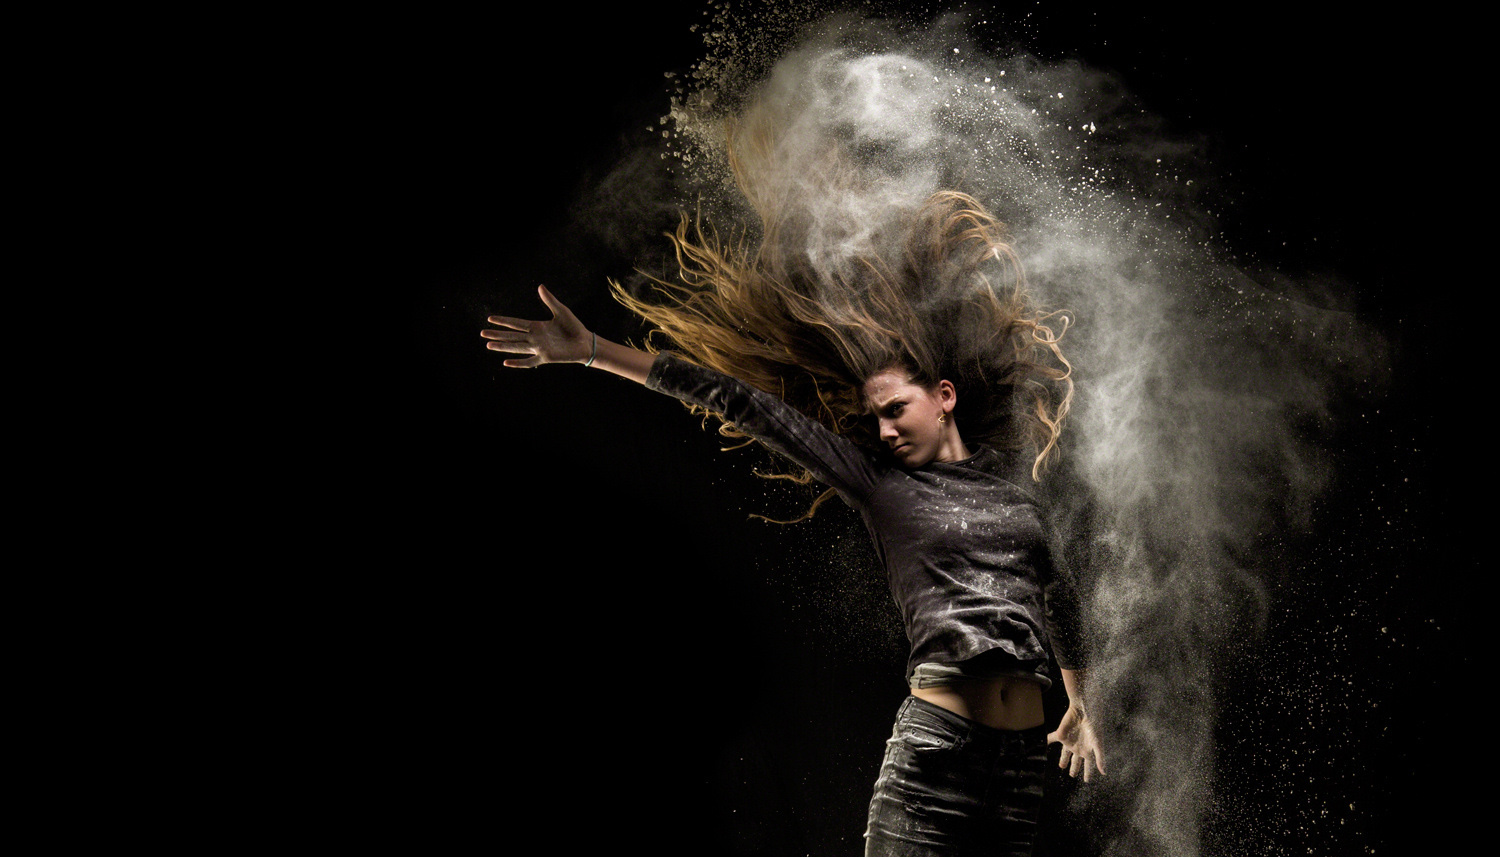
There is a unique dynamic quality to capturing movement and facial expressions at high speed. There is also a wonderful unpredictable quality to white unbleached flour; when frozen in mid air, it extends many movements and creates visually arresting images when properly executed.

There is a special quality to capturing both movement and flour at high speed. This was taken with a 135 lens, camera speed at 100, aperture of 11 and two flash units set to fire simultaneously at 1/2000th of a second.
Top 8 Tips for Your First Flour Dance Shoot
At a glance
1. Find and prepare the right space
2. Create a black background
3. Keep lighting simple
4. Use a tripod and prepare for the shoot
5. Get a remote shutter and flash trigger
6. Use a collaborative approach
7. Encourage authentic movement – work in “sequences”
8. Use minimal post-processing
1. Flour makes an unholy mess. Finding and preparing the right space
While taking flour shots indoors affords more control, experimenting with this type of photography outdoors during the day or at night may be the perfect way to become acquainted with these types of shots. The process can be simplified if you choose a location with two important characteristics: it should be a large space that is both easy to clean and can be lit with natural light or flash.
If outdoor shooting does not seem viable, then here are a few tips to working indoors:
- Find a space that is at least 12X12-feet, near a window or door.
- Use a large fan (in reverse) near the door or window for venting.[i]
- Put down a black tarp that conforms to your space.
- Use a brush and pan to clean up large amounts of flour, then use a damp mop to remove the rest.
- Flour will coat everything in the room. You can get inexpensive 3mil polyethylene at Amazon (below) or most hardware stores.
- I use King Arthur Flour white unbleached flour.
Materials:
- Large utility fan at Amazon from $49.99
- Black tarps at Amazon from $19.49
- Plastic Sheeting from $14.00
- Unbleached flour (5 lbs) from $3.98
2. Create a black background

In this shot, my daughter (and favorite model) stands 10 feet in front of a black muslin backdrop.
Through trial and error I have discovered that it’s possible to create a black background in almost any environment simply by pointing flash units strategically. Keep your key flash pointed down (or at a 45 degree angle away from the background) and voila!
Ideally you will want to cover your background using either a black tarp (see the photo above) or a backdrop. I have found inexpensive and durable backdrops from Prism work well for me. These have a built-in ¾ rod pocket for easy hanging from a backdrop stand. I suspend mine up using simple clips.
Materials:
- Prism 9X9 black muslin backdrop from $55.96
3. Preparing for the shoot. Use a tripod and long lens
While these shots could be taken hand held, I prefer using a heavy tripod. This provides a stable platform from which many successive shots can be taken. I use a Canon Mk3 with either a 135 or 85mm lens. These lenses tend to give my moving subjects a very nice perspective. I would recommend any lens 50MM or above.
Unfortunately, the longer the lens, the more space is required. One alternative of course is to use a shorter lens and/or shoot for something that is less than full body.
Here is my ideal checklist for the shoot:
- Use a tripod and set viewing area – I mark the floor with tape and have my camera low, about 2 feet off the ground. I have learned to take the time to make sure that the viewing area in camera is tightly locked in. Once set, I keep this setup for the entire shoot.
- Measure set for lighting exposure – I use an old Sekonic light meter. You could use your histogram.
- Adjust camera to match set – I’m usually at 100 ISO, 100 speed at F11
- My camera is set to Manual and RAW.
- I always set a custom white balance even though this could be done in post.
- I always use a manual focus to insure that shots go off on time; I then come back to the camera after every 10 shots or so and recalibrate focus.

4. Keep lighting simple
I use the same lighting and setup for nearly all of my flour shots. Up until a few years ago, high speed flash units were extremely expensive. I was lucky to find a Broncolor grafit flash pack (used) on ebay and it was a steal at $2000. After much research and hands on comparison, I have found that the new Einstein units from Paul C. Buff are quite reasonably priced and that they provide color-consistent light that can be remote controlled. I bought several of these and find the results comparable to the Broncolor.
Want to dig deeper? Here is an informative video comparison of high speed flash units that I found very interesting.
I typically use two Einstein’s set at 1/2000 of a second at a constant color of 5600k. These provide enough light that enable me to shoot at f11. One of these is in a 22” beauty dish with a 30 inch honeycomb grid approximately 15 feet above the center of the floor. The other is in a 36” softbox with a grid that is approximately 10 feet away from center.
I light the beauty dish at about f11 and the softbox at about f9 as fill. This lighting provides a very dramatic look. Keep in mind that it important to have any dance moves executed behind the center line and usually with the subject’s face pointed towards one of the lights. If you forget this step, you may create unwanted shadows.

This shot was taken using two lights
If you don’t have high speed flash units, then experiment with the units you have and/or use one or more on-camera units. These typically flash at incredibly high speeds – but you will need to open up your camera very wide.
Materials:
- Paul C Buff Einsteins from $499.95 a unit
- Paul C Buff 22’ beauty dish from $79.95 a unit
- Paul C Buff 30 inch honeycomb grid from $69.95 a unit
5. Use a remote shutter/flash release and (optionally) a CamRanger
I find that my best and most satisfying shots come as the result of co-created endeavors between me (the photographer) and my subject or model. Prior to every shoot, my subject and I spend time going over our goals. During the shoot, we continue to work together to improve every shot (see the section on collaborating below).
 In order to have this level of communication, the photographer must be able to move away from the camera by using a remote shutter and flash release. There are many remotes available and I have tried several including the pocket wizards (which are top rated).
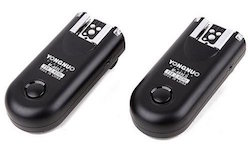
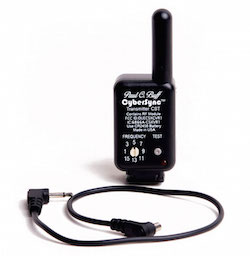 I have found Yongnuo units to be simple, highly reliable and cost effective at only $30 a set. I really love these tiny units as they use standard A batteries, seem to work at long distance, and easily fit inside my hand. These also accept the tiny Paul C Buff flash transmitter for the photographer who desires a seamless system.[ii]
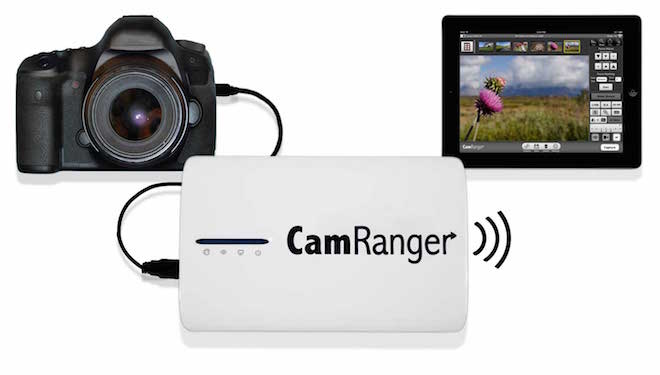
One other gadget I could not shoot without is the often praised CamRanger, a device which creates a wifi network and instantly beams every image to your phone, pad, or computer.
It even allows you to remotely change many of your camera settings. While none of these accessories are necessary, I have found them to be essential workflow items that promote collaboration, resulting in powerful imagery.
Materials:
- Yongnuo RF-603II 16ch Wireless Trigger from $30
- Paul C Buff Cybersinc flash transmitter from $59.95
- CamRanger wireless camera control from $300
6. Collaborate. Work with someone who enjoys being creative (and is in good shape)
I have found that my best shots come from a collaborative work environment that assumes my subjects are fully involved in the creative process. In my view, subjects in constant need of direction and who are also unwilling to fully engage in experimentation do not make ideal candidates. Typically I engage with my subjects by positioning myself near them for the duration of the shoot. I am able to stay separate from my camera through the use of remote triggers and a wireless system that allows both of us to review nearly every shot on a computer screen in real time.
Since most of my shoots last about two hours and produce hundreds of images, I have found any subject must be in great shape to sustain a level of constant activity. More importantly, since we are co-creating these images, it is critical that the subject gives 100% to the process and is able to enjoy the entire shoot. I always make sure to stock refreshments and play music they enjoy. Having a happy, motivated subject is critical, in my opinion, to a great outcome. All of this actually helps to relax the subject, bring out their best, and involve them fully in the creative process.
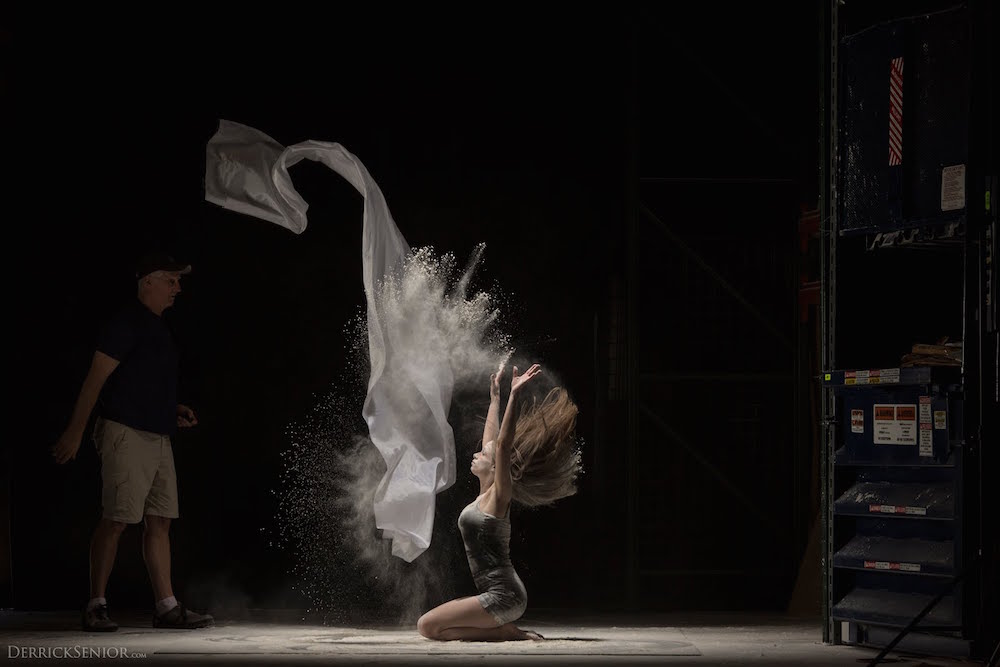
You can barely make me out, but here I am (at left) working with one of my subjects while tripping the shutter and lights remotely. Tripping the shutter at the right time is critical and takes some experimentation.
7. Encourage authentic movement – work in “sequences”
I have found that a relaxed subject (especially a seasoned dancer) will naturally create movements that are natural and unique enough to be potential keepers. In order to get there, we tend to isolate a certain gesture or movement and then work to repeat and improve it. I never shoot a static pose; instead I always encourage motion and action.
We look to make sure that their faces are well lit and that there is a natural flow and energy to the movement. It has to feel authentic and real. We then come back to the monitor after several takes and discuss ways to improve the shot. Once we are close to a good result, we apply the flour, which is usually placed in some combination of their hands and hair.
I call a certain dance move a “sequence”; we continue working on a specific sequence to create a final keeper. It is always tempting to deviate and move onto something else as particular sequences may feel forced and not generate satisfying shots. But most of the time, we come up with something that just works.
I can think of no better feeling than working on a sequence together, which may last 30 or more shots and then finally creating a keeper shot which unfolds naturally on the monitor before us. Often we will both come to the same realization around a shot at the same time, that we nailed it after a series of many takes. I find this collaborative approach always seems to work out—as if by magic.

I never come into a shoot knowing exactly what we will do and have faith that we have created the perfect environment for a successful “accident” to materialize. This to me defines my creative process.
8. Use post-processing minimally
While most of my shots require some post-processing work, I try to keep this to a minimum. Most changes I make are when I am developing images from raw to .Psd or Jpegs in Photoshop. Usually I will increase clarity and sharpen slightly. Once the images are selected, most of the editing work includes cropping, contrast, and small touch ups as needed. I find that the quality provided by the high-speed flash and how it interacts with movement and flour speaks for itself.
I would encourage you to try this using equipment you already have.
Should you have any questions or would like to know more about my process, please contact me at dwsenior@gmail.com. I would be happy to respond to all inquiries. You can also learn more about my work on 500px and/or at www.derricksenior.com.
Now go make a mess and enjoy it!
[i] Hazard Warning: Flour may combust or explode under certain conditions, especially when dispersed in the air. Ever cautious, I turn off the modeling lights and cover the backs of my two flash units tightly with a fine cloth. I also insure the area has a large exhaust fan running at all times and avoid throwing flour directly into any lights. I find that using a fan quickly vents the area. Please inform yourself and exercise caution.
[ii] Note that you will need two sets of the Yongnuo (three individual units – they are all the same and act as transmitter and receiver) to trip both your camera and the flash units remotely.


Leave a reply