Jimmy Mcintyre is a travel photographer, educator, and 500px ISO contributor. His photos have been published in local and national magazines, including the BBC. His online courses on digital blending and post-processing can be found in his official website. You can also check out the rest of his tutorials on 500px ISO here. In this tutorial, Jimmy shares his expert tips for capturing tack sharp photographs in-camera and in post-processing. Read on!
Every photographer knows the importance of capturing nicely-sharp images. From Newer lenses to cameras with better shake-reduction gizmos to sturdier tripods—our technology is advancing so that we may continue to capture consistently crisp images across all conditions.
Below are 15 tips I’ve found useful for minimizing the possibility of returning home with blurry images that may not live up to your high expectations. These tips are geared towards landscape and cityscape photographers, but can benefit anyone lucky enough to participate in the wonderful world of digital photography.
The article is split into two sections: one for getting it right in-camera and the other is for increasing sharpness in post-processing.
Getting Sharp Pictures In-Camera
1. Use manual focus. While the auto-focus in our cameras and lenses are often superb, nothing will get you consistently sharp images than manual focusing—even in low light. The great thing is that it is also very easy to do. Switch from using your View Finder to using Live View. Then find the magnifying button on your camera. By pressing this, you will zoom into a selected area of the scene. Once you have switched to manual focus, simply adjust the focus ring until the details sharpen. Now zoom out. That’s it!
2. Mirror lock up. When we take a photo, the mirror in our DSLRs slap up and down to let light into the sensor. This movement can shake the camera very slightly, which especially in longer exposures, can create a blurry image. Fortunately, if you’re already in Live View this will lock the mirror up during shooting (for most cameras, but not all). On some cameras, the mirror still slaps down when using Live View. In which case, visit the in-camera menu and look for the mirror lock up option.
Additional Resource:
- The Best Cameras Lenses For Different Styles Of Photography
3.Clean lens. Before and during every shoot, it is vital that we keep our lenses clean. Any dust or smudges can not only soften images, but can distort light and colors depending on the scene. Keep tissues handy. If you’d like to use a cleaning fluid, try to dilute the fluid with maybe 5 parts water and 1 part solution. Then spray the fluid on to the tissue and not the lens itself.
4. Use a tripod or other sturdy surface. This point really goes without saying. Handheld shots won’t get you the sharpest possible image, especially in lower light situations. It is also wise to invest in a good tripod. Cheap tripods typically fall to pieces very quickly, and don’t offer a great deal of sturdiness. If you don’t have the money for an expensive carbon-fiber tripod, consider something like a Benro travel tripod, which is a little bit cheaper and great quality. (P.S. I don’t work for Benro, but I often choose my Benro tripod over my Manfrotto, as a lighter, smaller alternative)
5. Block wind. Windy weather can knock your tripod, leaving your images blurry. If possible, use your body to block in-coming wind.
6. Weigh down your tripod. Use a remote or timer. Use your camera bag to weigh the tripod down and make it more sturdy. Most tripods have a handy hook just for this purpose. To reduce shake, always use a remote, or set your mode to timer.
7. Get closer, and use a shorter focal length and lens. This tip is hit and miss. When we use longer focal lengths, every tiny camera shake can seem like an earthquake. The shorter the focal length, the weaker the impact of camera shake on our images. However, we all know that composition comes first in photography. By changing focal lengths, we may change our composition, which may not be desirable.
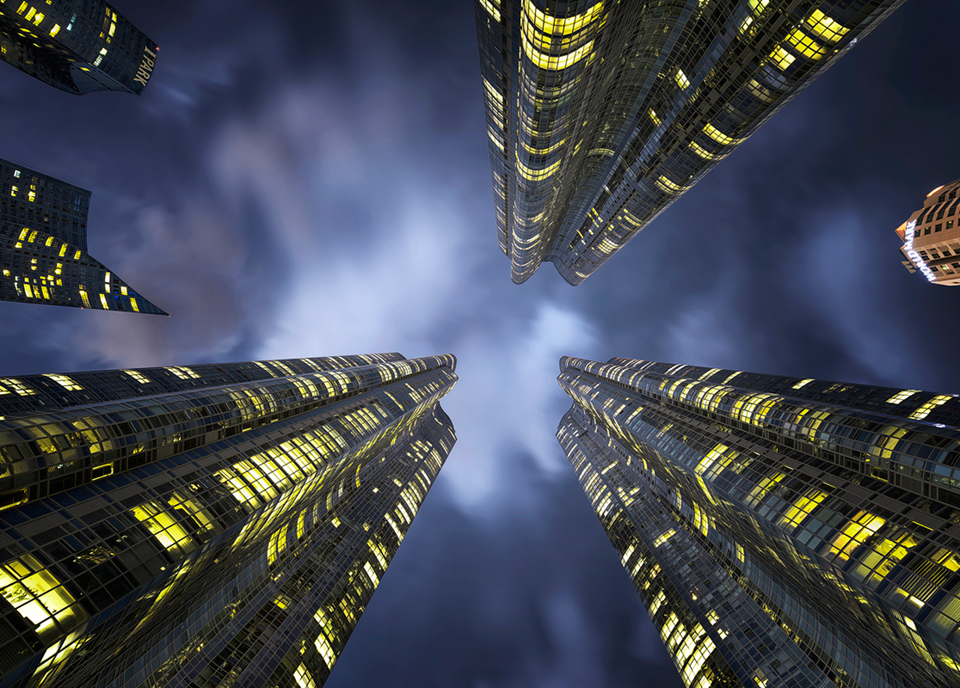
8. Don’t go too wide. Counter to the previous point, some wide angle lenses soften around the edges if we go too wide. It’s important to be aware of your lens’ performance. Some photographers manually focus closer to the edges rather than on central points, in order to avoid this.
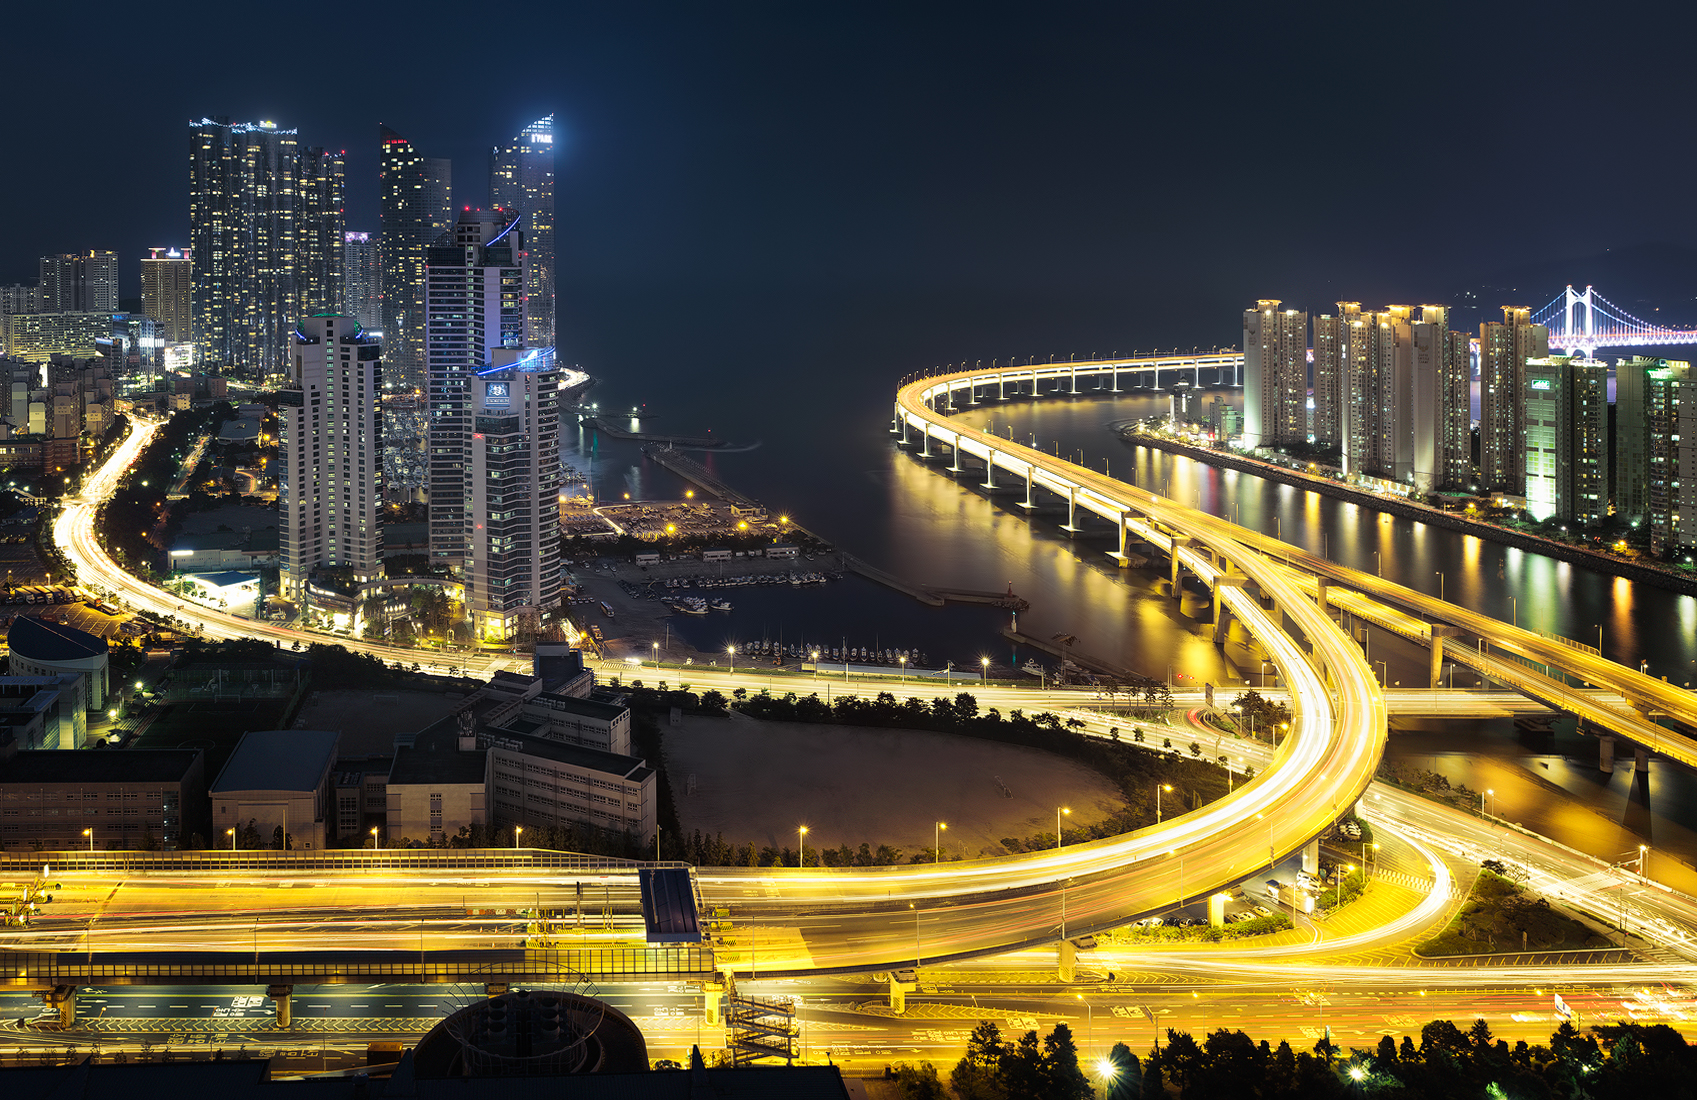
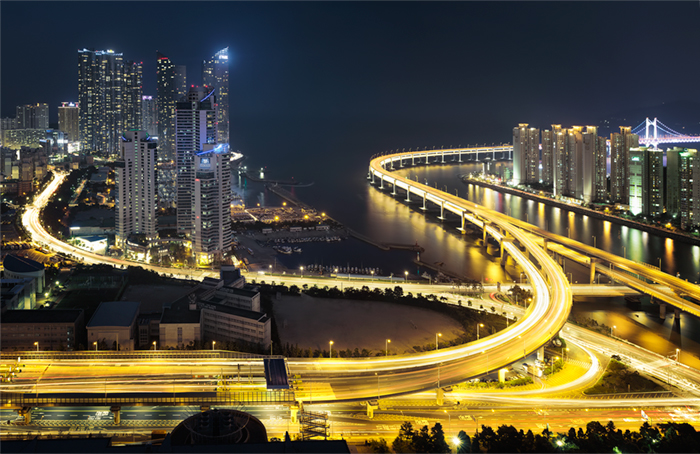
If you must go wide to capture the entire scene, another method which is very effective is to create a vertical panorama instead. Flip your camera on its side portrait-style, increase your focal distance, and take two or three images side-by-side, which you will later stitch in Photoshop or some similar software. By shooting at a longer focal distance, you will not only reduce edge blur, you also have the added benefit of reducing barrel distortion!
The image below is a three-tiled vertical panorama, comprised of 21 exposures (half of which were for the light trails) that were blended using luminosity masks. To learn more about luminosity masks, see: http://iso.500px.com/luminosity-masks-in-digital-blending.
For blending light trails easily, see: http://iso.500px.com/cityscape-night-photography-tips
9. Keep your ISO low. While we can compensate for low light by raising our ISO, we will also introduce noise which will soften our image. It is far better to widen our aperture (smaller number) to maintain a sharper image.
10. Aperture. Most photographers seem to agree that shooting between f/5 and f/10 will produce the best results, regardless of lens. Smaller apertures (larger F number) can soften the image and cause diffraction. On the other hand, Large apertures will reduce your depth of field, leaving some parts less in focus than others.
It is also wise to know the limits of your lens. For example, I have two main lenses for my Nikon D800. The Nikkor 14-24mm f/2.8 is a very sharp lens throughout. However, the Sigma 24-70mm f/2.8 that I use softens slightly at f/2.8. So to compensate in low light, I raise the ISO slightly and choose a smaller aperture.
Getting Sharp Pictures in Post-Processing
11. Start manually blending your exposures. If you’ve gotten it right in-camera, nothing will allow your images to retain their natural sharpness like manually blending exposures. Most HDR software will soften your pixels and exaggerate noise. Some even over-sharpen your images. Digital blending techniques don’t alter your original files at all, so both sharpness and noise remain unchanged. For an easy-to-follow tutorial on 4 digital blending methods, see: http://iso.500px.com/digital-blending-tutorial-creating-clean-natural-hdr-images
12. Use sharpening tools. Photoshop has an array of very good sharpening tools, like Unsharp Mask and Smart Sharpen. Probably the best of these is High Pass Sharpen filter. You can download my free High Pass Sharpen Filter action, and many other actions, from my blog: Photoshop Actions
13. Sharpen your image selectively. While sharpening tools can do a great job, it is often beneficial to be selective about what you sharpen. For example, it is unnecessary to sharpen clouds or water, because they are supposed to be soft. You may also see white edging around objects that are over-sharpened. In these situations, it is better to do your sharpening on a separate layer so that you can mask out unwanted changes.
14. Remove noise selectively. Just as with sharpening selectively, it is imperative that if we need to remove noise, we do so selectively. Any noise removal process will result in a loss of detail. That is unavoidable. But if we remove noise on a separate layer, we can mask out textured areas and other areas that have become needlessly softened.
15. Sharpen extra for Facebook. Facebook famously compresses our images to next to nothing, leaving them with nasty banding and soft details sometimes. To retain some sharpness after you’ve reduced your image size for the web (I typically use 960px wide), go to Filter>Sharpen>Smart Sharpen. In the dialogue, put Amount to 500%, and Radius to 0.1 or 0.2. Then press OK. Do this on a duplicate layer. If there’s any edging or looks too sharp, then reduce the opacity of the sharpened layer and mask out any overly-affected areas.
As always, I hope you’ve found the tips and ideas in this article useful. If you have any tips of your own for fellow readers, please feel free to leave them in the comments box below.
I’m always happy to connect with other photographers! You can visit me through the links below:
My website
My Facebook page
My photography newsletter – Including Free Actions—sign up now!


Leave a reply