
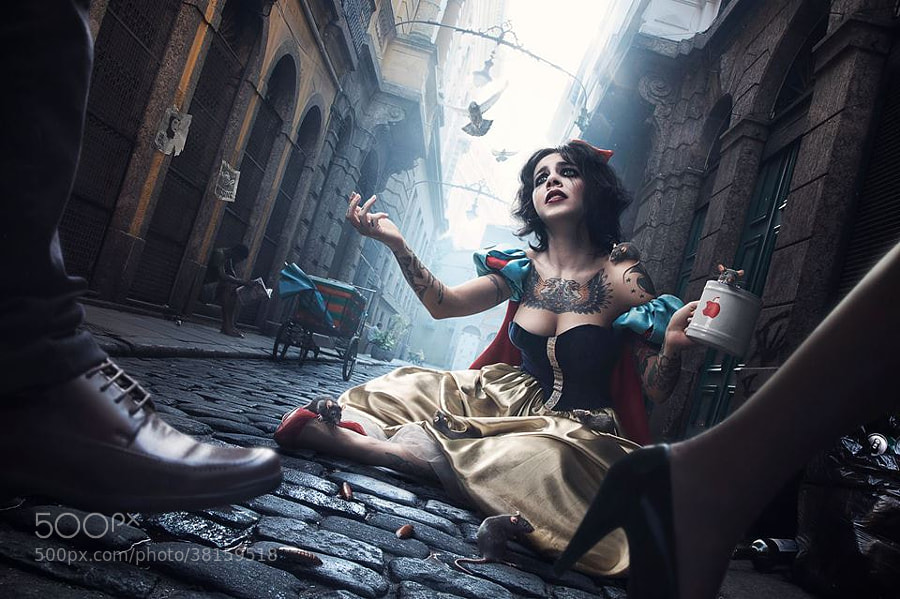
In this tutorial, Fernando Filho shares with us the story of how he created his “Huger White” photo, revealing his process—from composing to location scouting to equipment details. Let’s find out how this dark reimagining of fairytale heroine Snow White was envisioned and photographed.

Introduction
I was invited by Milton Menezes, a creative retoucher of the Lightfarm Studios, to make a photographic version of an illustration by Renan Porto. The theme felt current, well composed and with much detail and movement. It is beautiful and at the same time it has a dark atmosphere and decay of the character and symbolism. Once we were done with the image it turned from one time project into a series of images that continued the general theme.
How To
There is no formula or rules to make staged images like this. Each photo has its own challenges and a way of creating it. I can only share with you how I photographed this image step by step:
Step 1: Inspiration
Here is the illustration, which is the image source. After I saw it, I started thinking how I can shoot it. I decided to shoot the model at the studio and then the location separately. This way I would have more control, privacy and security to work with the light, model and animals.

Step 2: Getting the light and angle right
After scouting and finding the right location I started to work with the light. I tested to see how it works on location. I shot the location horizontally and vertically, made panoramas, bracketed the exposition, etc. My goal was to get the details of the highlights and shadows with smallest aperture while obtaining maximum DOF (depth of field). Then I started to try test shooting with a friend on location, as a reference model. My goal was to reproduce the light and perspective of the Snow White, which I earlier captured in the studio. Here is one of the shots:

Step 3: Details
Then I have set out to photograph the details. I have photographed the feet of the passersby separately (thinking I’ll add them in a photo montage), shooting each on another street along with the ground. Matching the illustration as much as I can.


The next day I shot the model in the same way — getting the same perspective, focus, trying to reproduce the light, ambience, reflections, colors. Replicating the location and studio light and details. Photographing the model alone in order to achieve the expression and pose that I needed. After getting the expression right I duplicated the shot but this time with the animals.

I finished the photo-shoot with separate shots of the animals in studio. Adding the ground and the street in post-processing.
Composing
When I saw the concept, I thought that it is better to photograph the model in the studio and then add in the location in the post-processing. The final image is a composition of 3 shots: the main location (that you see on the background with the buildings), the model in the studio (with the animals), and image of the ground with two feet of the people passing by at the front.

Equipment
For this image I used a Canon 5DM2 with a 24-105mm lens, tethered with a Macbookpro and Capture One pro. The light on the model’s face was a small photoflex softbox with grid in a head powered by one speedotron 1200ws pack and from above and behind de model, 2 photek umbrellas with diffusers to simulate the lighting of the location, powered by an atek (brazilian brand) 2400ws pack.
I put the model in a studio all covered in grey background paper. For the location shots, I used just the camera with the same lens and tripod with only a white reflector for the feet.

Challenges
The biggest challenge was to aim and match the illustration in most perfect way possible. The aspect of reproducing the narrow street and location with the right angle was a struggle.
Shooting the rats and cockroaches was easy and funny, because they were clean. We got all the animals and insects from Petsilvestre — specialized professionals, and the model was feeling conformable working with them. The dress that we got was different too (not matching the illustration), I had to take 2 shots to compose the dress later to look like the illustration.


Model Casting
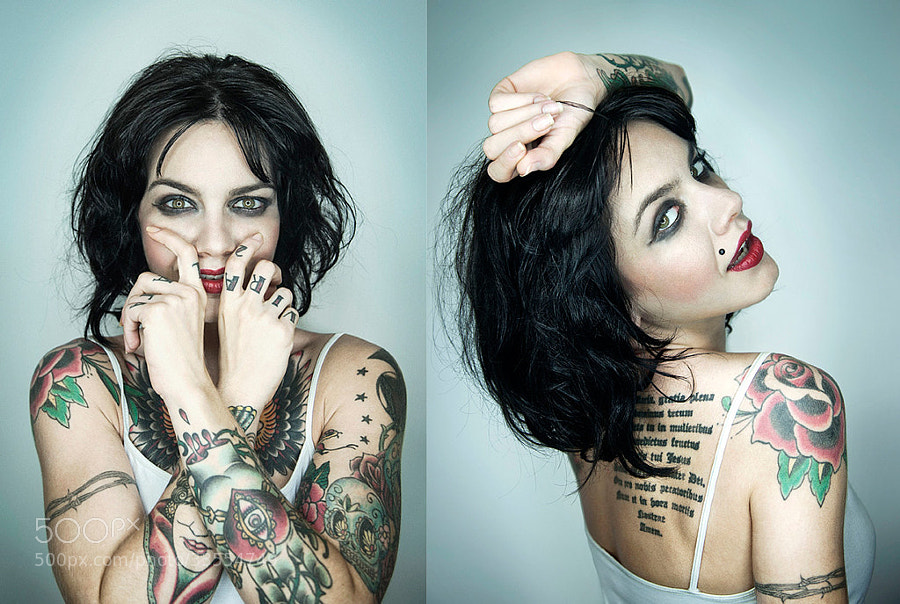
There was no casting in this project, the model was Soraya Marx a friend of the team. In this case we were looking for a model with a very specific underground look and as it is a personal project we could invite people and friends to participate. When working commercially, generally, you deal with model agencies and producers.
Post-processing Tips
I do not do any post work. I always demand on it and prefer to work with a team. This time I worked with a long time friend, a creative retoucher Milton Menezes who works at the Lightfarm Studios in New Zealand and was who invited me to shoot this photograph. So I asked him this question instead and this is what he wrote to me about his job:
“Unfortunately, there’s no plugin or magical tricks in Photoshop. The best creative retoucher I know is not a shortcut master or a Photoshop wizard.
“One cool tip would be about playing around with RAW pictures before even opening the file. Raw pictures give you 32 bits to play with exposure among other things. It’s essential to understand what the image needs in order to achieve a pleasant result which is totally subjective. I love to separate every little substantial bit of the image in layers so I can give proper attention to every detail. Like photographers usually need to shoot different exposures and light situations, the creative retoucher needs to think the image in layers so as a whole.
“It helps to work in greyscale for a while to get the best contrast curves, or to zoom out quite a bit in order to visualize the image as a whole. You don’t need a bag full of tricks when the thinking is right. Making an image relates to idea, light, the view and the viewer. In this case we followed the beautiful illustration of Renan Porto to start with.
“Any form of sketch always helps yourself and others to picture how the idea works outside your head. We had a great team of long time friends from the producer Helena Lopes, to Fernando Filho shooting beautifully everything we needed, to Andrea Mafer doing the costume, hair and make-up, to the beautiful Soraya Marx as Snow White, so then to myself being responsible to put everyone together and give to the image the feeling it needs. Work with friends never feels like work and the energy goes along with the image.
“Post production deals with compositing the best bits of every available shot and integrate all of them in one single image. It’s mostly not about faking it but to seek for the true beauty in every detail while staying closer to reality as possible.
“It involves color palette, contrast levels and style. It all comes down to personality and to not be afraid of being different. Different is rare and unique. Different is what people expect from artists. So as a creative retoucher, I try to understand the rules of what makes a good image and sometimes I don’t mind breaking them. I appreciate references and other artists. You learn a lot from observing the world around you than from locking your eyes on the screen. Understanding what other artists did before you and why it worked for them is a huge time saver. So then be true to yourself and find your own way of expression.
“Art is a tool of expression. Writers will do with words and musicians with notes. Singers with voice and painters with the brush. Does not matter the tool so much but how you will send a message with the tool you choose. What message you want to send and why? How you are going to do it is about working hard. There are no magic wands. Sorry! The real trick is hidden within your eyes.”
– Milton Menezes | Creative Retoucher at Lightfarm Studios New Zealand.
Thanks to Fernando and Milton for sharing their tips and expertise! We hope this tutorial inspires you to try out something new and have fun.
To see more of Fernando’s work, check out his 500px page, Facebook and website.


Leave a reply