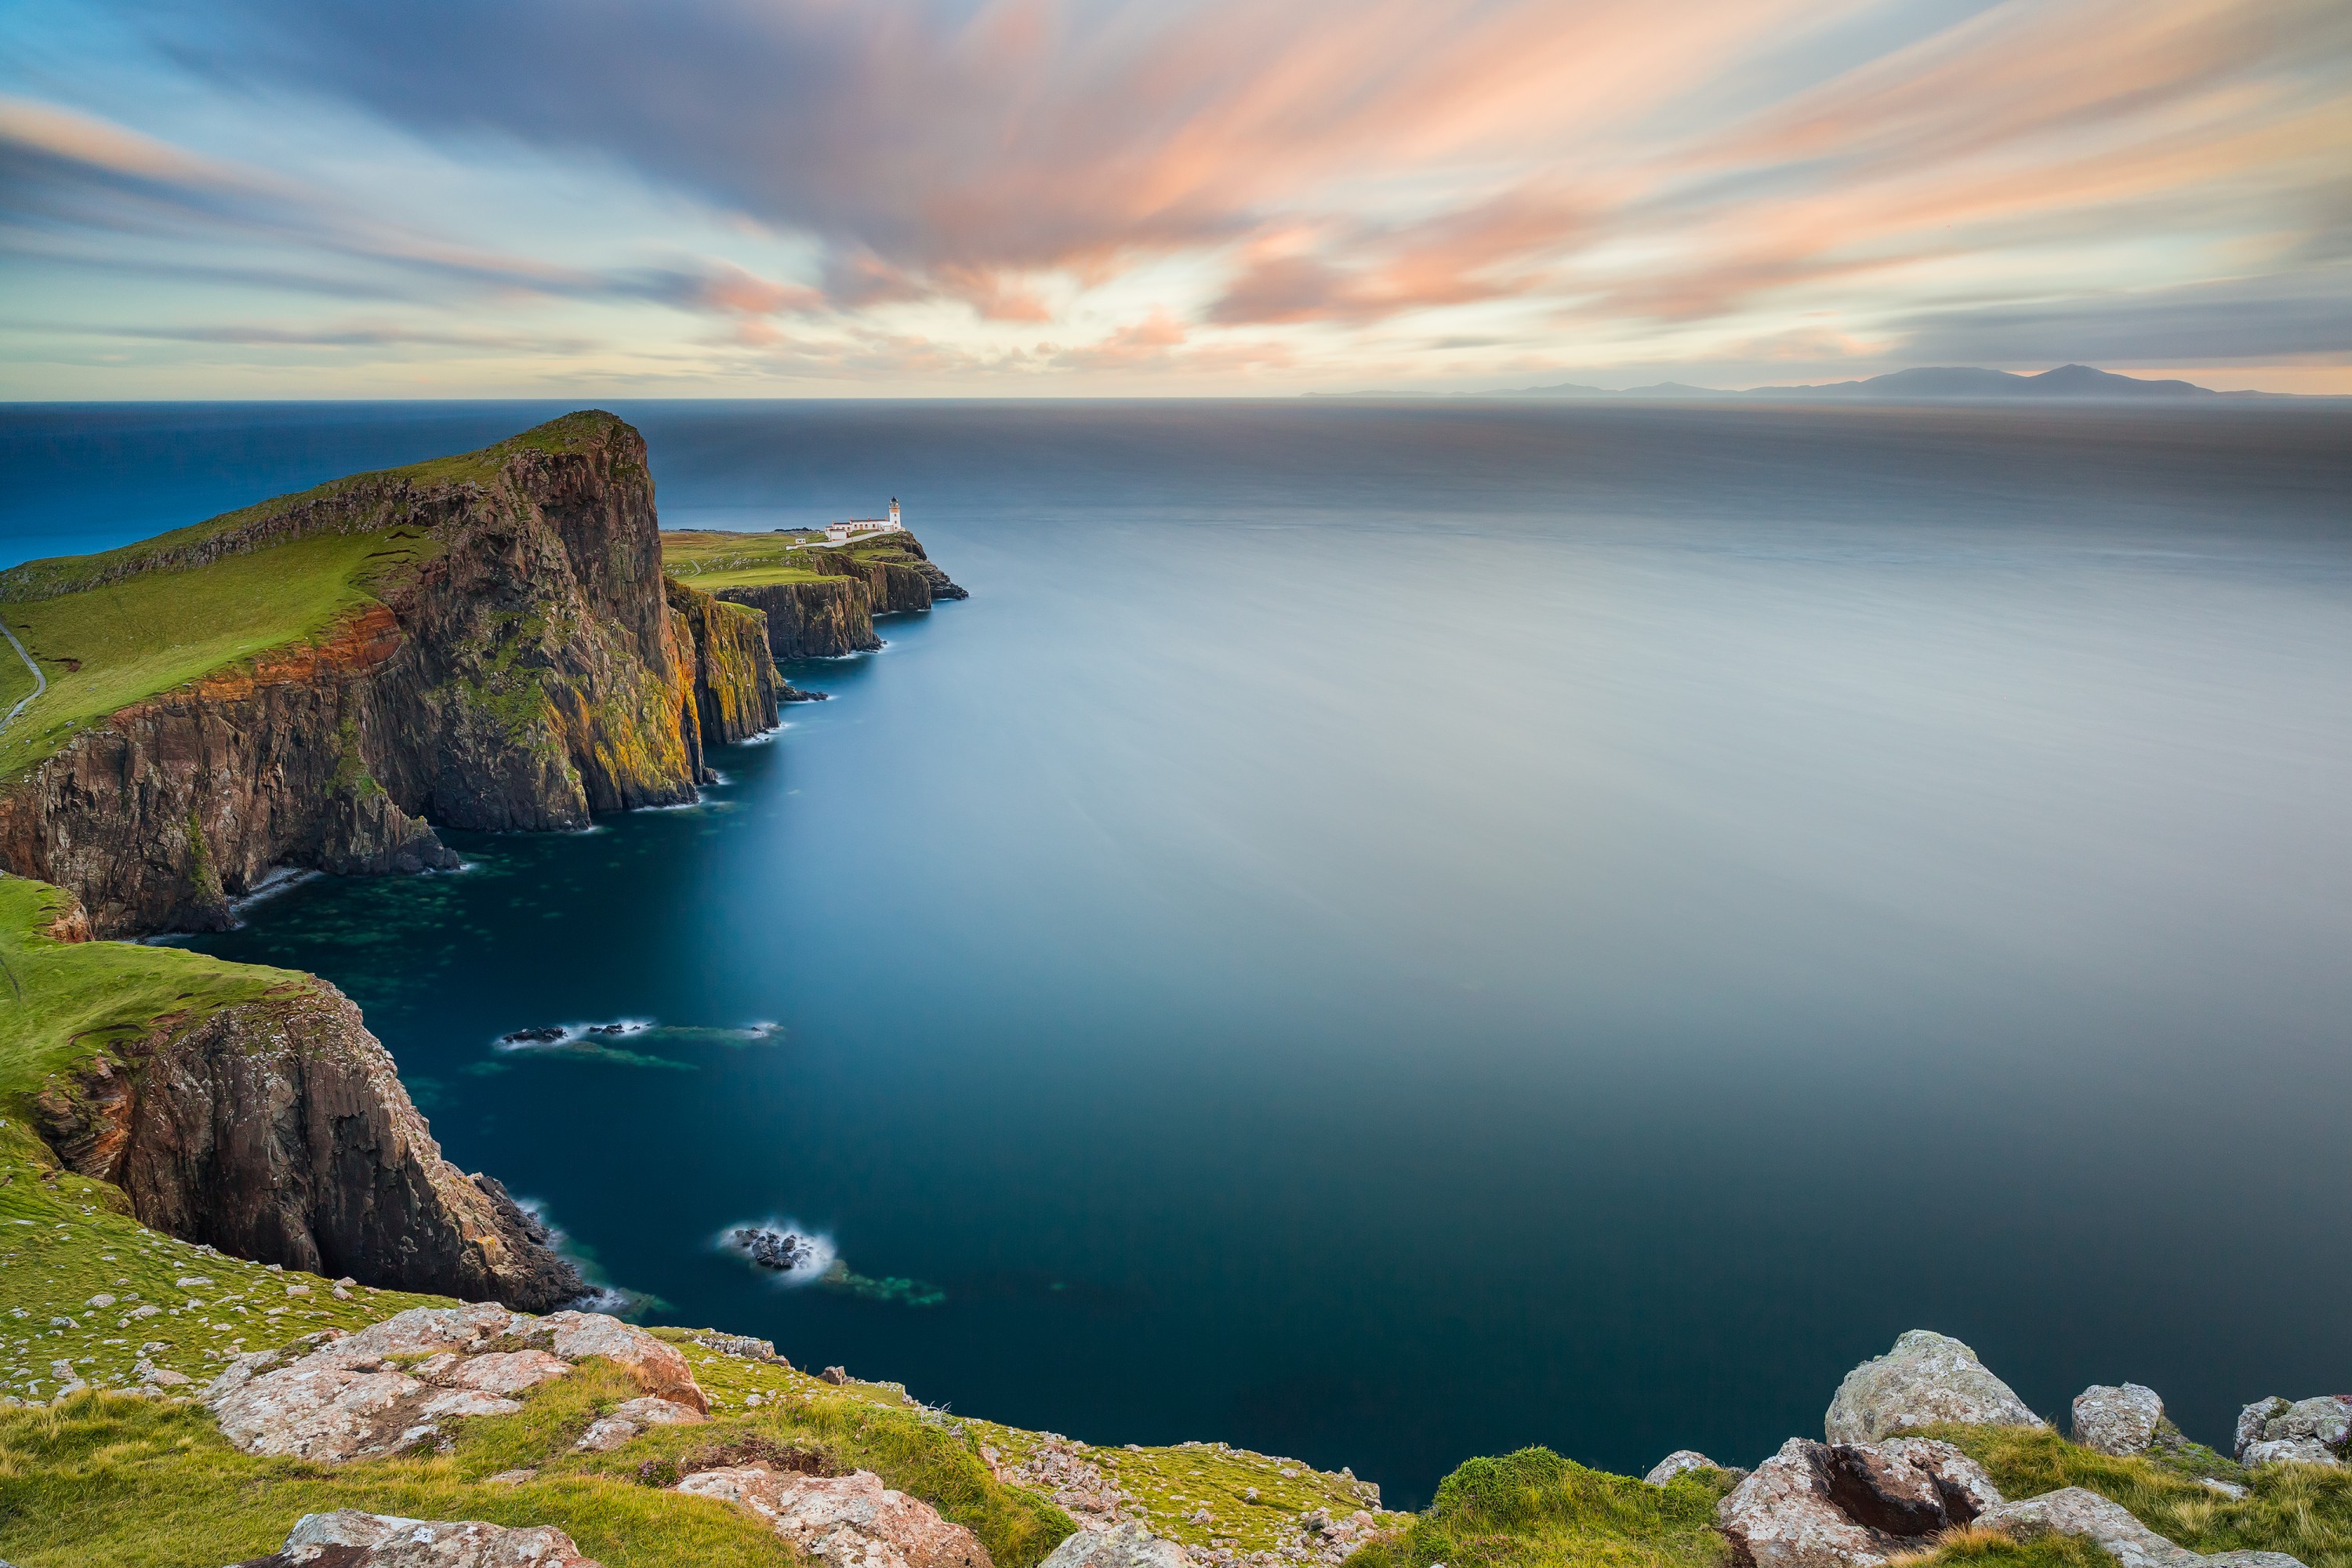
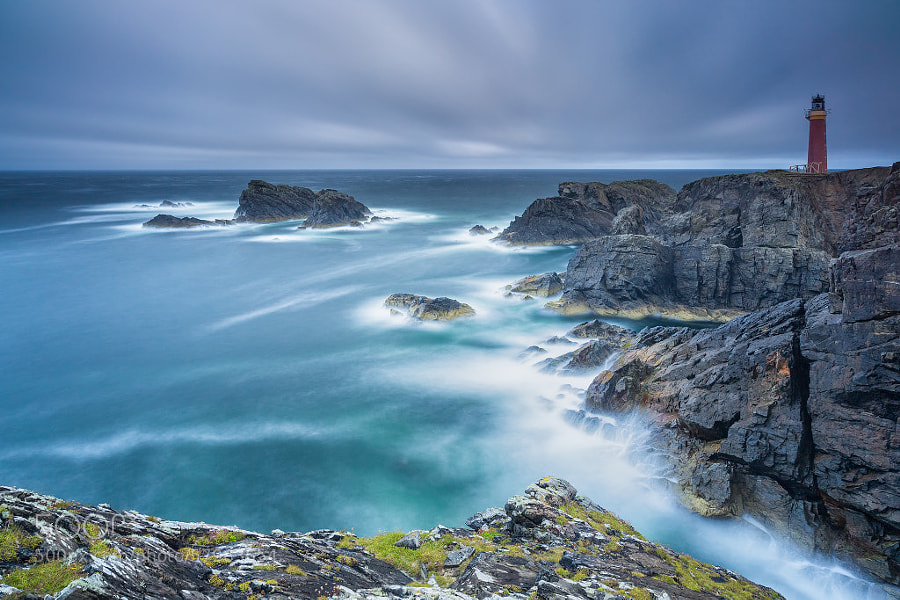
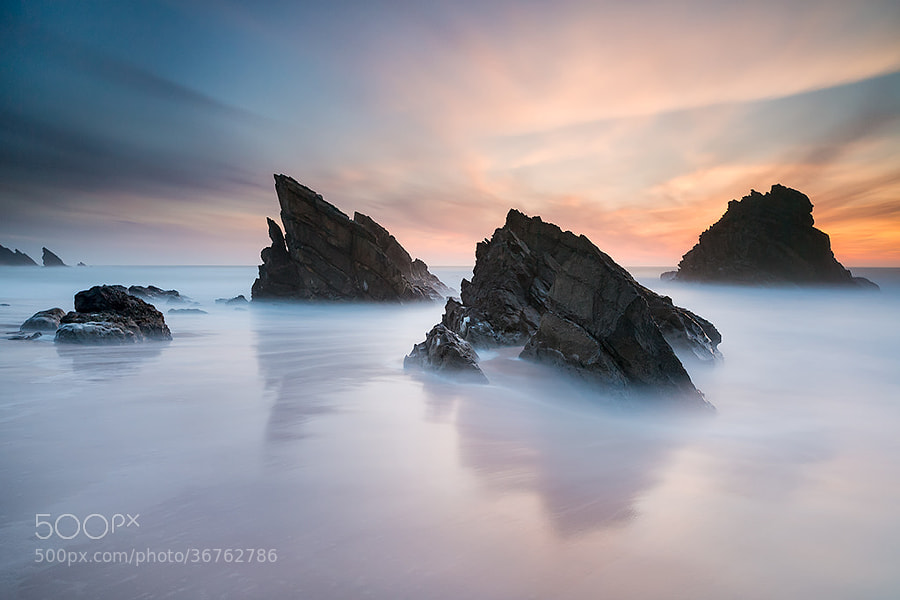
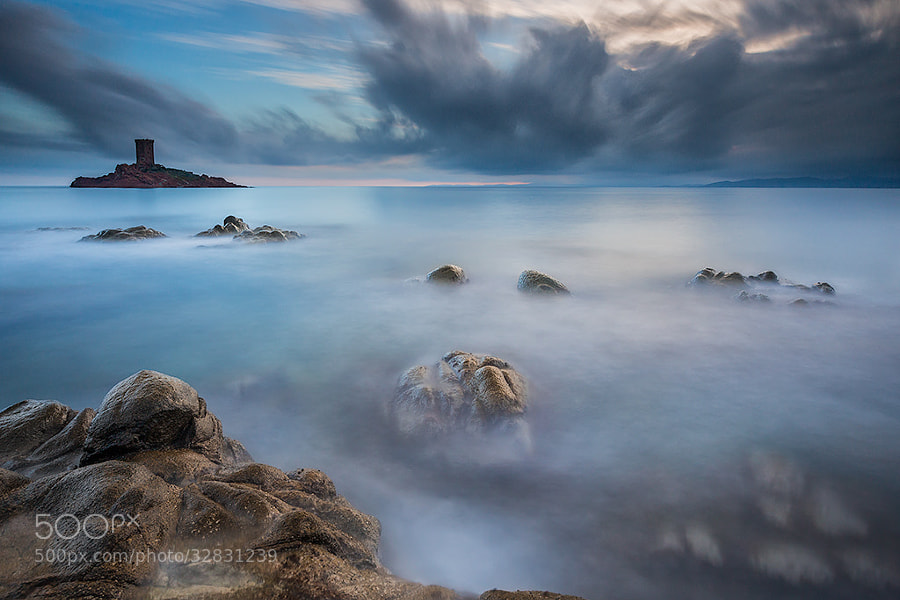
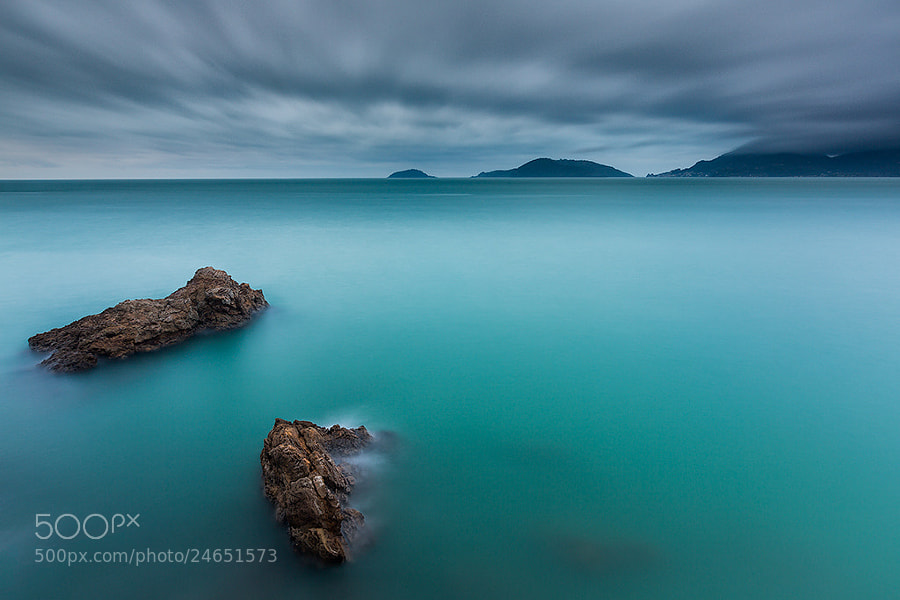
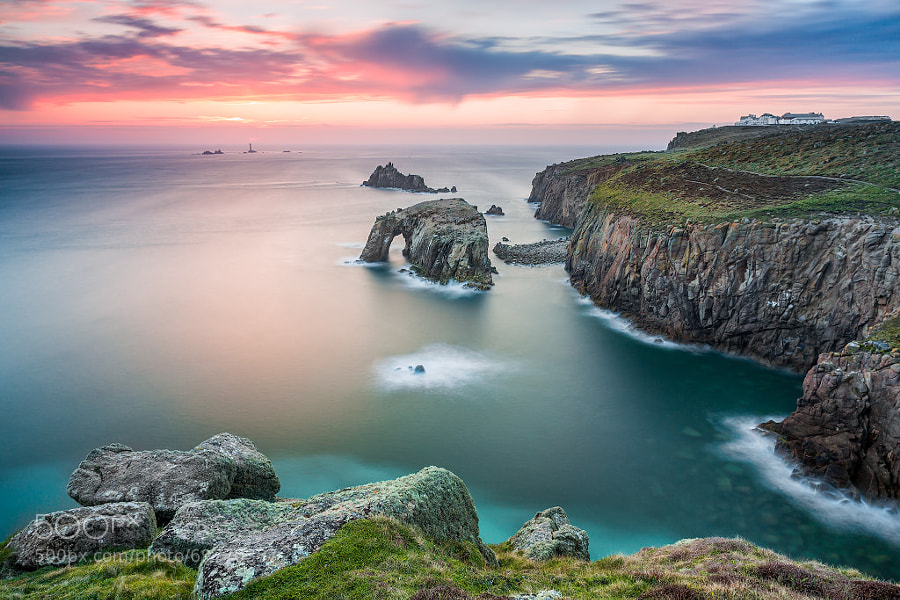
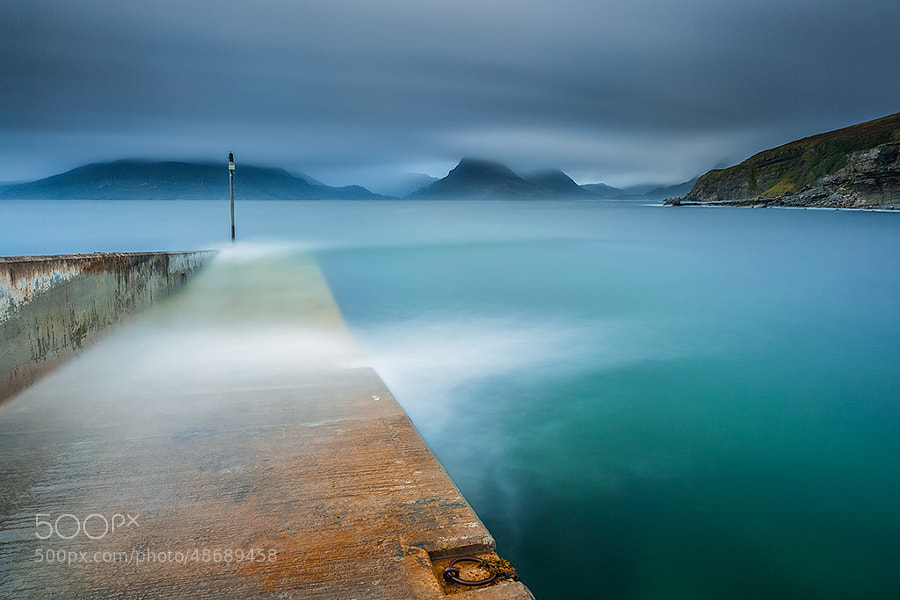
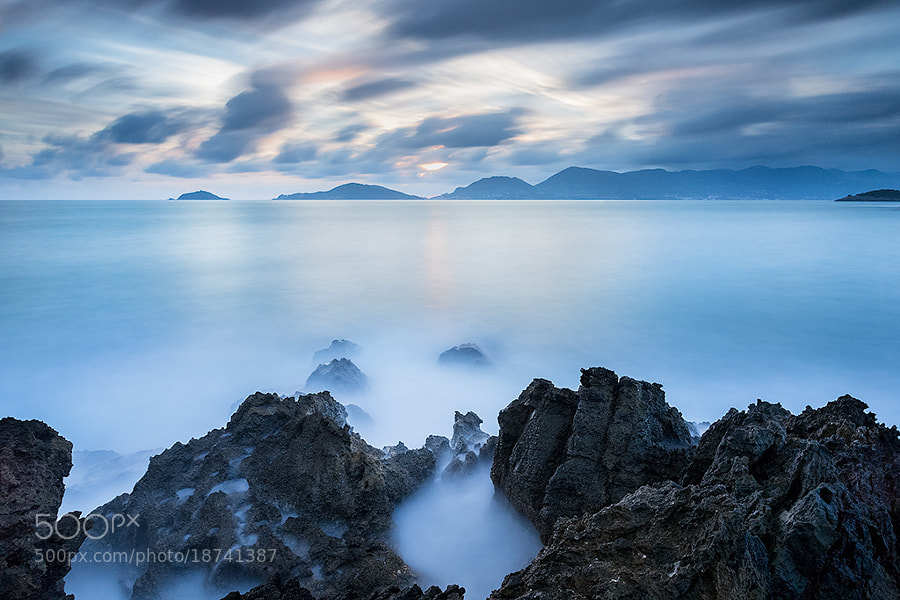
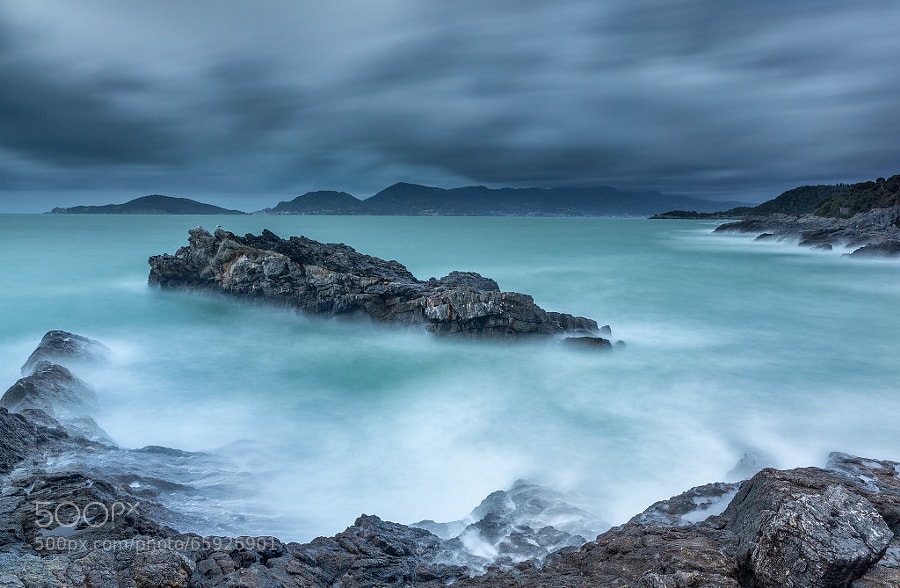
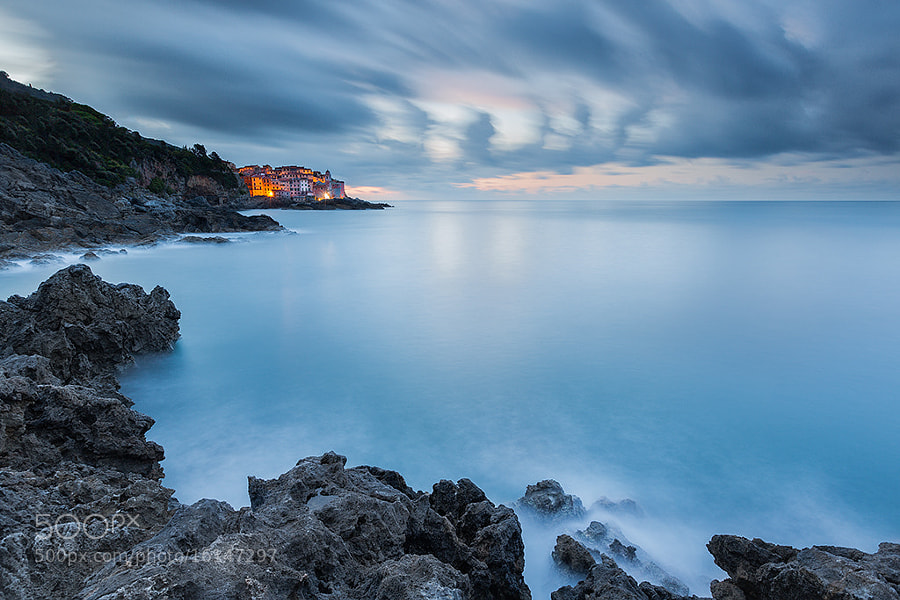
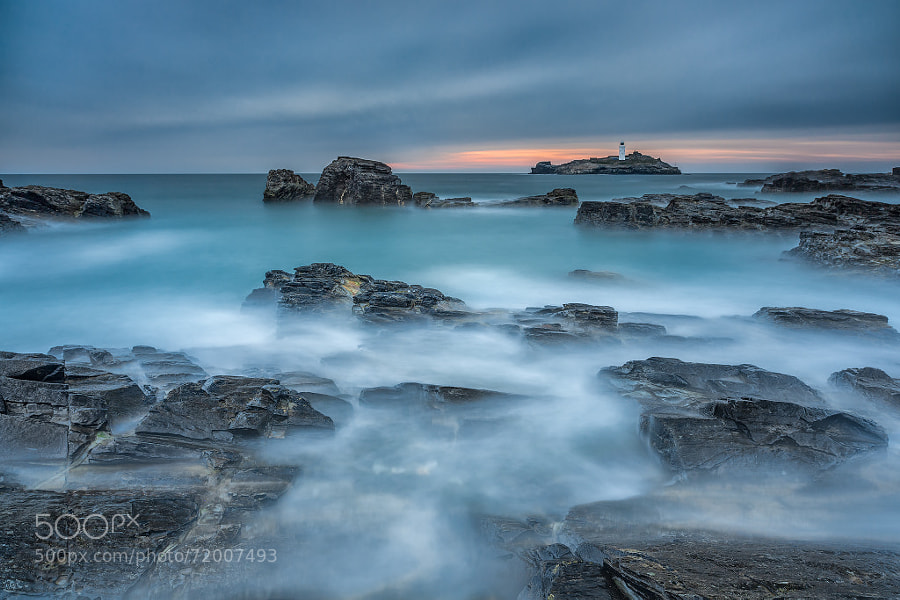
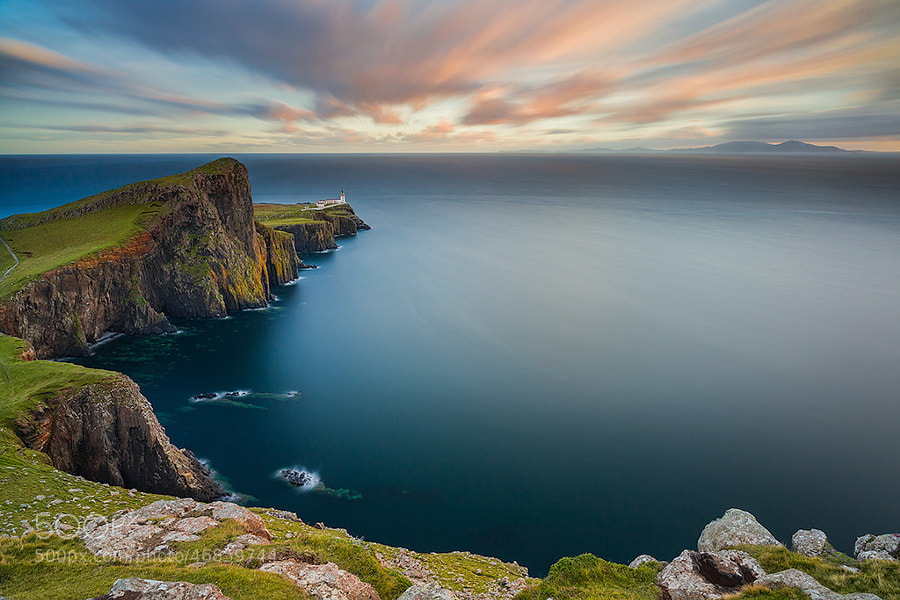
From silky seas to soft clouds, shooting seascapes using long exposure will add a dreamy dimension to your photos. Italian photographer and engineer Francesco Gola has been capturing iconic coastal destinations around the world, from Cannes to Big Sur. In this tutorial, Francesco will share a list of his tried-and-tested tips and go-to gear for taking long exposure shots of daytime seascapes. Scroll down, and try these tips the next time you’re on a seaside excursion!
Long Exposure Tips for
Photographing Seascapes
by Francesco Gola
One of my favorite quotes ever is from Marcel Proust: “The real voyage of discovery consists not in seeking new landscapes, but in having new eyes.” Long exposures have exactly that; an incredible power to let you see a place that you think you know well with new eyes. A long exposure photo is a parallel universe where I can escape from the frenzy of modern life.
Technically, it is just a matter of shutter speed, but I believe it is also a matter of mood and feeling. Taking a long exposure shot is easier than you could expect. Just put your camera in Bulb mode, and open the shutter for the required time. In this tutorial, I want to share some tips with you that can help you have fun with this fantastic technique.
1. Take your time to visualize the shot in your mind. When shooting long exposures, what you see with your eyes will turn out different than what you’ll capture on camera.
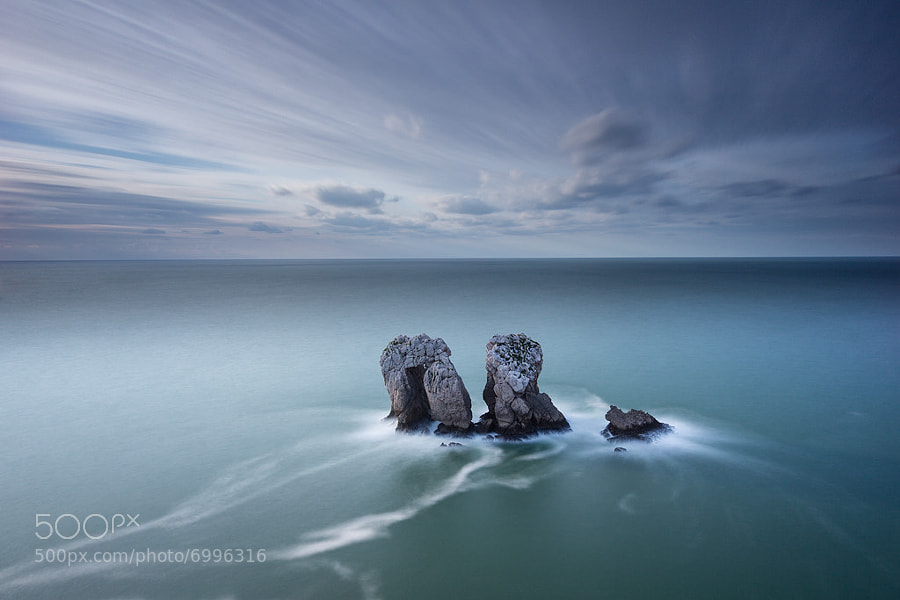
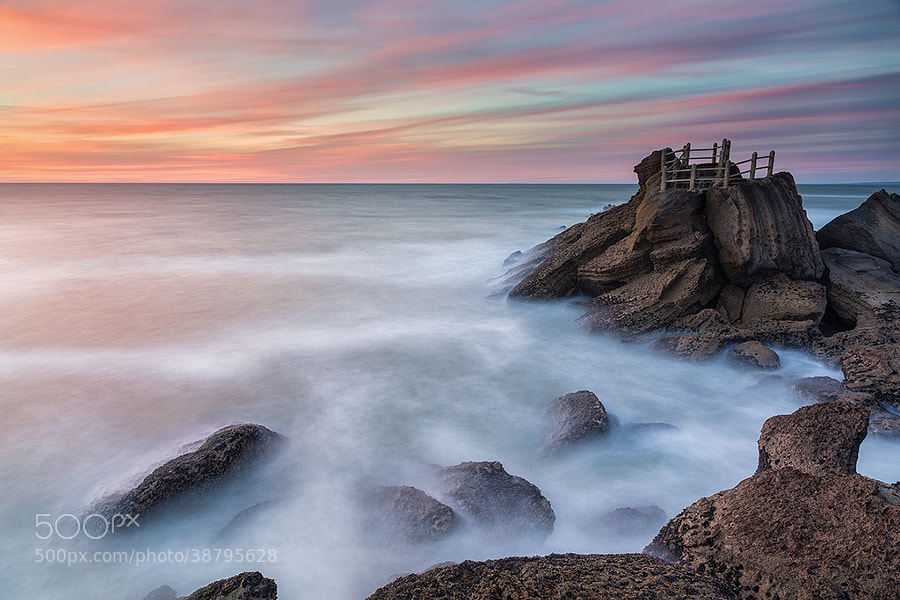
2. On clouds. To create a well-balanced composition, figure out the direction where the clouds are moving towards. Also try to evaluate how fast they are moving. If you’re taking a seascape shot, check how wild is the sea. This will help you in choosing a correct shutter speed to get a really dramatic sky and a silky sea without making everything flat and dull.
3. Wind is your enemy. Use a sturdy tripod, and once set firmly on the ground, hang on it your backpack to increase the stability with weight. Keep in mind that few seconds of wind gust can compromise a two minute exposure, and above a cliff strong winds are quite common. If possible, use your body as a wind shield for your camera.
4. Focus on the subject before adding the filters. As ND filters can be really dense, it would be difficult to get your subject in focus using autofocus, or even manually focusing through the viewfinder. The best solution is to always compose and manually focus the scene before adding filters. Remember that there is nothing worse than having a magnificently-composed 4-minute exposure that is out of focus.
5. Use a remote shutter. Your camera is extremely sensitive to vibrations. Using a remote shutter will prevent you from touching the camera. If possible, use a programmable remote shutter—you’ll be able to get several minutes of exposure without constantly checking your watch!
6. Predict the sun’s position. Unlike “still photography”, in a long exposure shot, you should avoid having the sun in the frame. This is because after two minutes of exposure, the sun will not be around anymore. The sun itself, plus every surface in which it will reflect, will be so overexposed that it would be almost impossible to recover it in post-production. To predict the position of the sun, there are apps you can download on your mobile device.
7. Clouds and storms are your friends. If you think that the current weather condition prohibits you from taking a photo now, it won’t be the same in an hour. Use images from satellite to predict where the storm is moving to, and remember that the best clouds are at the end of a perturbation.

8. Calculate, don’t improvise. The perfect light can last only few minutes or even seconds. If you are taking a 3-minute long exposure, you have only one chance to get your shoot. The best strategy here is not to improvise how long should the exposure be after mounting a 10-stop filter. Take a test shot without filters with the desired ISO and aperture first. Once you’re happy with the exposure, stack on the desired ND filters and compensate for the stop introduced by the filters in the shutter speed. Using an app for your mobile or a printed chart may be a good idea, but if the light conditions are changing (like sunsets, sun being covered by clouds), just add (or subtract, if you expect the light to increase like in a sunrise shoot) an extra 15-20% to the resulting time. Remember, taking a test shot is also recommended for checking the composition and focus.
9. Use your histogram instead of your LCD. Don’t trust the LCD. The LCD display of your camera is extremely luminous, and is no good for reviewing the image you just took. Use the histogram instead. By checking the histogram, you can quickly visualize if the calculations you made for the shutter speed is correct or not. In case they are wrong, looking at the histogram will allow you to calculate the correction needed. To improve the experience with LCD in strong daylight condition, you can use a Loupe.
10. Be aware of light leakages. In a long exposure shot, every infiltration of light in your camera will compromise your work with banding and color casts. The solution is incredibly easy and cheap: use black tape. Before taking an exposure, remember to cover your viewfinder and the edges installed in the filter holder with black tape.
11. Wait a minute between an exposure to another. Every time the shutter opens, the electricity flows through the sensor of your camera, resulting in the sensor warming up. This is not a problem in still photography, because the exposure time is a fraction of a second, but as soon as you reach one minute or more, the heat will form hot pixels in your photo. Waiting a minute from an exposure to another will allow the sensor to cool down.
A Gear Guide For Long Exposure Photography
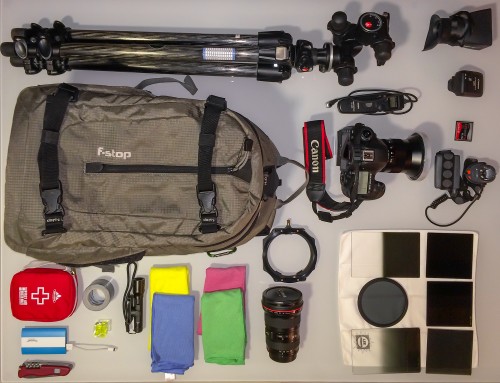 Above: What’s in Francesco’s camera bag?
Camera Body: You can shoot long exposures with almost every camera. The essential function is the Bulb mode that will allow you to get exposures longer than 30”. My go-to body is Canon EOS 5D Mark III.
Lens: A wide angle lens is the perfect choice. You will use a tripod anyway, so you don’t need an image stabilizer. A fast lens is not required, as you’ll be shooting almost every photo between f/8 and f/16. My recommended lenses are Zeiss Distagon T* 2,8/21 and Canon EF 16-35 f/2.8L II.
Tripod: A sturdy tripod is your best friend. If you are going to travel a lot, a carbon fiber tripod is a great choice.
Filters: A good set of filters is required to get long exposures right in your camera. My go-to travel set includes Lee 6 stop and 10 stop ND filters, a Heliopan Polarizer, and many Graduated ND filters.
Batteries: Always have spare batteries with you. Shooting minutes of exposure can dramatically reduce the battery life.
Memory Card: Long exposures don’t require fast and large memory. Invest in reliable brands, and always have a spare memory card in your pocket.
Torches: Remember, safety first.
Loupe: It’s difficult to review images on your LCD display when it’s sunny, so I always use a Loupe.
Apps: There are lots of apps for your smartphone or tablet that will calculate the correct exposure time after stacking in your camera ND filters, or apps that tell you where the sun will set. My favorite app is, without a doubt, PhotoPills.
Multi-tool knife and duck tape: They should be in every photographer backpack!
Additional Resource:
- The Best Cameras Lenses For Different Styles Of Photography
We hope this tutorial will inspire you to go on a seaside shoot.
Want to see more dreamy seascapes? Follow Francesco Gola on 500px.
You can also visit his official website for more info about him.
Got a question for Francesco? Do you have your own seascape or long exposure tips to share with us? What’s the most gorgeous seascape photo you’ve ever taken? Comment below—we want to hear all about them!


Leave a reply