At 500px, we love featuring new photographers that have recently discovered photography, or picked up new skills in-camera and in post-processing that they can share with the community. Joe Francis is a 17-year-old photography student from Busbridge Lakes, United Kingdom. He discovered the craft when he received a folder from his aunt, encouraging him to fill it with his best photos. Recently, he found a way to get creative with Little Planet images. In this tutorial, he will show you how you can turn your panoramas into miniature 360-degree planets—a great way to explore your creativity.

Step 1:
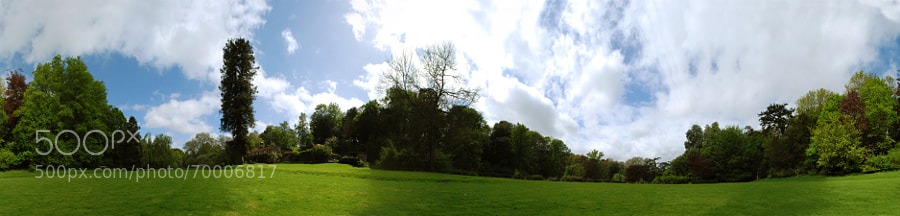
You will need to make a normal panoramic image. If your camera has a 360-degree panorama mode, use that as it can be easier and it saves time. Find a location where there is a lot of sky and open ground; for example, a field. Remember that you are in control of how much sky and ground is in your photo. The more sky you have instead of ground, the smaller the final planet will be.
If you’re new to capturing panoramas, set your camera on a tripod and zoom all the way out to the widest angle, under 24mm is fine. Then, set it to manual mode in order to keep the same exposure throughout the panorama. Auto-focus once and then switch it to manual, to keep the same focus. Now, making sure that the tripod isn’t going to move anywhere, pan around a full 360 degrees, taking a shot in portrait orientation, making sure that you overlap each shot by about 3/4 (75%). I usually end up with about 50 exposures.
Step 2:
Now, open Photoshop. Go to File>Automate>Photomerge.
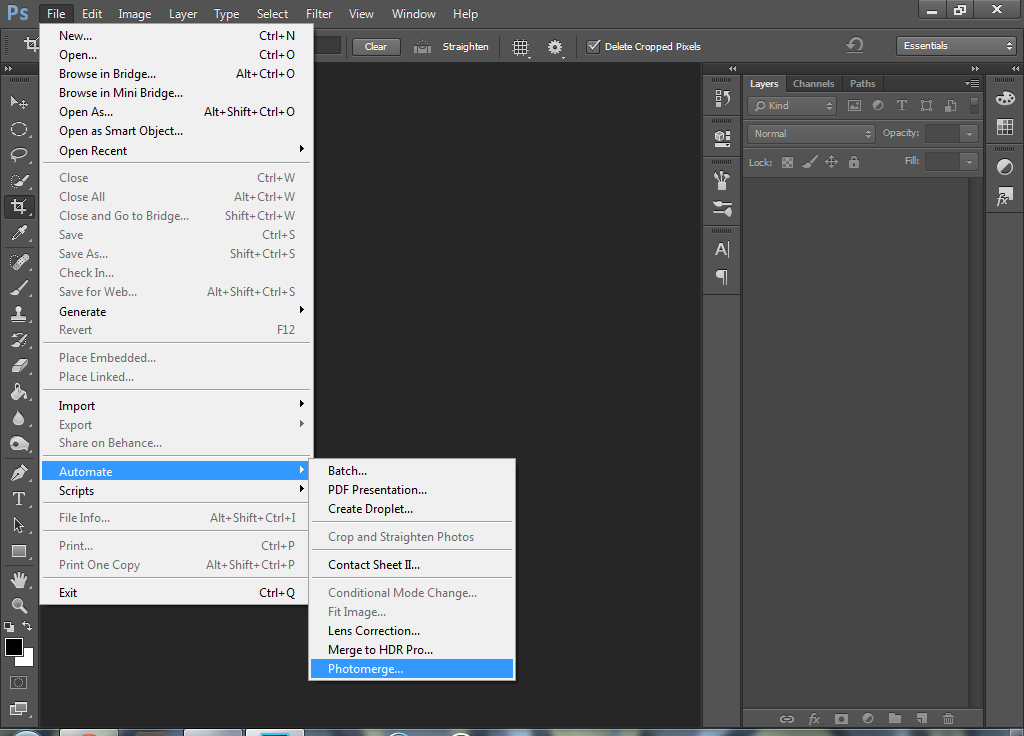
Then, select all the exposures you took for the panorama and load them in, and click ‘Ok’.
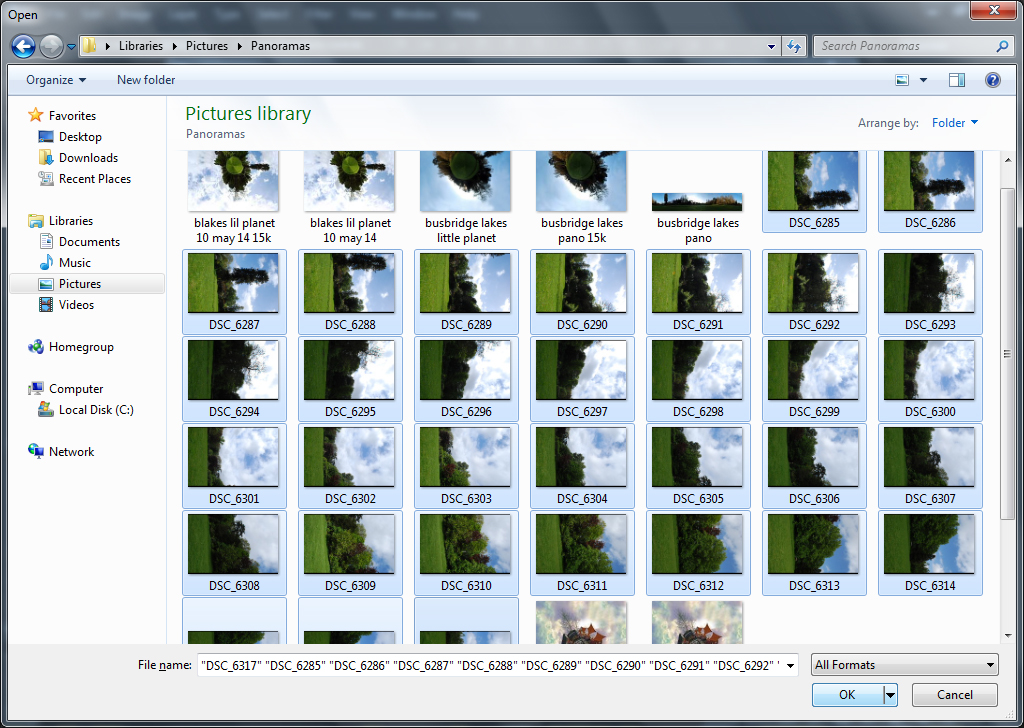
This will take a long time depending on your computer’s processing power, so make yourself a brew while you wait.
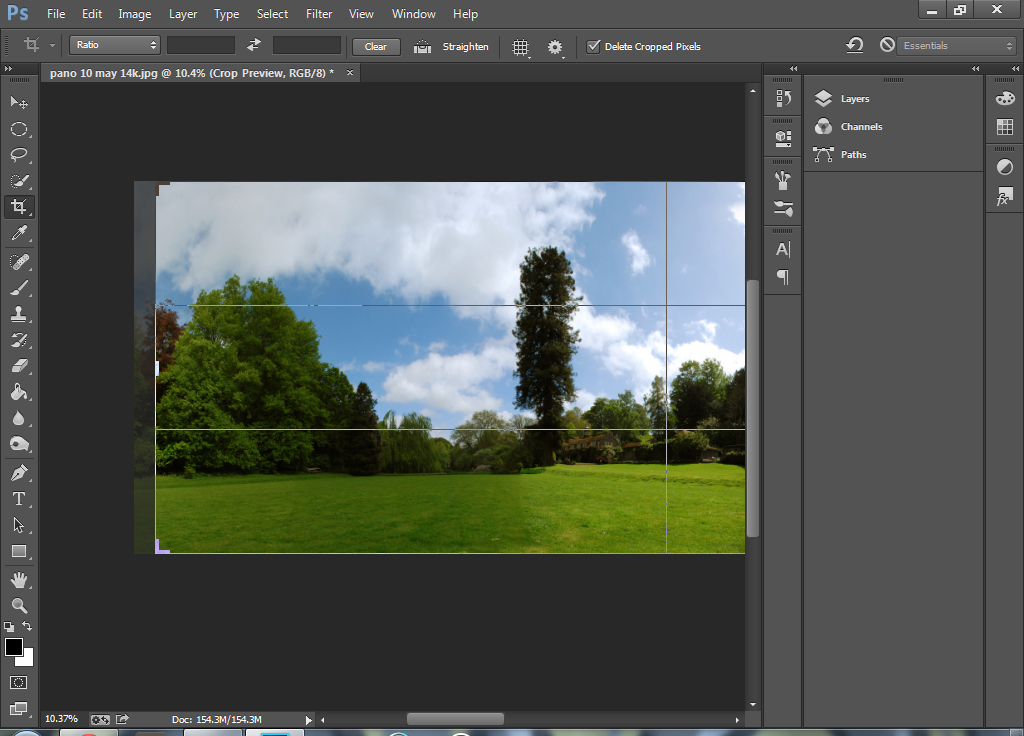
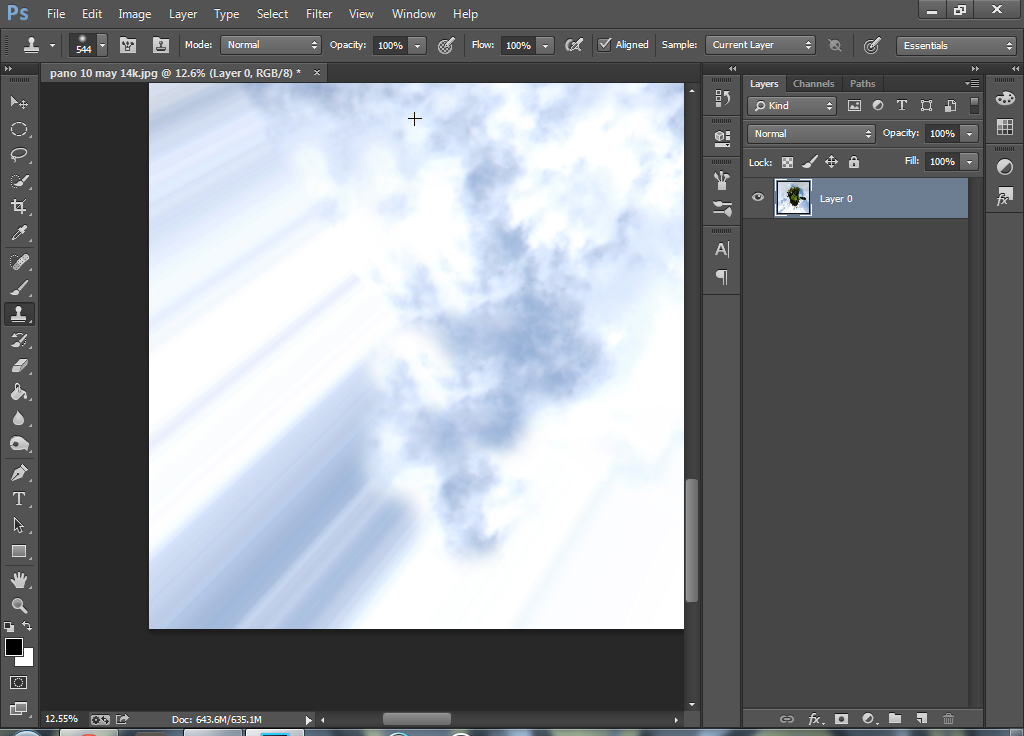
Once it’s done, you will have a panorama that probably has some white parts around each edge:
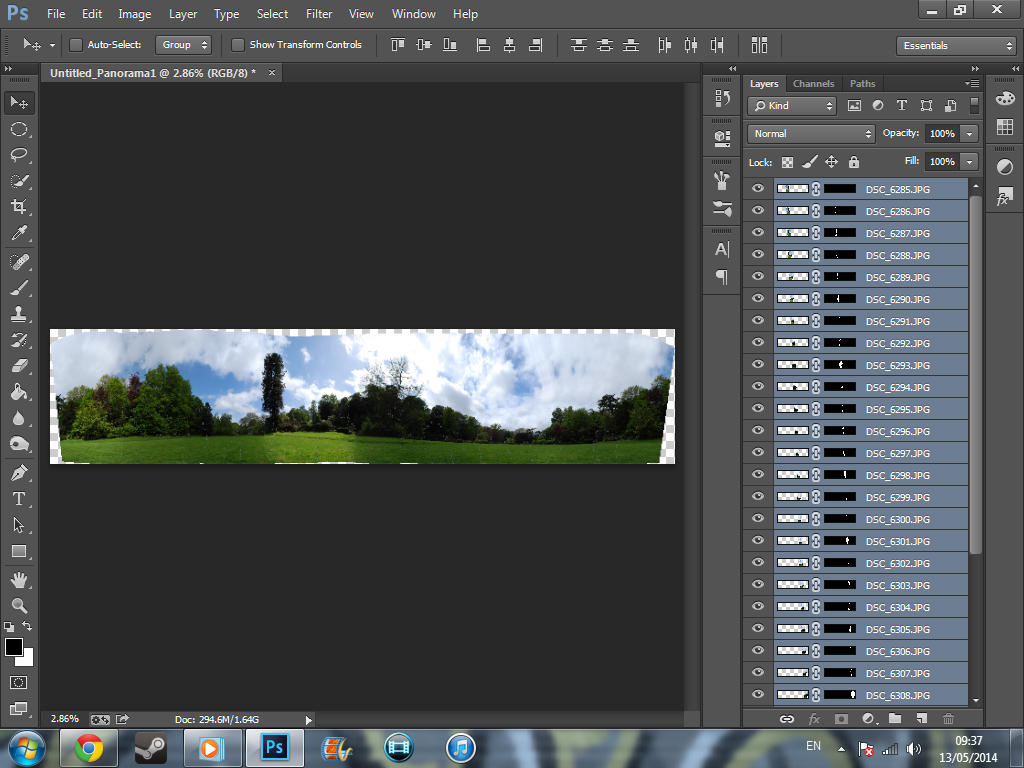
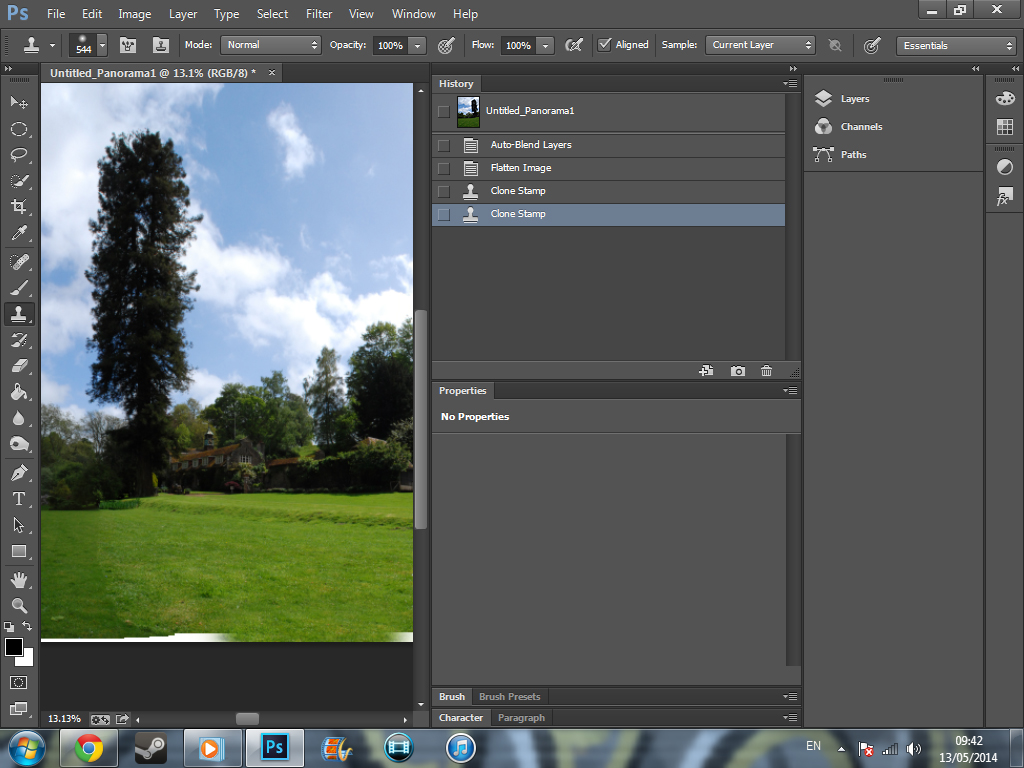
Now right-click on the layers and press ‘Flatten Image’. This will save computer resources. You can either crop the white parts out, or use the Clone Stamp tool and press alt+click on an area to select your reference point, then simply paint over the white parts.
Step 3:
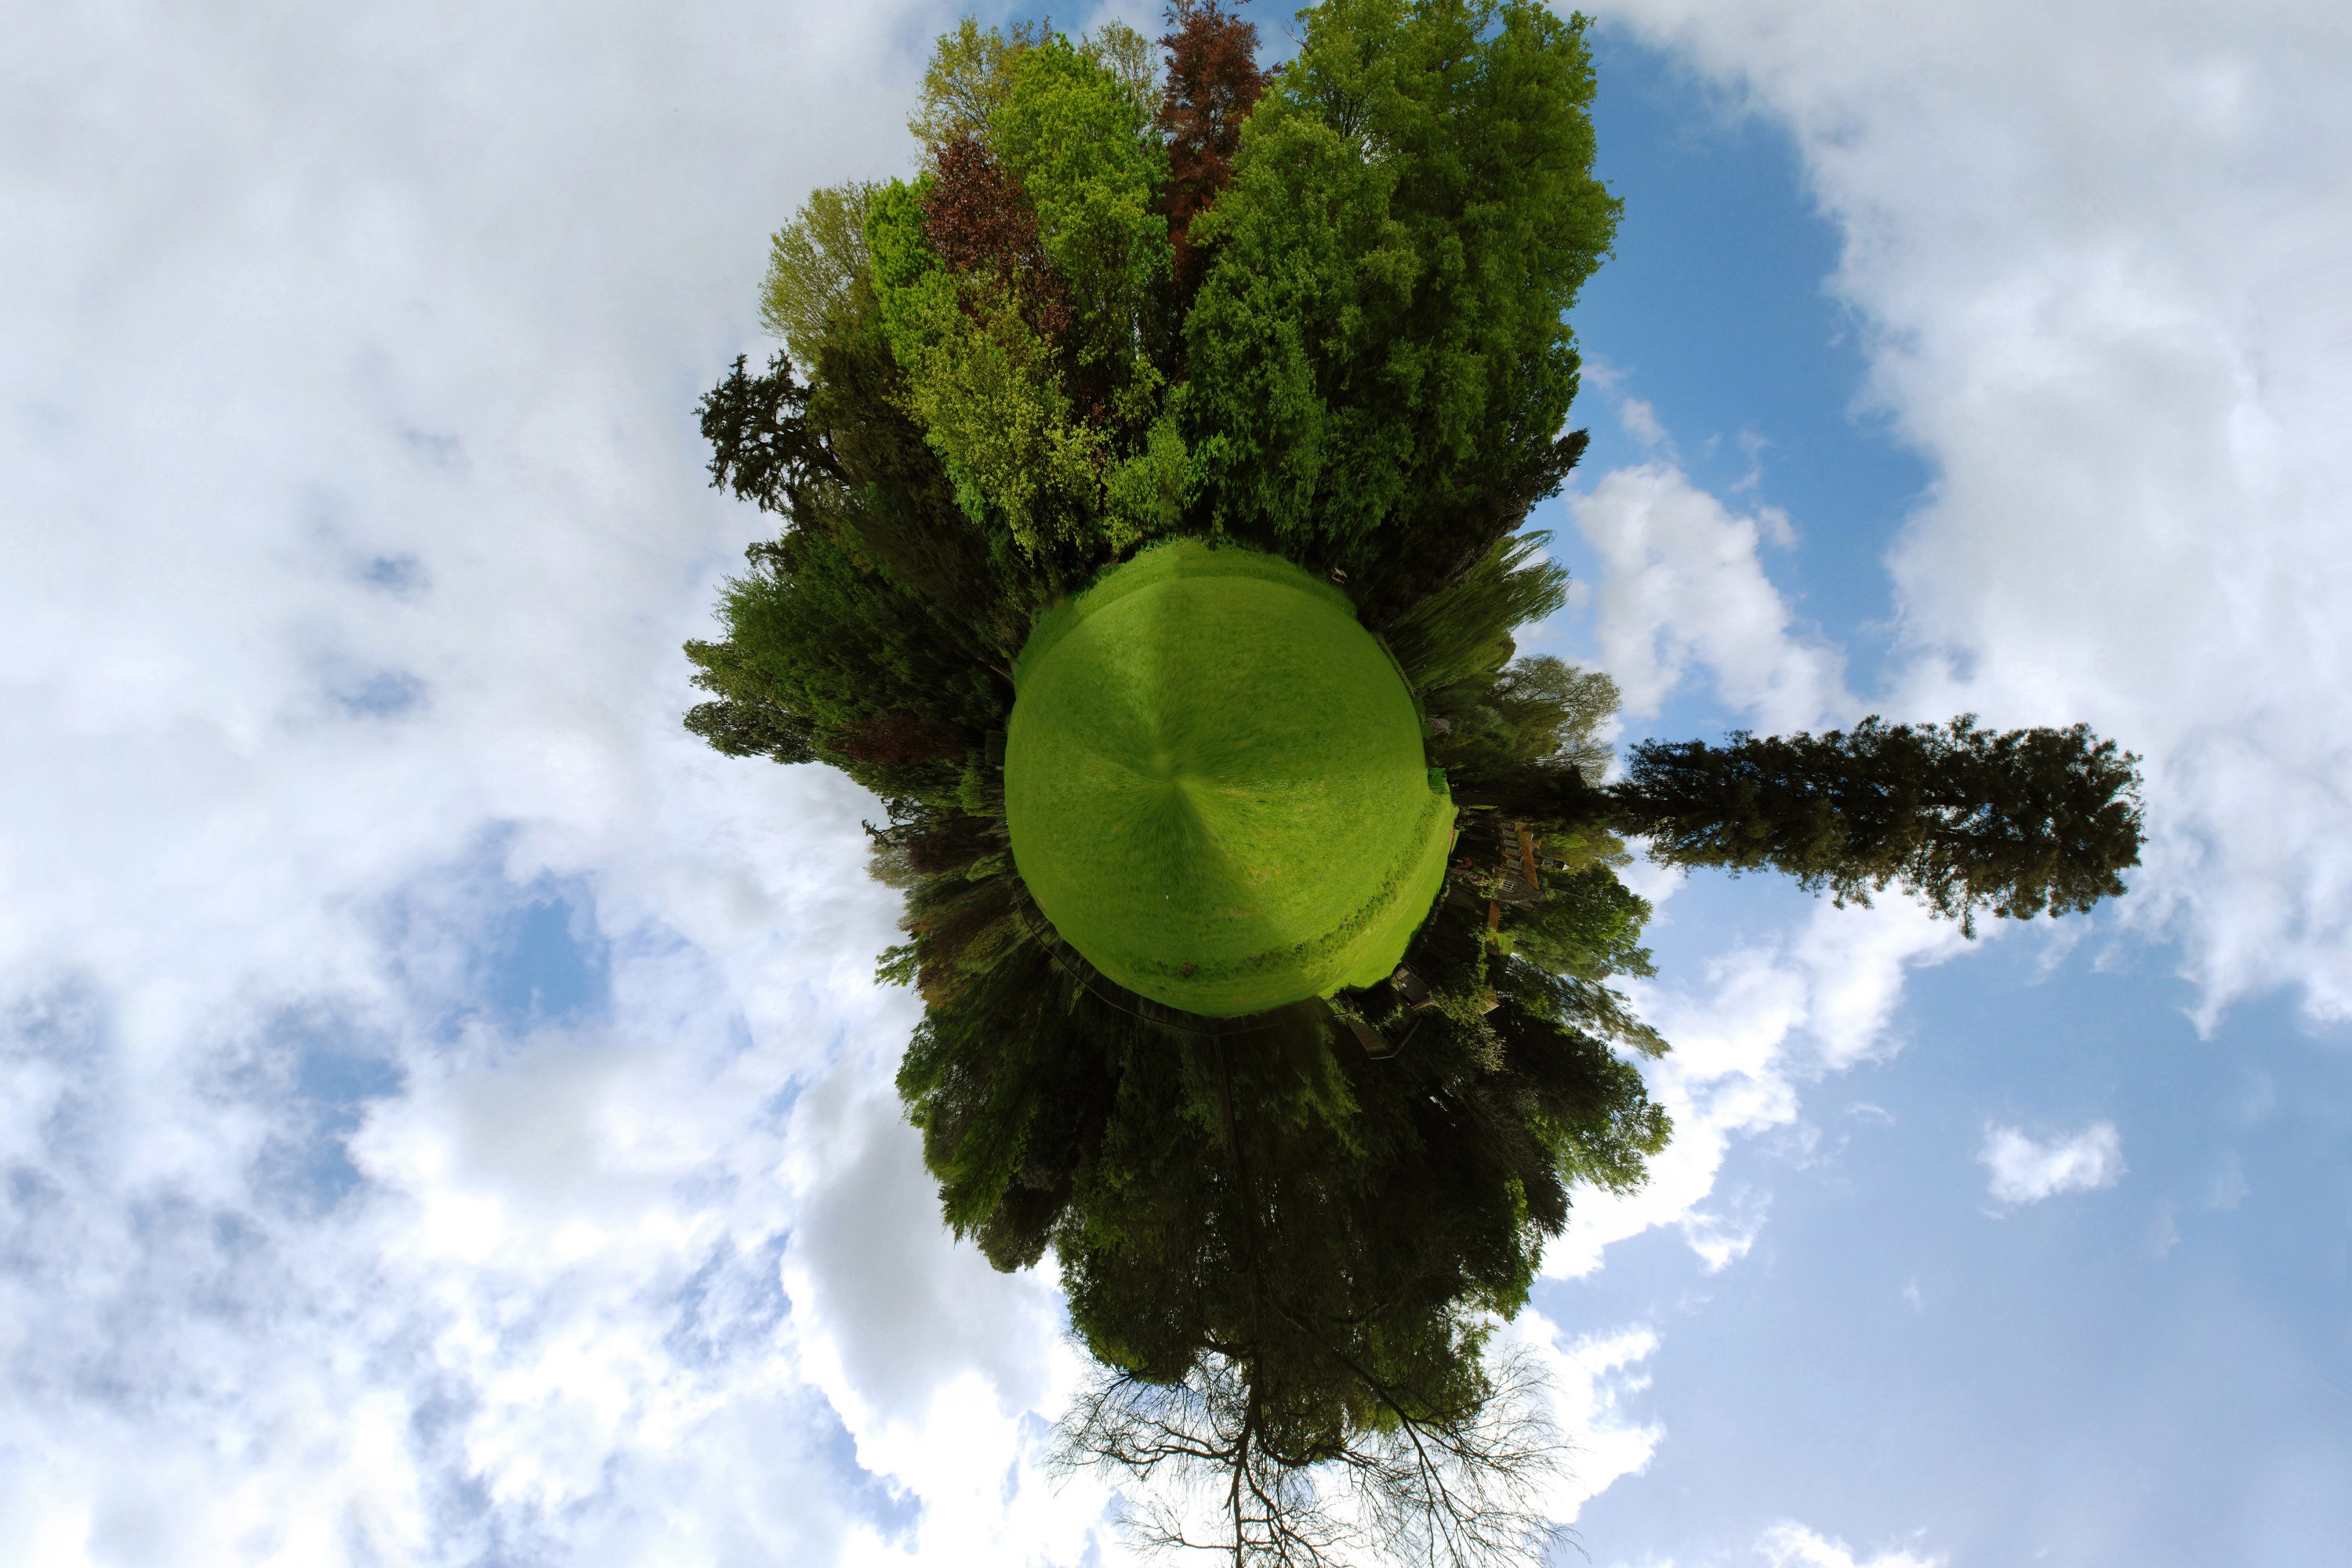
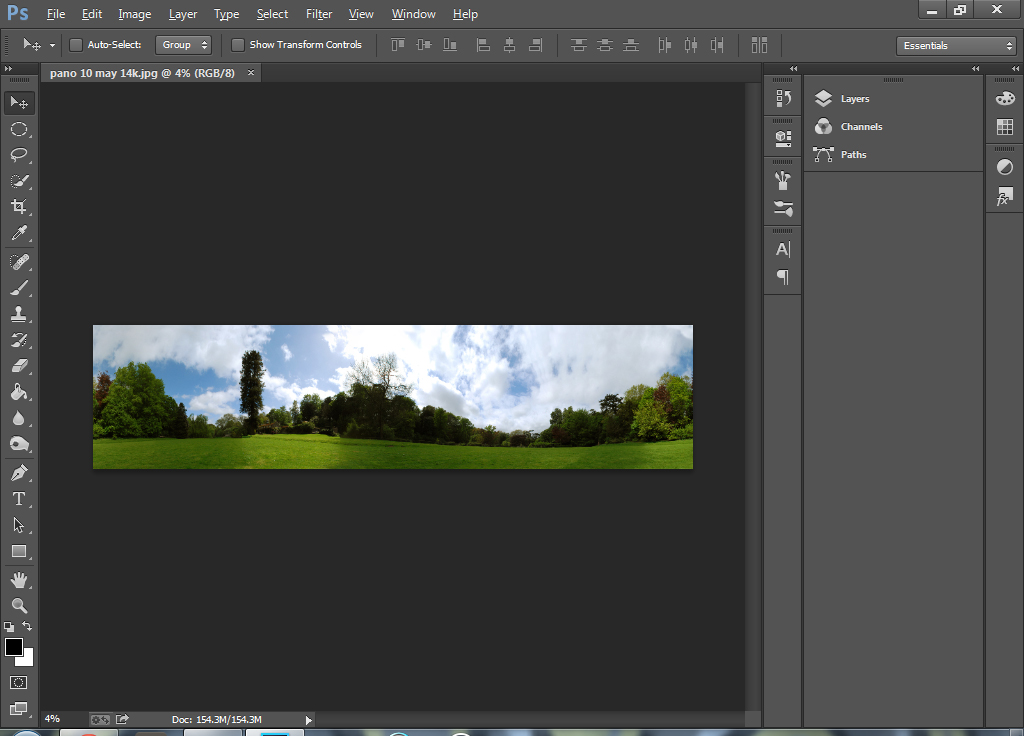
Now that you have your panoramic image, edit it how you like—changing colors, brightness, and whatever else you normally do to your photos. You can now start the Little Planet creation process.
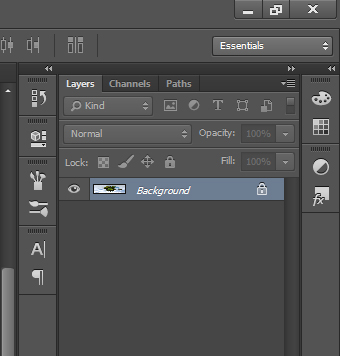
First, get rid of the lock on the layer. Depending on your version of Photoshop, you drag it to the bin, or just click it.
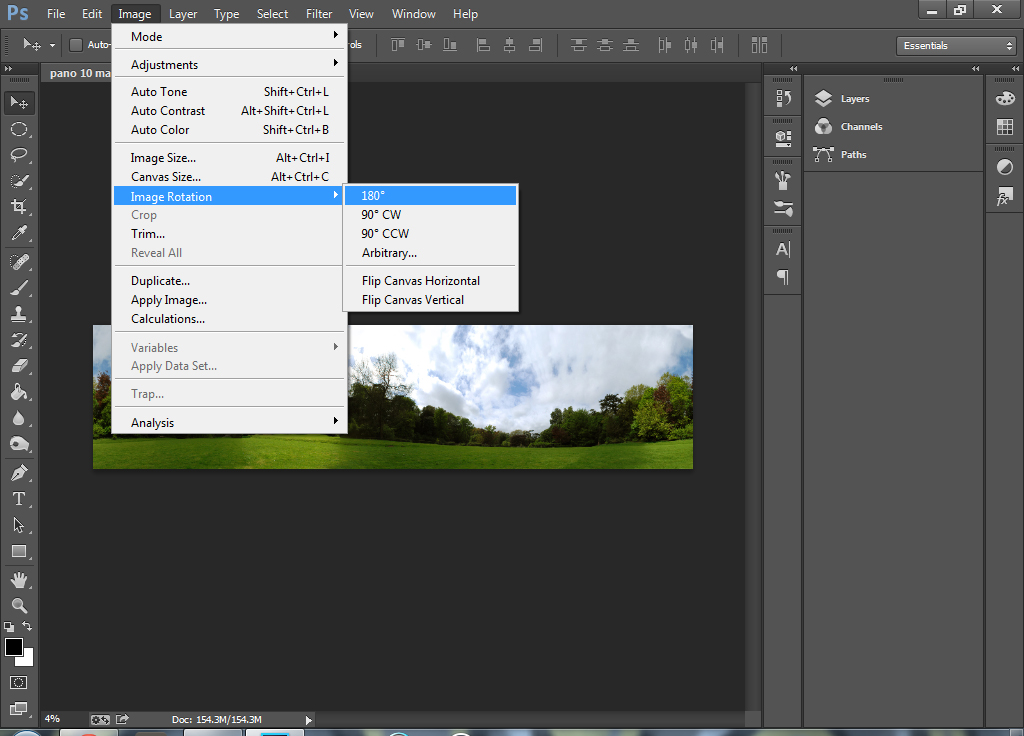
Now go to Image>Image Rotation>180, so that it is upside down.
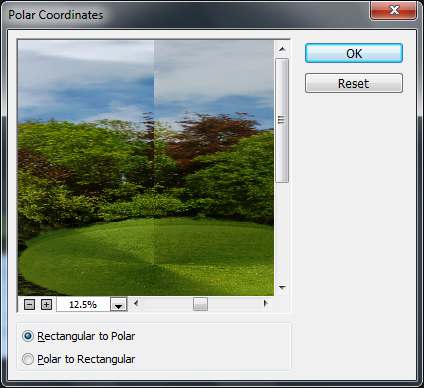
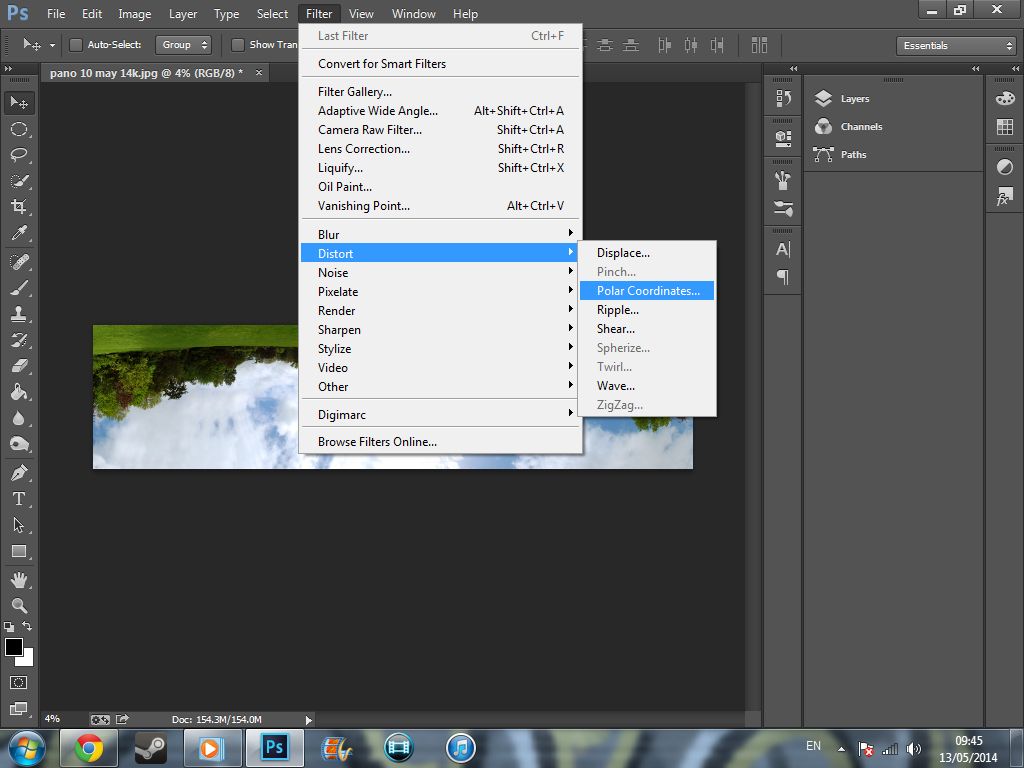
Now go to Filter>Distort>Polar coordinates and make sure that ‘Rectangular to Polar’ is selected, and press Ok.
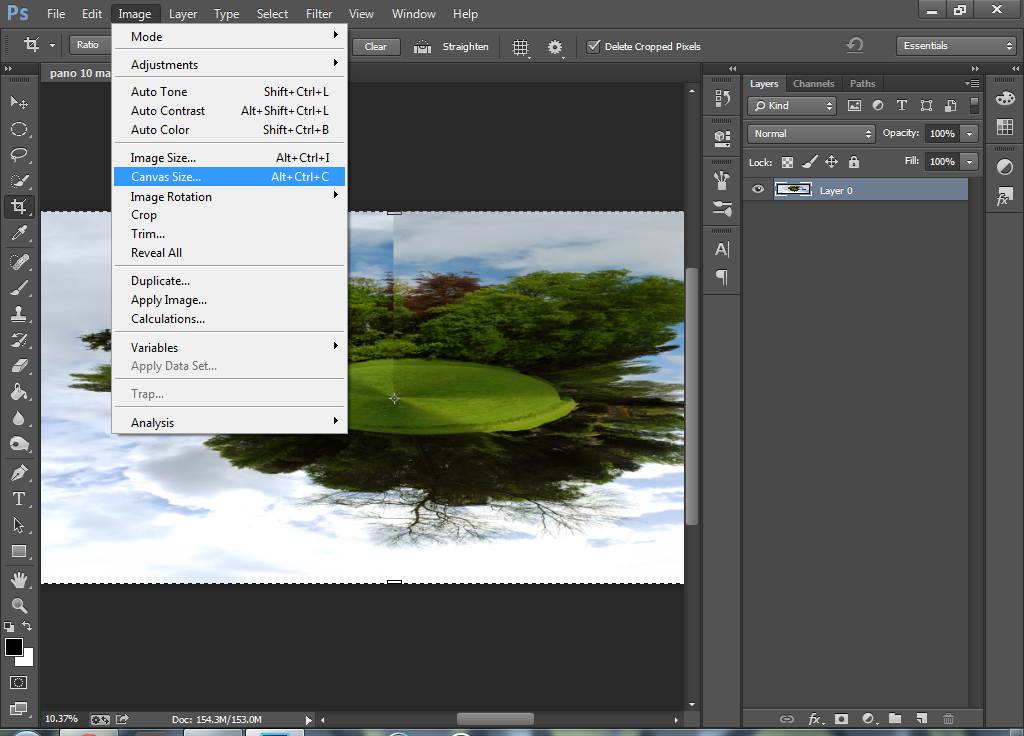
Then, go to Image>Canvas Size and make the bottom figure the same as or more than the top figure. Below that, you will see 8 arrows with a dot in the middle. Click the center-bottom arrow and click Ok.
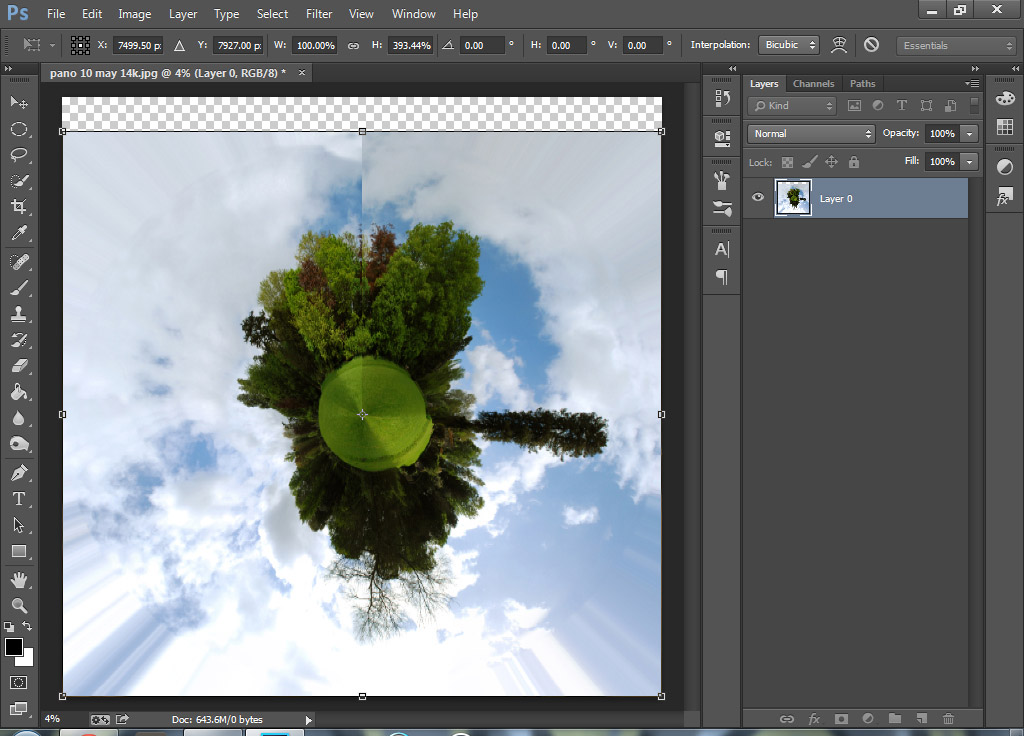
If you remembered to get rid of the lock, then you will have a white and grey checkered background, which is mostly on top of the image. Hit ctrl+t to select it, and drag the top box up until you are happy with how it looks. It should be roughly square format.
Step 4:
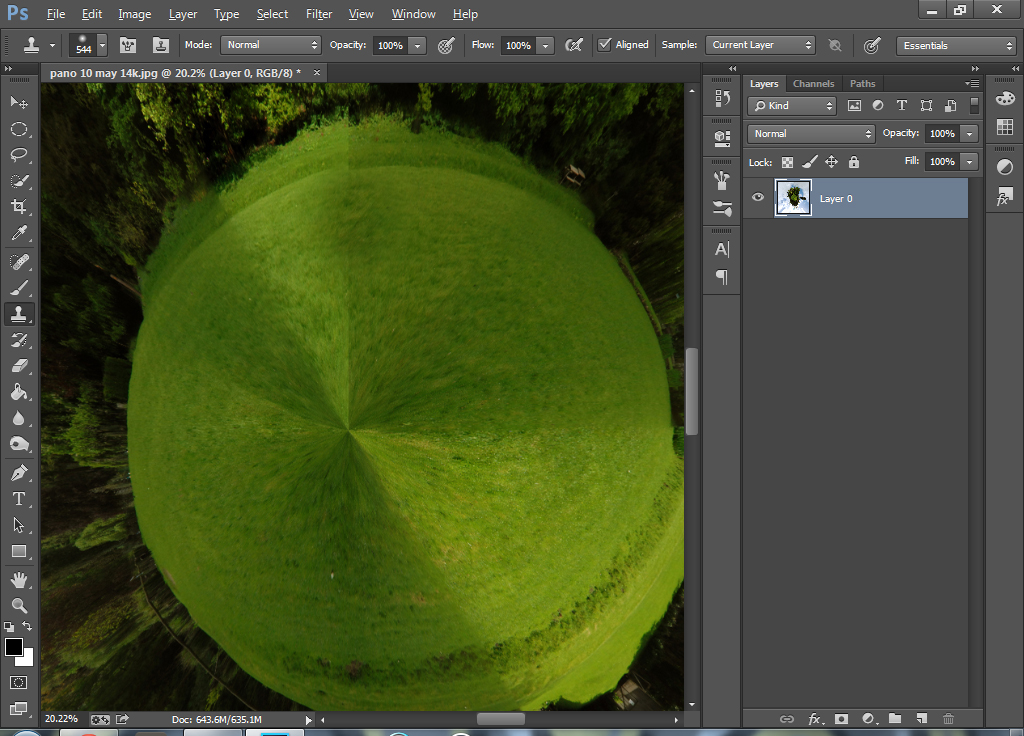
You’ve probably found a big joint in the center running to the top of the photo. Not to worry; just go back a few steps and crop one side of the panorama and keep making the Little Planet until there is no joint. Or, if it is easy enough, depending on your location, you can just Clone Stamp it out.
Tip: If you chose an area with a lot of trees, you will have a hard time doing this, but if you chose an area with a field, you’ll have an easy job.
You will notice that the four corners will be badly stretched, so you can either use the Clone Stamp tool to copy bits of sky from somewhere else in the photo to paste it in the corners, or you can crop it out using the elliptical marquee tool, and then deleting the corners out.
Please note that you will need to fill the corners will a color of your choice with the bucket fill tool if you are saving as a .jpg file, which you probably are. But if you want to save it without a background and just have the floating circle, you can save it as a .png file; however, this isn’t widely accepted.
Thanks for reading this tutorial, and I hope you can try it out! You can also click play below to watch my video tutorial to see my process step by step:
To see more of his work, you can follow Joe Francis on 500px. You can also connect with him on Twitter.
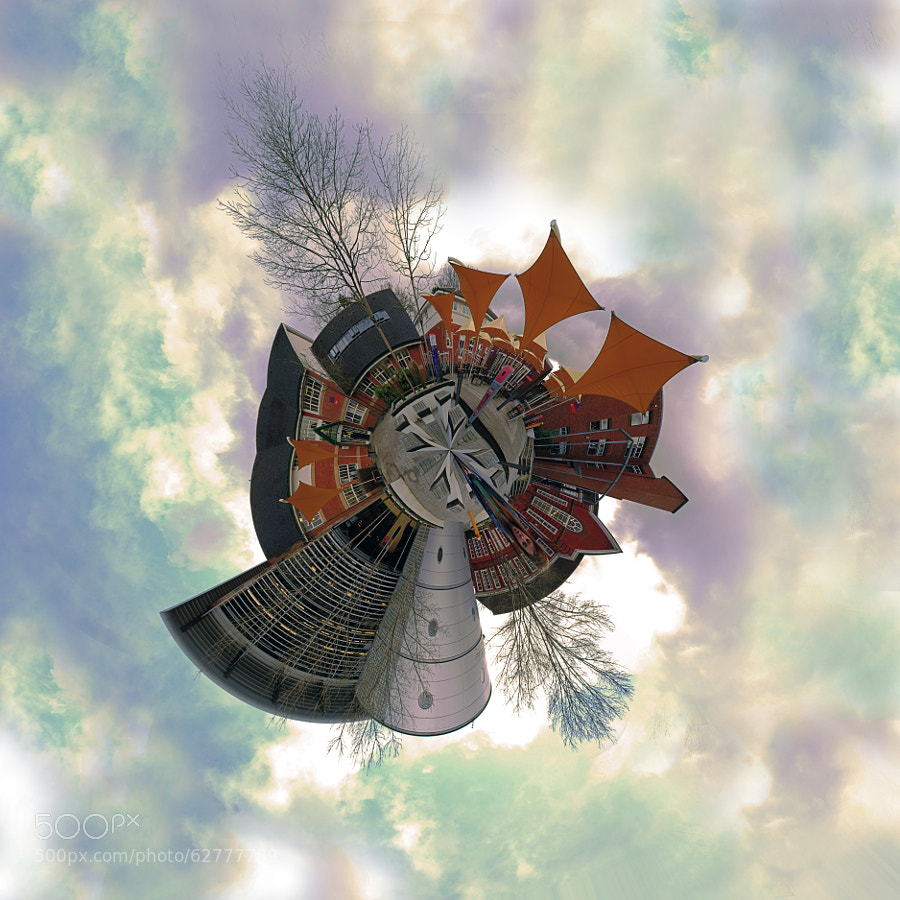
Scroll down for a collection of various Little Planet images that we found on 500px:


To see more tips and discussions on creating Little Planet photos, join the 360 Panorama group on 500px Groups.
Got questions for Joe about his technique and process? Leave a comment for him below!


Leave a reply