HDR photography can be a complicated subject. Here are a few tips from an expert on the subject.
Trey Ratcliff is an HDR guru, old-school gentleman explorer. In this tutorial, Trey will teach you how to shoot the best HDR images possible, what software to choose, how to use it, and pick up a few neat tricks along the way. Scroll down, and learn how to shoot HDR like a pro!
Learn HDR Photography
by Trey Ratcliff
Introduction to HDR Photography
HDR is an acronym for High Dynamic Range. If you use some special HDR software, you can see all the light in the final photo that you can see when you are standing on the scene. Perhaps you’ve been in a beautiful spot and taken a photo and it comes out flat and disappointing. With HDR processing, there is no longer a need for that — now the final image can be as truly evocative as it was when you were there.
The human eye can see so much more than a single shot from your camera! I say there is no need to accept the limitations of the camera. You can use the camera in a simple and innovative way to replicate what the eye can do. You’ll be using a combination of the camera and some software to achieve the final look.
The human eye can see about 11 stops of light. A stop is a measurable amount of light. A camera can see about 3 stops of light. This means you’ll be setting up your camera to take multiple photos of a scene, all at different shutter speeds, so you get the full range of light. Don’t worry, it’s easy!
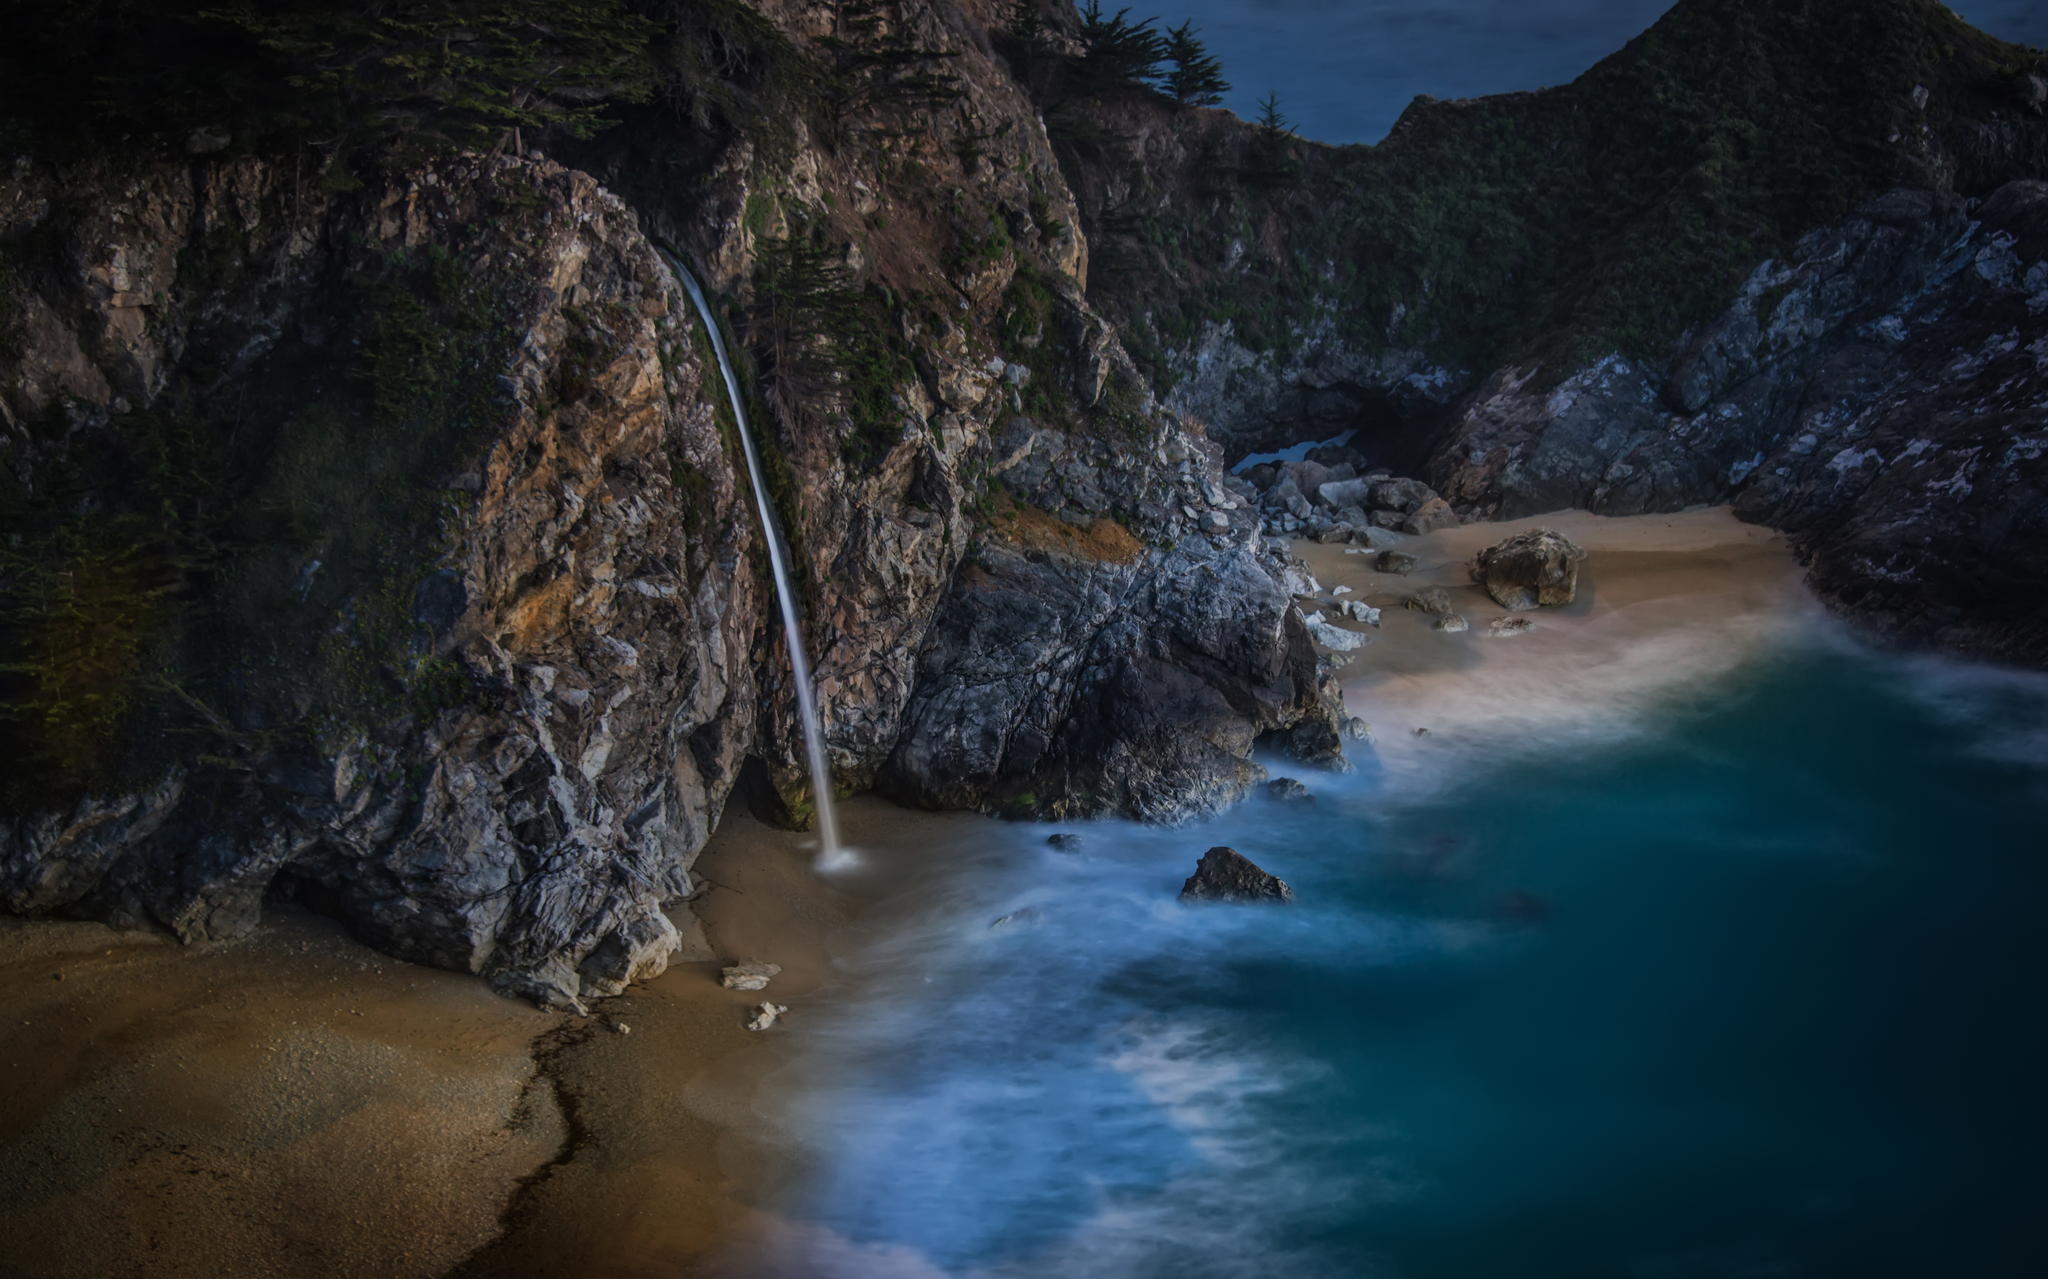
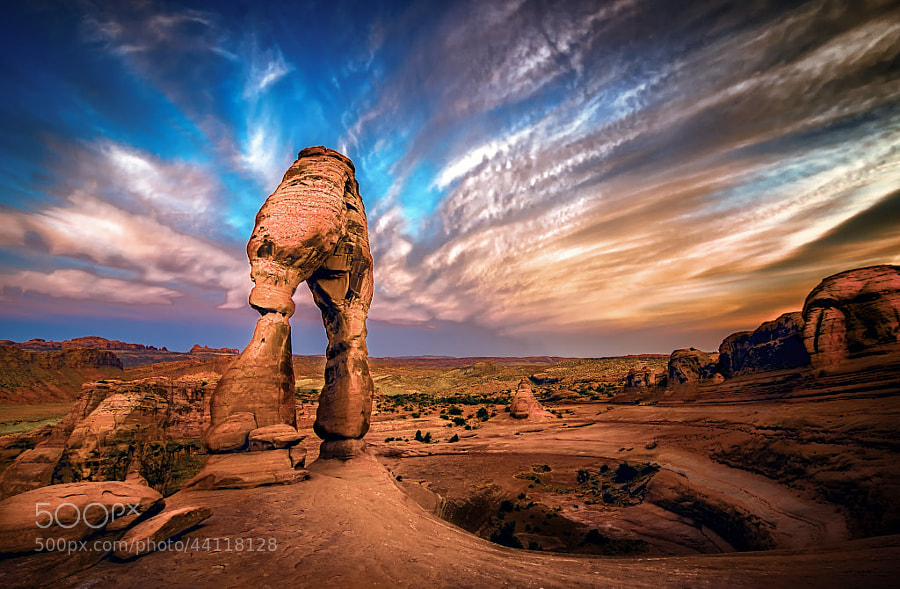
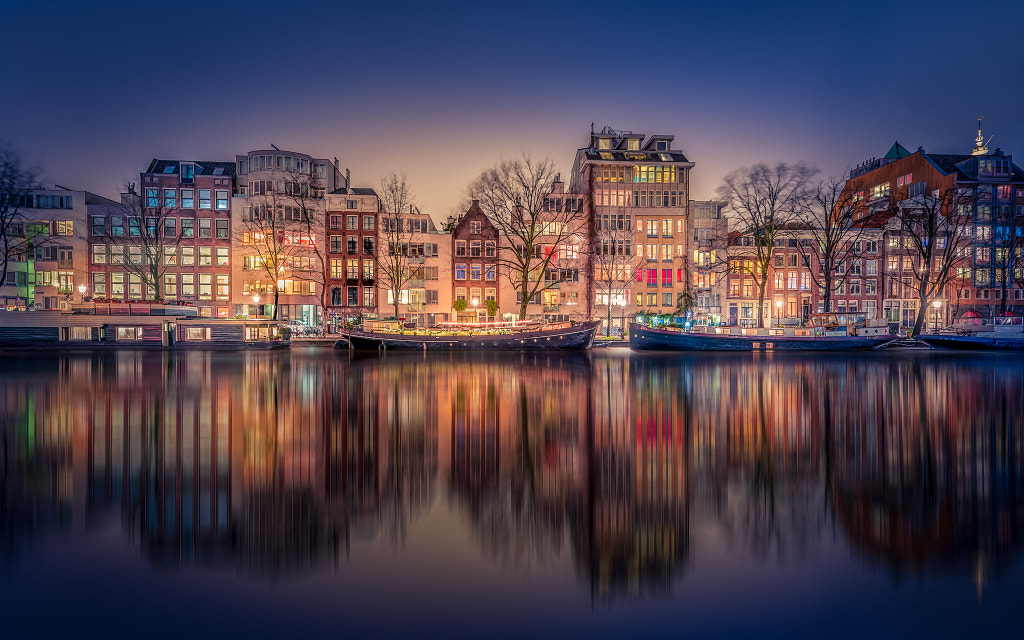
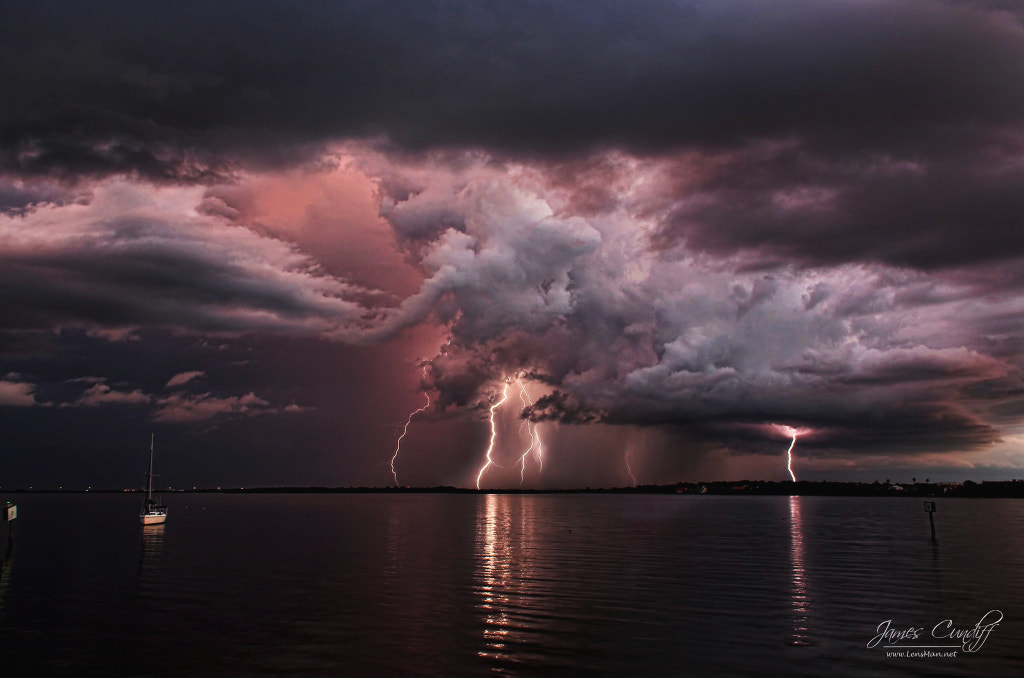
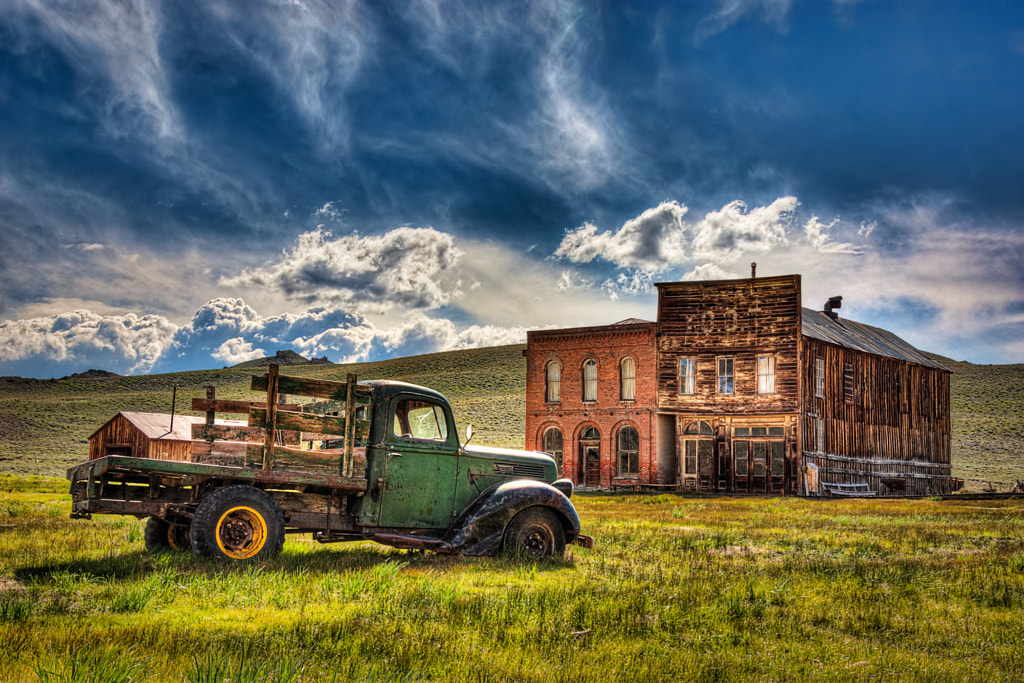
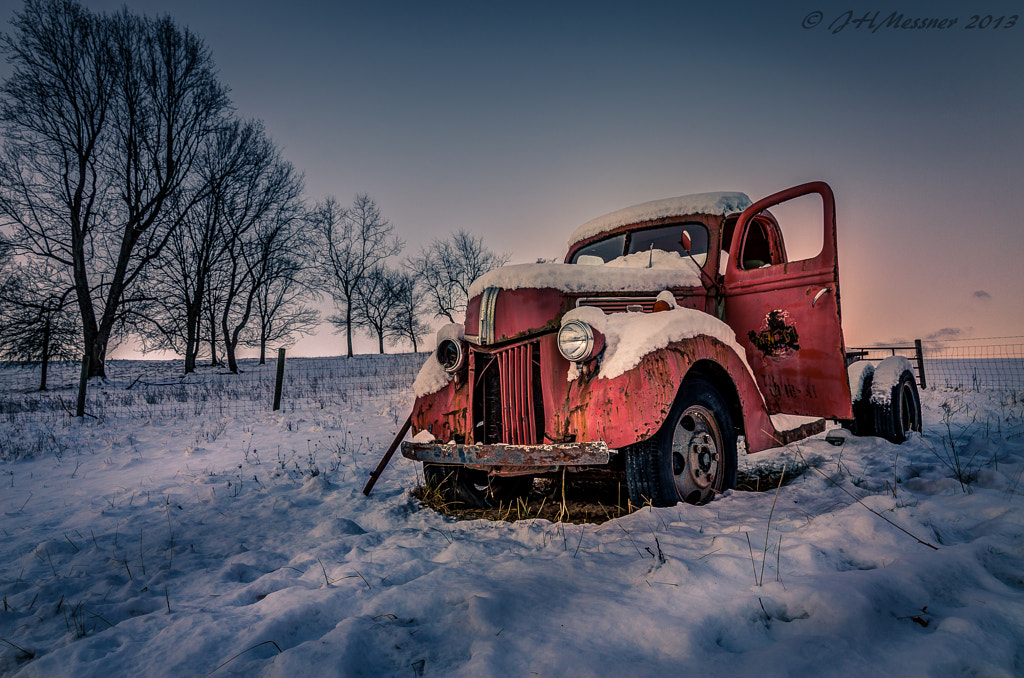
HDR Photography Examples
Here are a few interesting HDR photographs. I think this goes to show how mainstream and accepted HDR can be, if the technique is properly applied.
Step 1: Tools & Software
First, you need to gather your equipment (camera, lens, tripod) and software. Here are some tips when it comes to choosing your camera and what tools I recommend to bring along. What equipment do I have? I started with a very low-end camera, and I have continued to upgrade over time. Currently, I’m using a Nikon D800. For great equipment reviews head over to Reviews Section on my website.
Camera. 90% of cameras sold today can take great HDR photos. To make an HDR image, get a camera that fits any of the following:
- Take multiple photos in something called “Auto-bracketing mode” or “Auto-exposure mode” or “Exposure Bracketing” — they are all the same thing.
- Allows you to shoot in Aperture and adjust the exposure to +1 or +2 for example. If this is confusing to you, no worries, we will get to this.
- Shoot a single RAW photo. Yes, you can make a beautiful HDR image out of a single RAW!
Tripod. You might want to use a tripod if you are planning on low-light photos like sunsets and these sorts of things. You can do everything handheld, but using a tripod is actually a lot of fun.
Software. Your box of 64 Crayons will be your software. I prepared a list of software that I use myself to put HDR photos together. The first list of software is my personal absolute must (and will be discussed in this tutorial), and the second set is fun recommended software. All programs that I mention work on both Mac or Windows. I have converted from a Windows guy to a Mac guy. I used to dislike Mac people and thought they were annoying, but now I’m a changed man…I digress.
Recommended HDR Software:
- Photomatix Pro – There is a free version (that leaves an ugly watermark) and a paid version which you can get with a discount, just use ”STUCKINCUSTOMS“ code at checkout.
- People also enjoy my Photomatix Presets that will help give your photos many looks, from dreamy to grunge and everything in between.
Fun & Optional HDR Software:
- Adobe Lightroom – The final steps of my tutorial have you using Lightroom for some finishing touches. You can get a trial version on Adobe’s website.
- Nik and OnOne – These are two great packages to have with you. Once you start post-processing, you’ll want all the crayons in the box! As usual, use the STUCKINCUSTOMS discount code to save you money.
- Topaz Adjust – It will help to bring “pop” and sharpness back into the final photo. The whole Topaz Bundle on the site is also a good option if you want all the tools they offer.
- Noiseware Professional – This is the best noise reduction software. Available for both Windows and Mac.
- Adobe Photoshop or Elements – Anything that allows you to work in layers is fine really, and these are the most popular. Elements is much cheaper if you are on a budget! You can try out both for free at Adobe’s website.
Step 2: Go out and shoot
Now that you have your equipment ready and camera battery charged go someplace with a nice view and at a good time (when the sky is clear and blue or at sunset/sundown) and take photos. You will have to take multiple photos of the same scene at different exposures, so that later you could stitch these photos into one HDR image. This is when having a tripod will come in handy.
The idea is to take under exposed, over exposed photos and photos with normal exposure. Later you will merge these photos with post-processing software and will compensate the high dynamic range which your camera could not see, but your eye could.
Here are a few great tips that will help you out when shooting:
Bracketing. Even though you can make a good HDR photo from a single RAW, I often prefer to use Autobracketing. Autobracketing allows your camera to take multiple photos (say 3) in rapid sequence. Each one of those photos will be at a different shutter speed. If you are poking around your camera now, just like for the letters “BKT” for Bracket, and then maybe you can see how you can set it for three exposures at -2, 0, and +2. But more on this soon.
Aperture priority. Put your camera into Aperture Priority mode and turn on Autobracketing. Set up your autobracketing to take three photos at -2, 0, and +2. Some cameras can do more, some less. Do what you can with your camera. For example, on my Nikon D800, it can take 9 photos, stepping by 1, so I could do -4, -3, -2, -1, 0, +1, +2, +3, +4. But that is crazy. I so rarely do that. 95% of the time, I take 5 photos from -2 to +2. There is no discernible advantage in stepping by 1, by the way. I’m just letting you know that most cameras are different, and don’t fret if yours does it differently.
Best practices:
- Be sure you are shooting in RAW instead of JPG. This will give you more flexibility and range in your shooting.
- If you happen to be shooting into the sun, you may want to take a “-3 shot as well because it will be so bright.
- If in low light, use a tripod so you have a more steady shot. No tripod? Don’t worry. Photomatix can align them.
- If you are on a tripod shooting at low light conditions, set your ISO as low as it will go. This will help you get rid of noise.
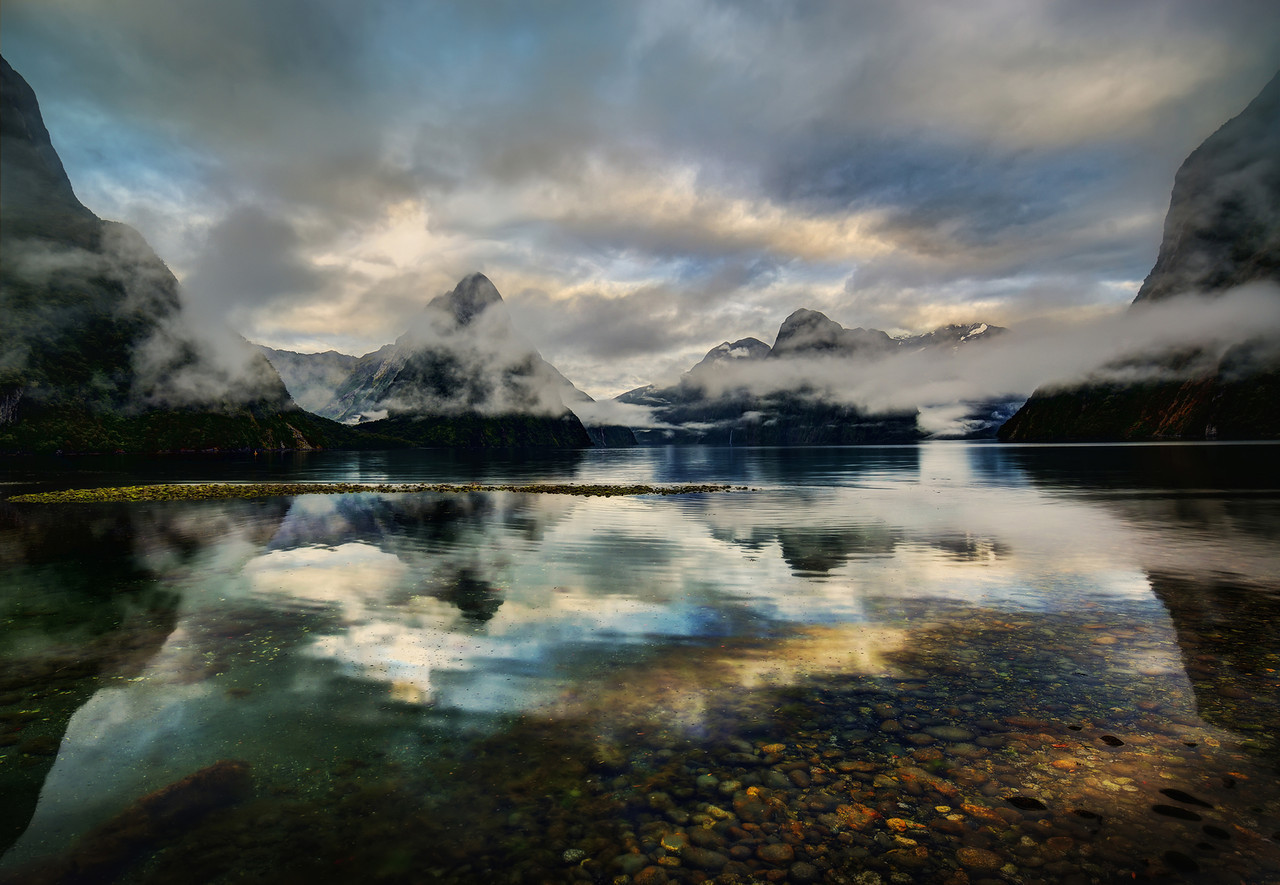
Here is the photo that I took down in Milford Sound, New Zealand, which is very close to my new home in Queenstown. I love to go down to this place. It always feels epic and wonderful, but as you can see, the original photo was not all that exciting. I’ll share the before and after, then we’ll go through all the steps together.

Step 3: Create an HDR with Photomatrix
Now in the shot below, you can see all five images I took in Milford Sound, ranging from -2 to +2. I will be merging all five photos into one HDR image with Photomatrix Pro software.
Here are the steps to how you can do it too:
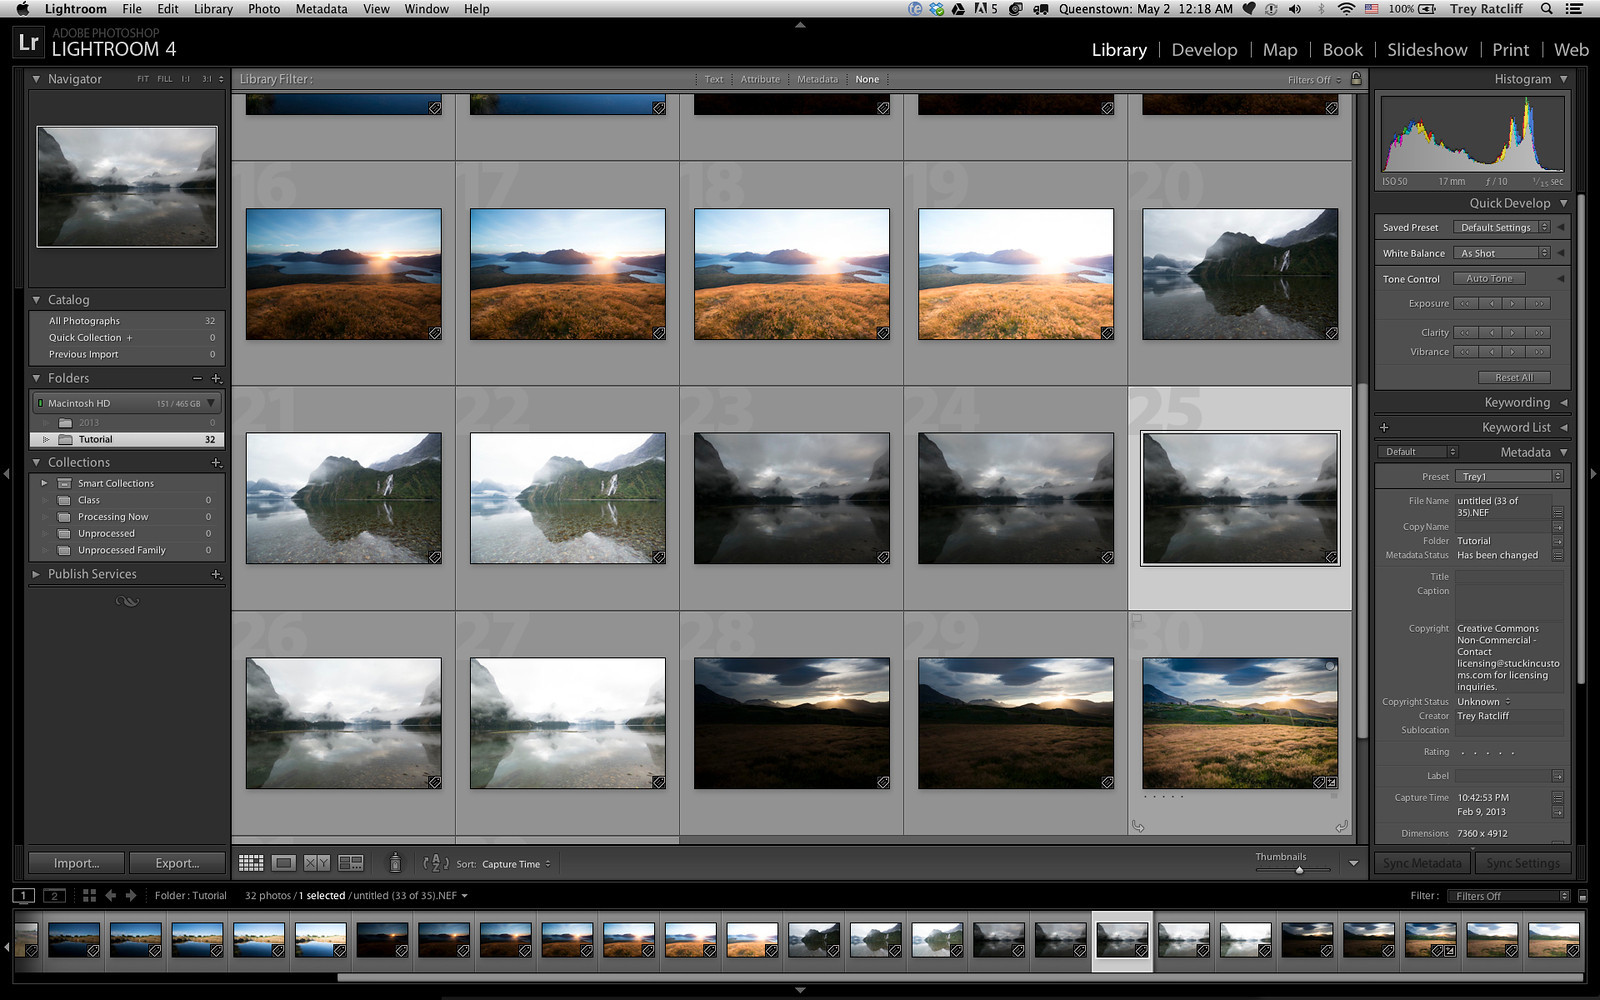
1) Open up Photomatix and load in all the bracketed images. To do this, I dragged the five images from Lightroom onto the Photomatix Icon, but there are many ways to do it. You can select the images from a folder or use Photomatix to load them in.

2) After that, you’ll see this delightful dialog. It looks scary, but it is not. You are welcome to experiment with all of these areas, but the only one I usually check is the bottom option. If I did handheld shots without a tripod, then I would also select the first one there to auto-align.

3) Click Preprocess and your computer will churn away, doing magical and mysterious things. And then you will see…this!

Let’s go through what you see above:
On the left are a series of sliders that let me change the way the photo looks.
On the right are the my presets.
Whenever I click on a preset, it dramatically moves around the sliders and drop-downs on the left. You can create your own preset or download one from the internet.
Every photo is unique, and you’ll never get the same results between different kinds of photos. Sunsets, middle of the day, interiors, etc. It’s wild! So, I usually come into Photomatix and just click around on many of my different presets. Some are horrible for one situation but awesome for others! It always changes. In the example above, I started with the preset, “Quaint Hobbit Holes” and then modified some sliders from there.
Okay, this is where it can get confusing for new people, but I will explain it. Do you see at the top how it says “Tone Mapping” and that is selected? And then underneath that it has the “Details Enhancer” selected? Well, depending on what you choose in those top two areas, it dramatically changes the sliders and options beneath! Don’t let that confuse you.
4) I often do use this Tone Mapping / Details Enhancer combination because it is quite powerful. But I use many of the other combinations as well. After you have fun playing with the sliders, click Process and then you are ready for Finishing Touches. Finishing touches allow you to make a few more final changes in Photomatix before you save the image.

5) Once you have made some final decisions, click Done and save it off!
Let’s just say you are done now. You’re probably very happy with your shot, or at least a bit surprised how fun it was, yes? Personally, I do not stop here. I have a few more steps that I go through using different tools in order to get the final image.
Step 4: Post-processing
Now that you are done with merging the photos into one HDR photograph you can continue editing the shot in your favourite processing program. I used Lightroom & Photoshop.
Lightroom Edits
I often prefer to use tools like Photomatix and Lightroom to create many “versions” of the image, each one just being a thought experiment. Today, we are going to use Lightroom to make another version of that image. In my actual day-to-day processing, I may make several Photomatix versions and several Lightroom versions.
The final step, you will see, if you will let me jump ahead, is to layer them all in Photoshop and then combine them into something totally unique that speaks to your personality and your sense of art-self. Maybe this means something to you.
1) Open up Lightroom and import your newly merged HDR image. Then go into Develop mode and apply or create a preset which would add drama to the centre of your photograph. Usually a well faded vignette will do the trick.
2) After applying that change take a look at the sliders on the right. Many of them do the things that HDR does. The most important sliders are shown in the image below on the top left. As with all these, you can click to zoom in on the image above so you can deconstruct how the preset works.

3) After I am done with Lightroom, I export the image into a temporary directory. By the way, that is the same temporary directory where I have my Photomatix file. Below, you can see the two images side by side.

Photoshop Edits
Wait a second here…you’re not thinking, “Ohhhh crap, I suck at Photoshop,” are you? I hope not! It’s nothing to be afraid of. This is what friends do, right? We push one another gently out of our comfort zones. So I’m giving you a little push here.You don’t need to understand ALL of Photoshop to do these few things I will teach you.
1) Open Photoshop. Then add two images: one you just completed in Lightroom and your original HDR photo. Layer one on top the other.

2) Frankenstein these two images together using masking. If you have never done Masking in Photoshop watch this handy tutorial. Quick hint: When you hit the backslash key, you can see where you are masking through. The more intense the pink, the more you have masked through to see the layer underneath.

3) When done with masking merge the layers together. You can do this by selecting Layers & Merge Layers from the menu or Ctrl+E.
4) For finishing touches I reduced noise and sharped the edges. I executed both actions using few of the recommended softwares, you can read about it here.
5) You are now done and can enjoy the final image!
This tutorial is based off Trey Ratcliff’s original HDR Tutorial – How To Make Beautiful HDR Photos With Ease.
Follow Trey on 500px, or visit his website and Facebook page.
You Might Also Like These Articles:
- Digital Blending Tutorial: Creating Clean & Natural HDR Images Without HDR Software
- How To Produce Your Own Creative Shoot, Plus, Stellar Photo Shoot Ideas
- How to Make Money With Your Photos
- How To Approach Strangers On The Street And Ask For Their Picture
![Nude Photography Guide | Why I Shoot Nude Photography [Example + Tips]](https://iso.500px.com/wp-content/uploads/2015/11/naylor-1500x1000.jpg)


Leave a reply