Want to try out a cool and fun portrait composite tutorial you can do with Adobe Photoshop? 21-year-old Polish photographer and filmmaker Adrian Chudek is here to share his shooting and editing tricks for creating dramatic “long-hair-don’t-care” portraits. Scroll down, and learn to make hair come alive in your portraits!

by Adrian Chudek
EQUIPMENT/GEAR
1. Canon 6D
2. Canon 85mm 1.8
3. Tripod
4. iPhone to use as a remote shutter release
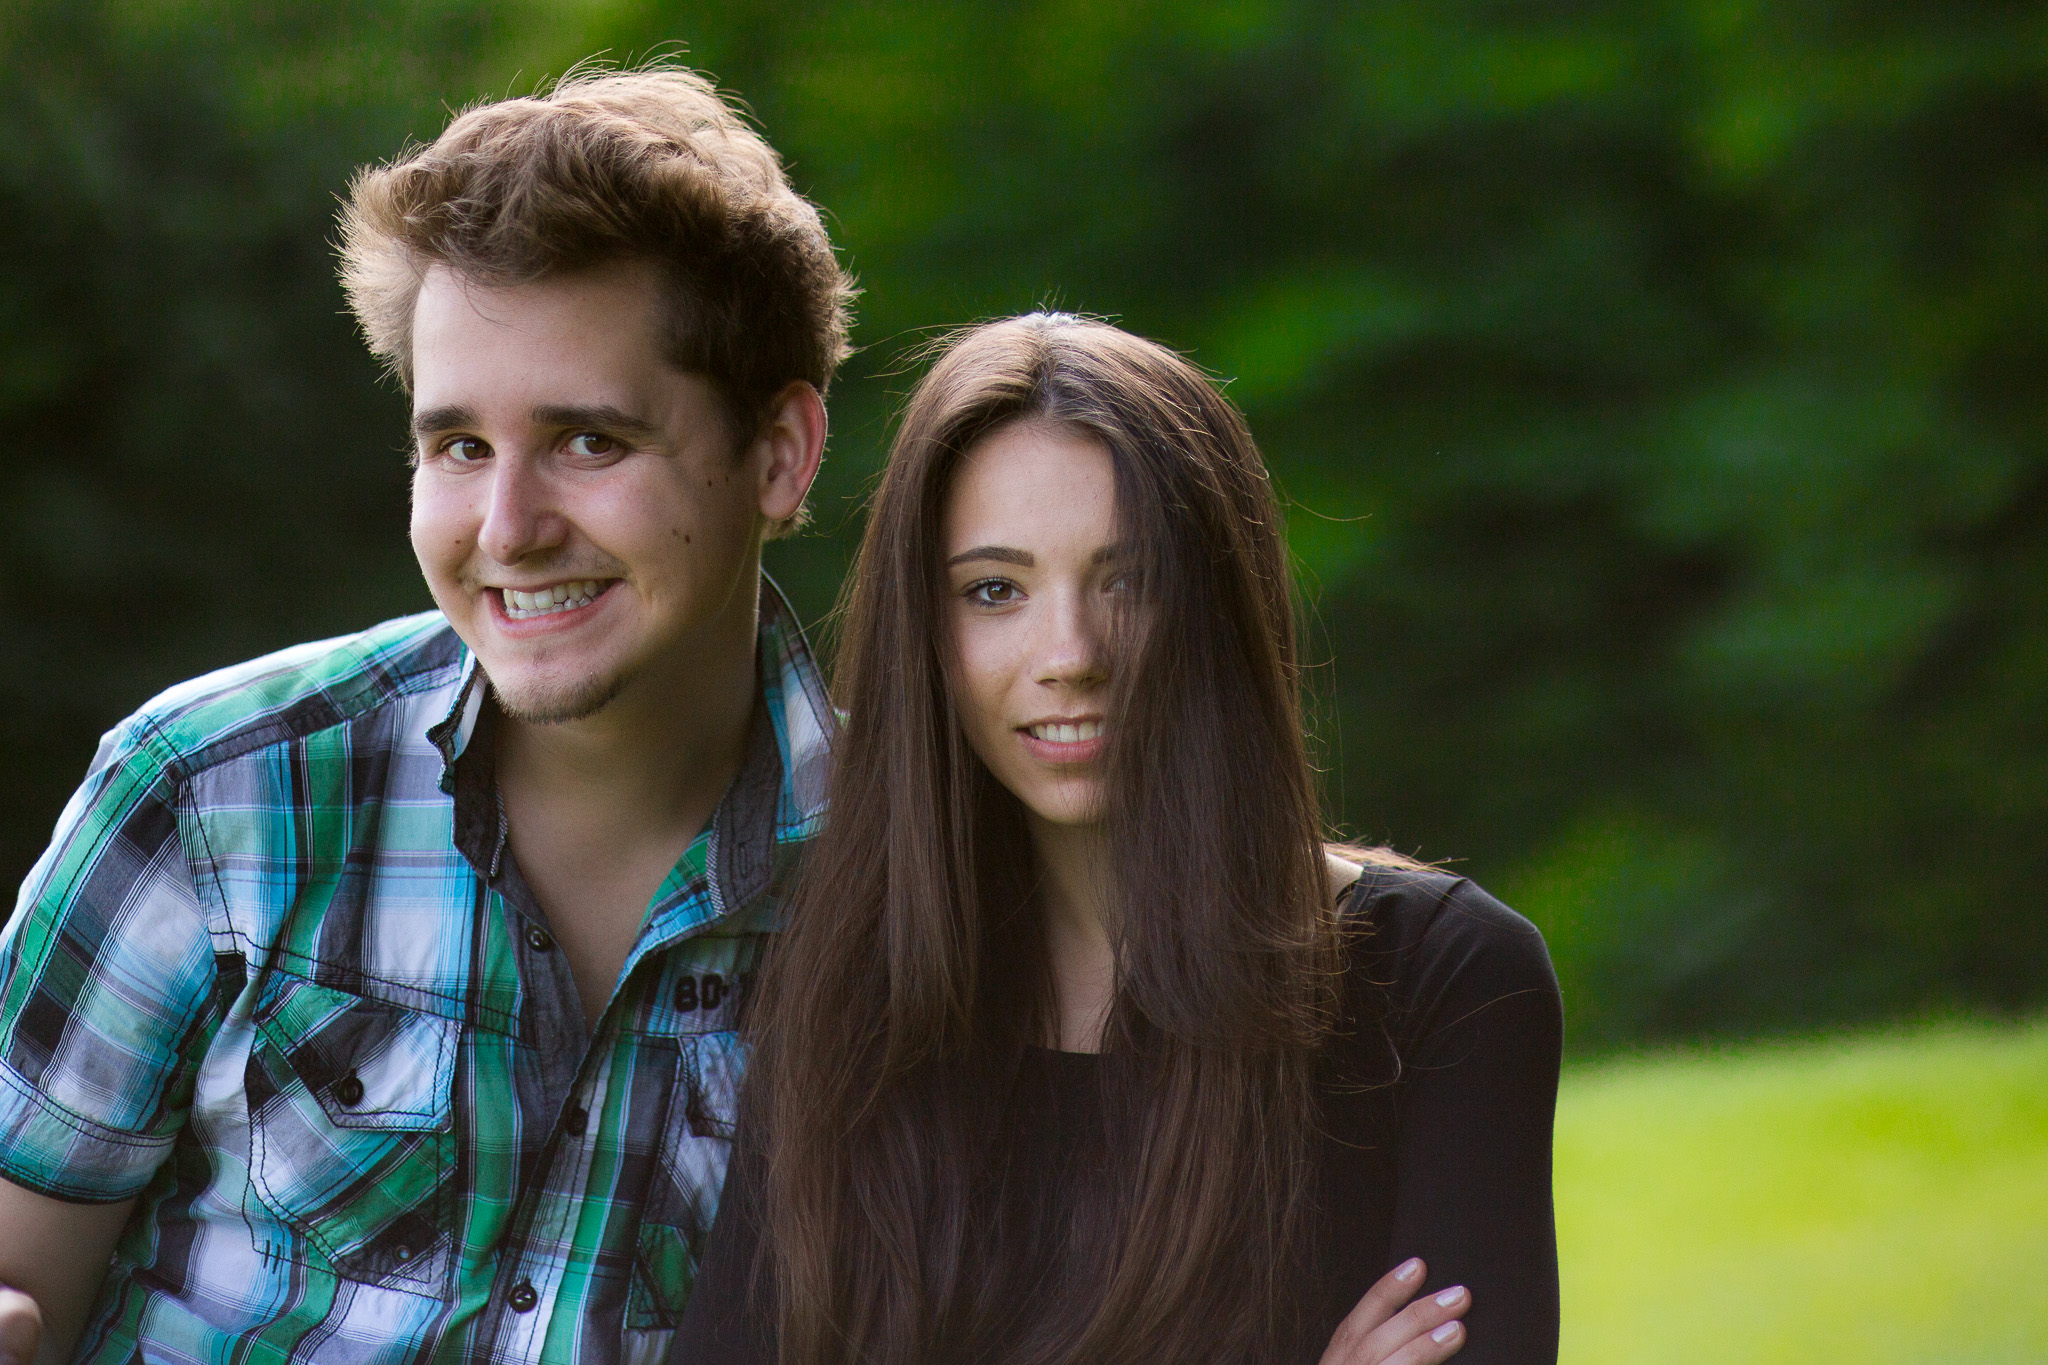
Adrian Chudek and his model Veronica before the photo shoot.
HOW TO SHOOT
1. First, the most important thing is to find a location where the background of your portrait will be. For this, I chose a clearing in the forest.
2. Put the camera on a tripod in front of your long-haired model and set the focus. Remember that between shots, the camera settings and focus must be identical, so make sure to switch to manual mode.
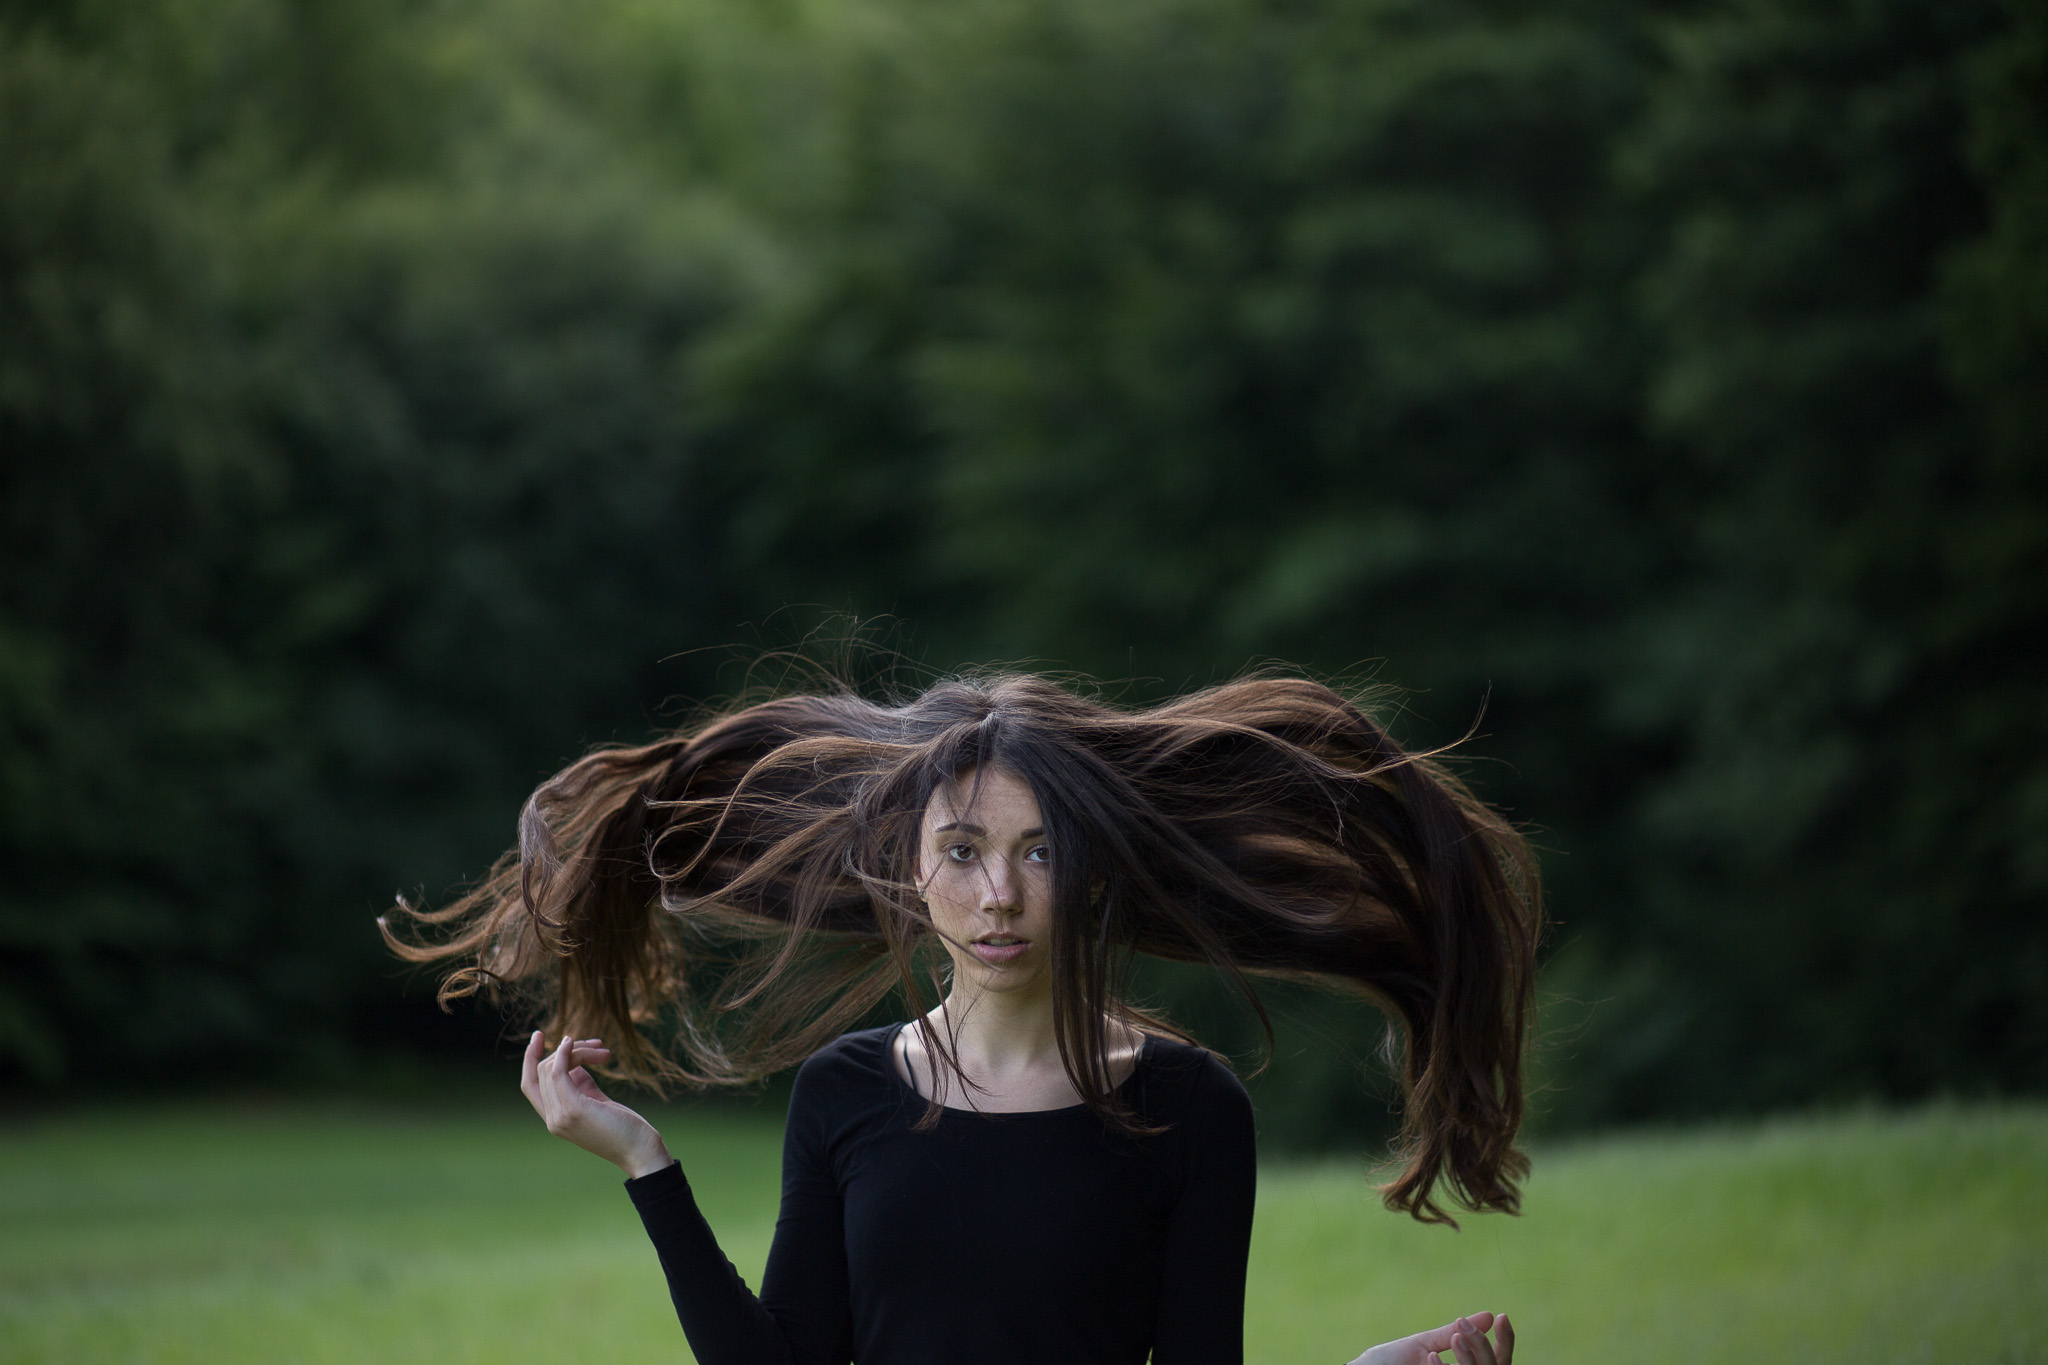
3. Now, I’ll reveal to you the secret of this picture: Ask the model to continually toss her hair in all directions as you take shots.
Very simple idea, right? Use a remote shutter release to avoid vibrations. Take pictures until you’re sure that you’ve captured every space around her head filled with her hair.
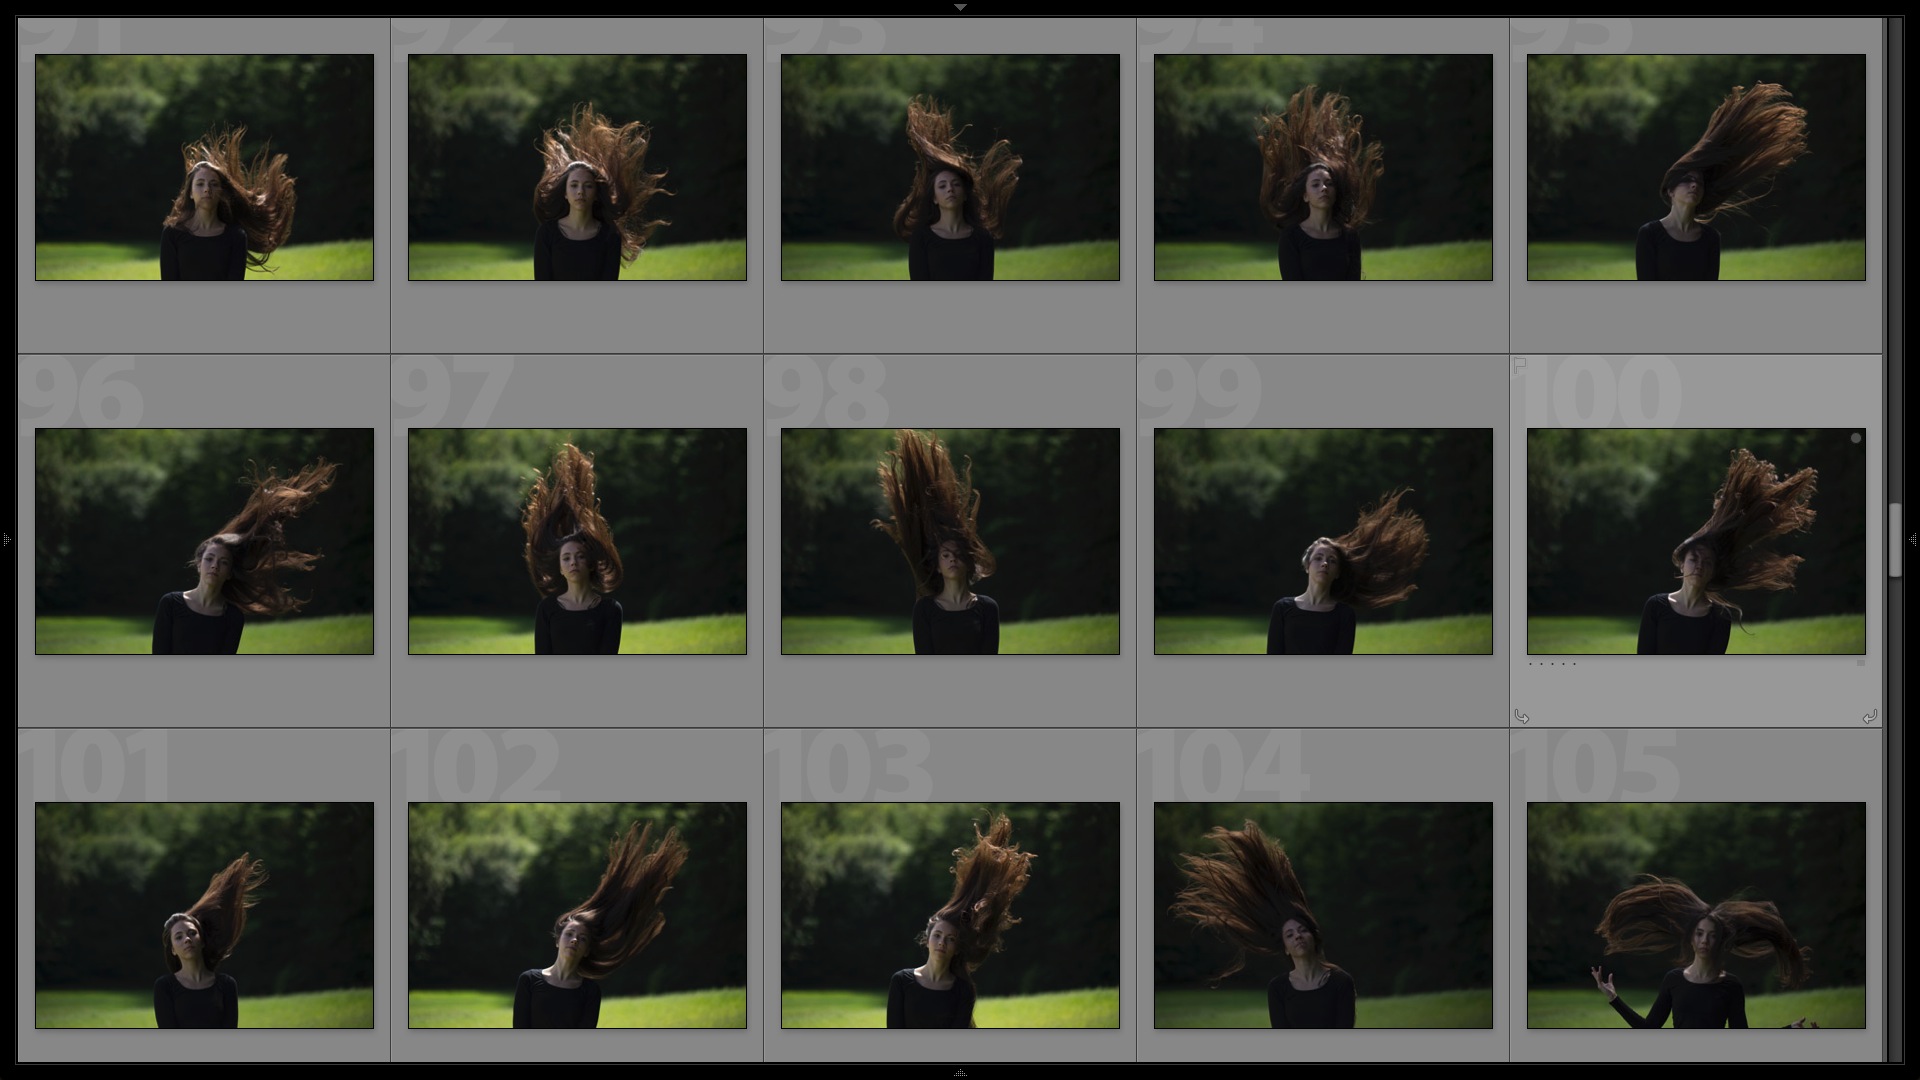
4. As you can see in the shots above, while tossing her hair, the model’s face doesn’t look too interesting. So now you need to take a picture, just focusing on her face. But the hair can’t fall down, because it would look very unnatural. So ask the model to toss her hair using her hands.
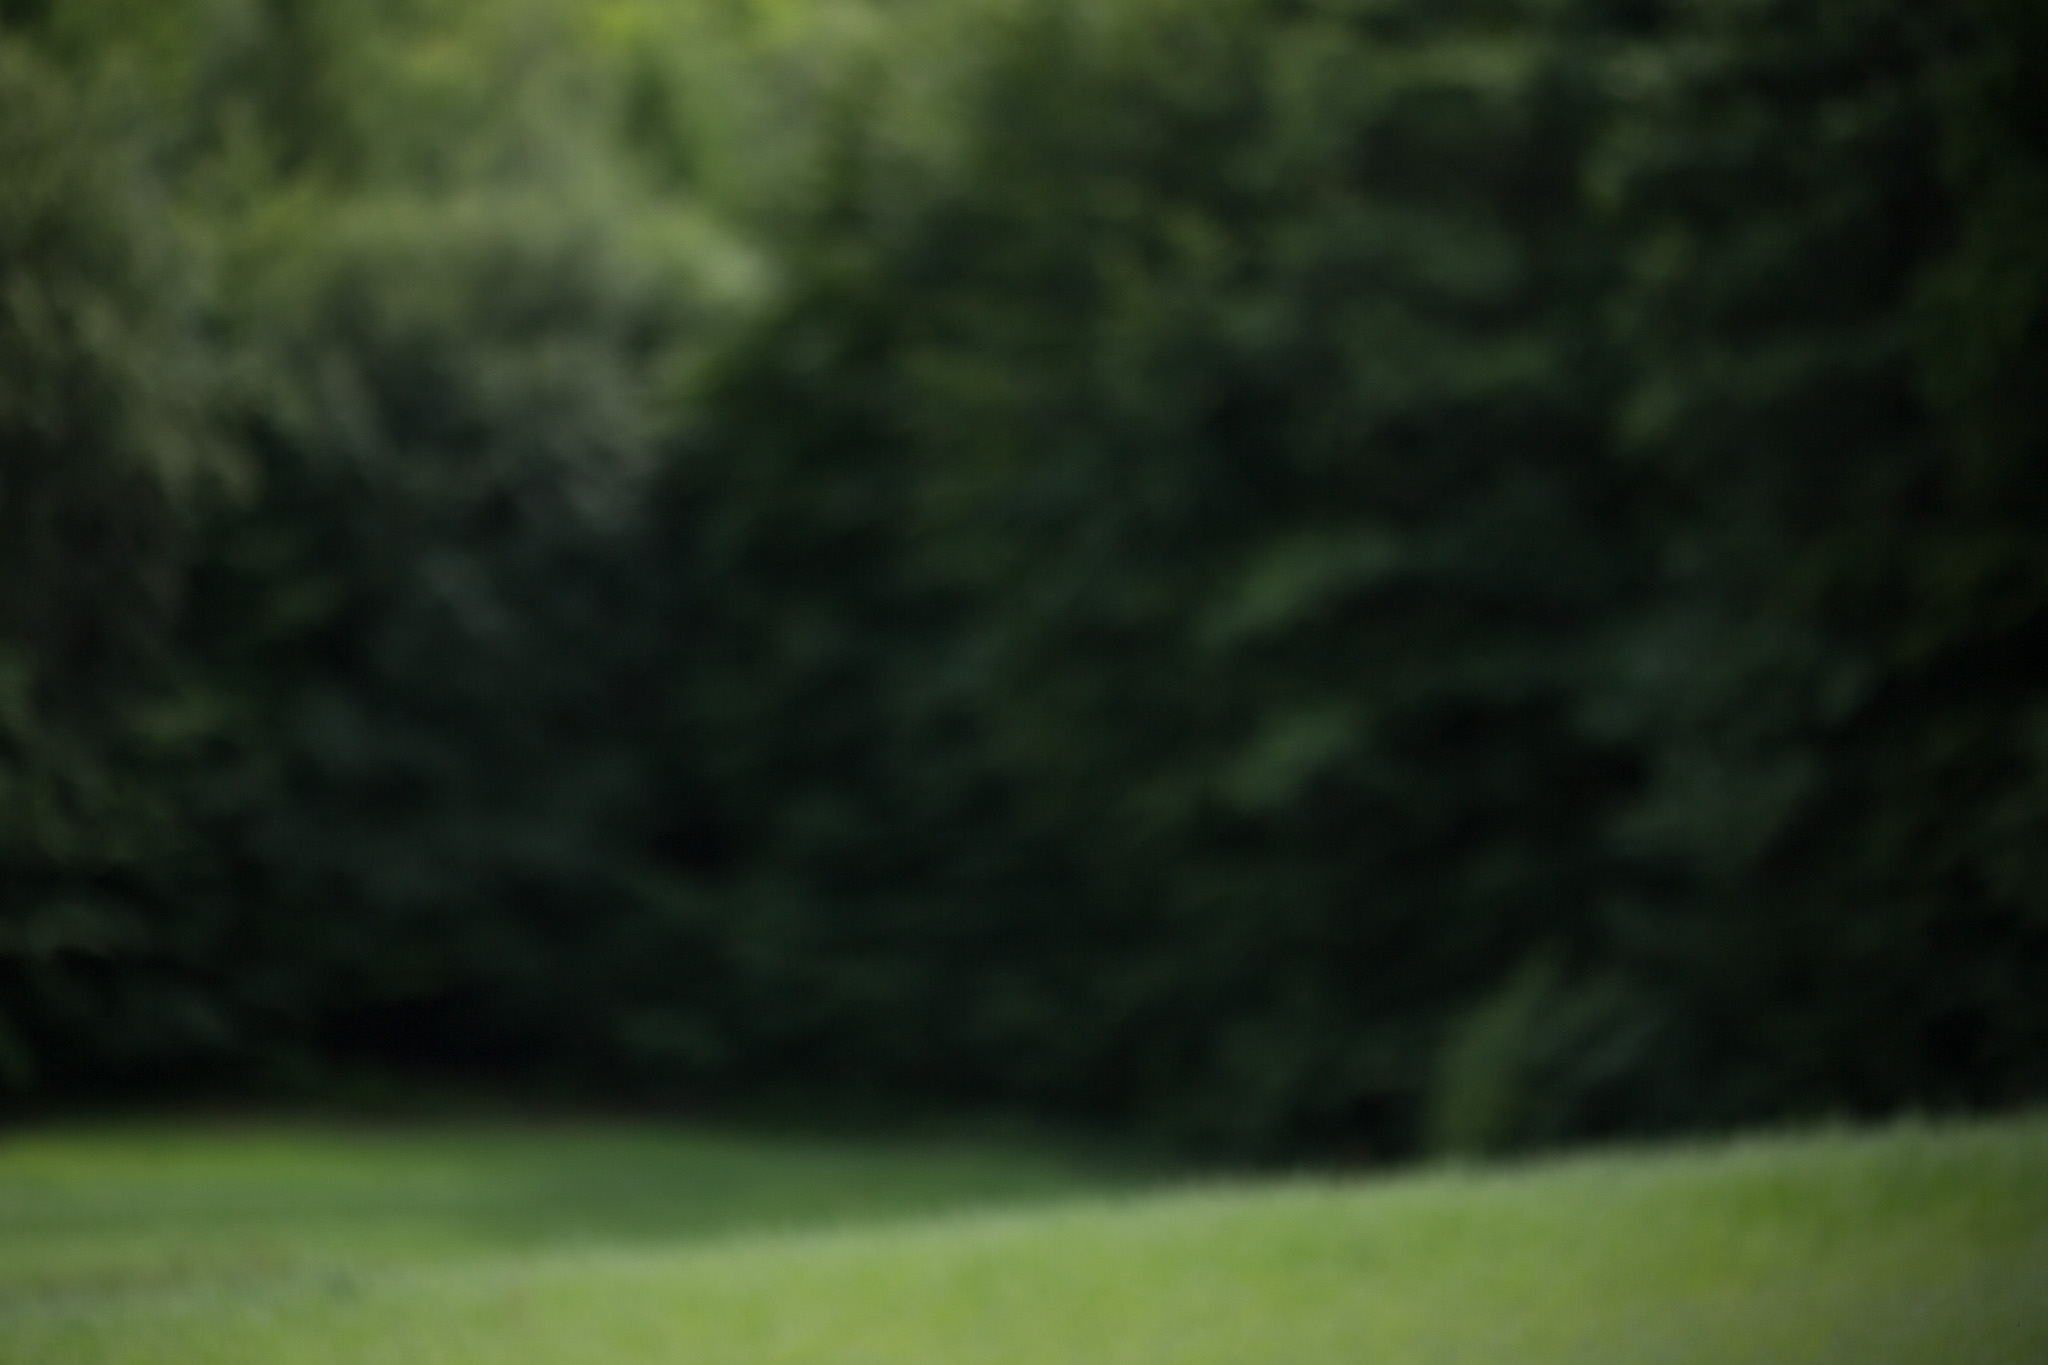
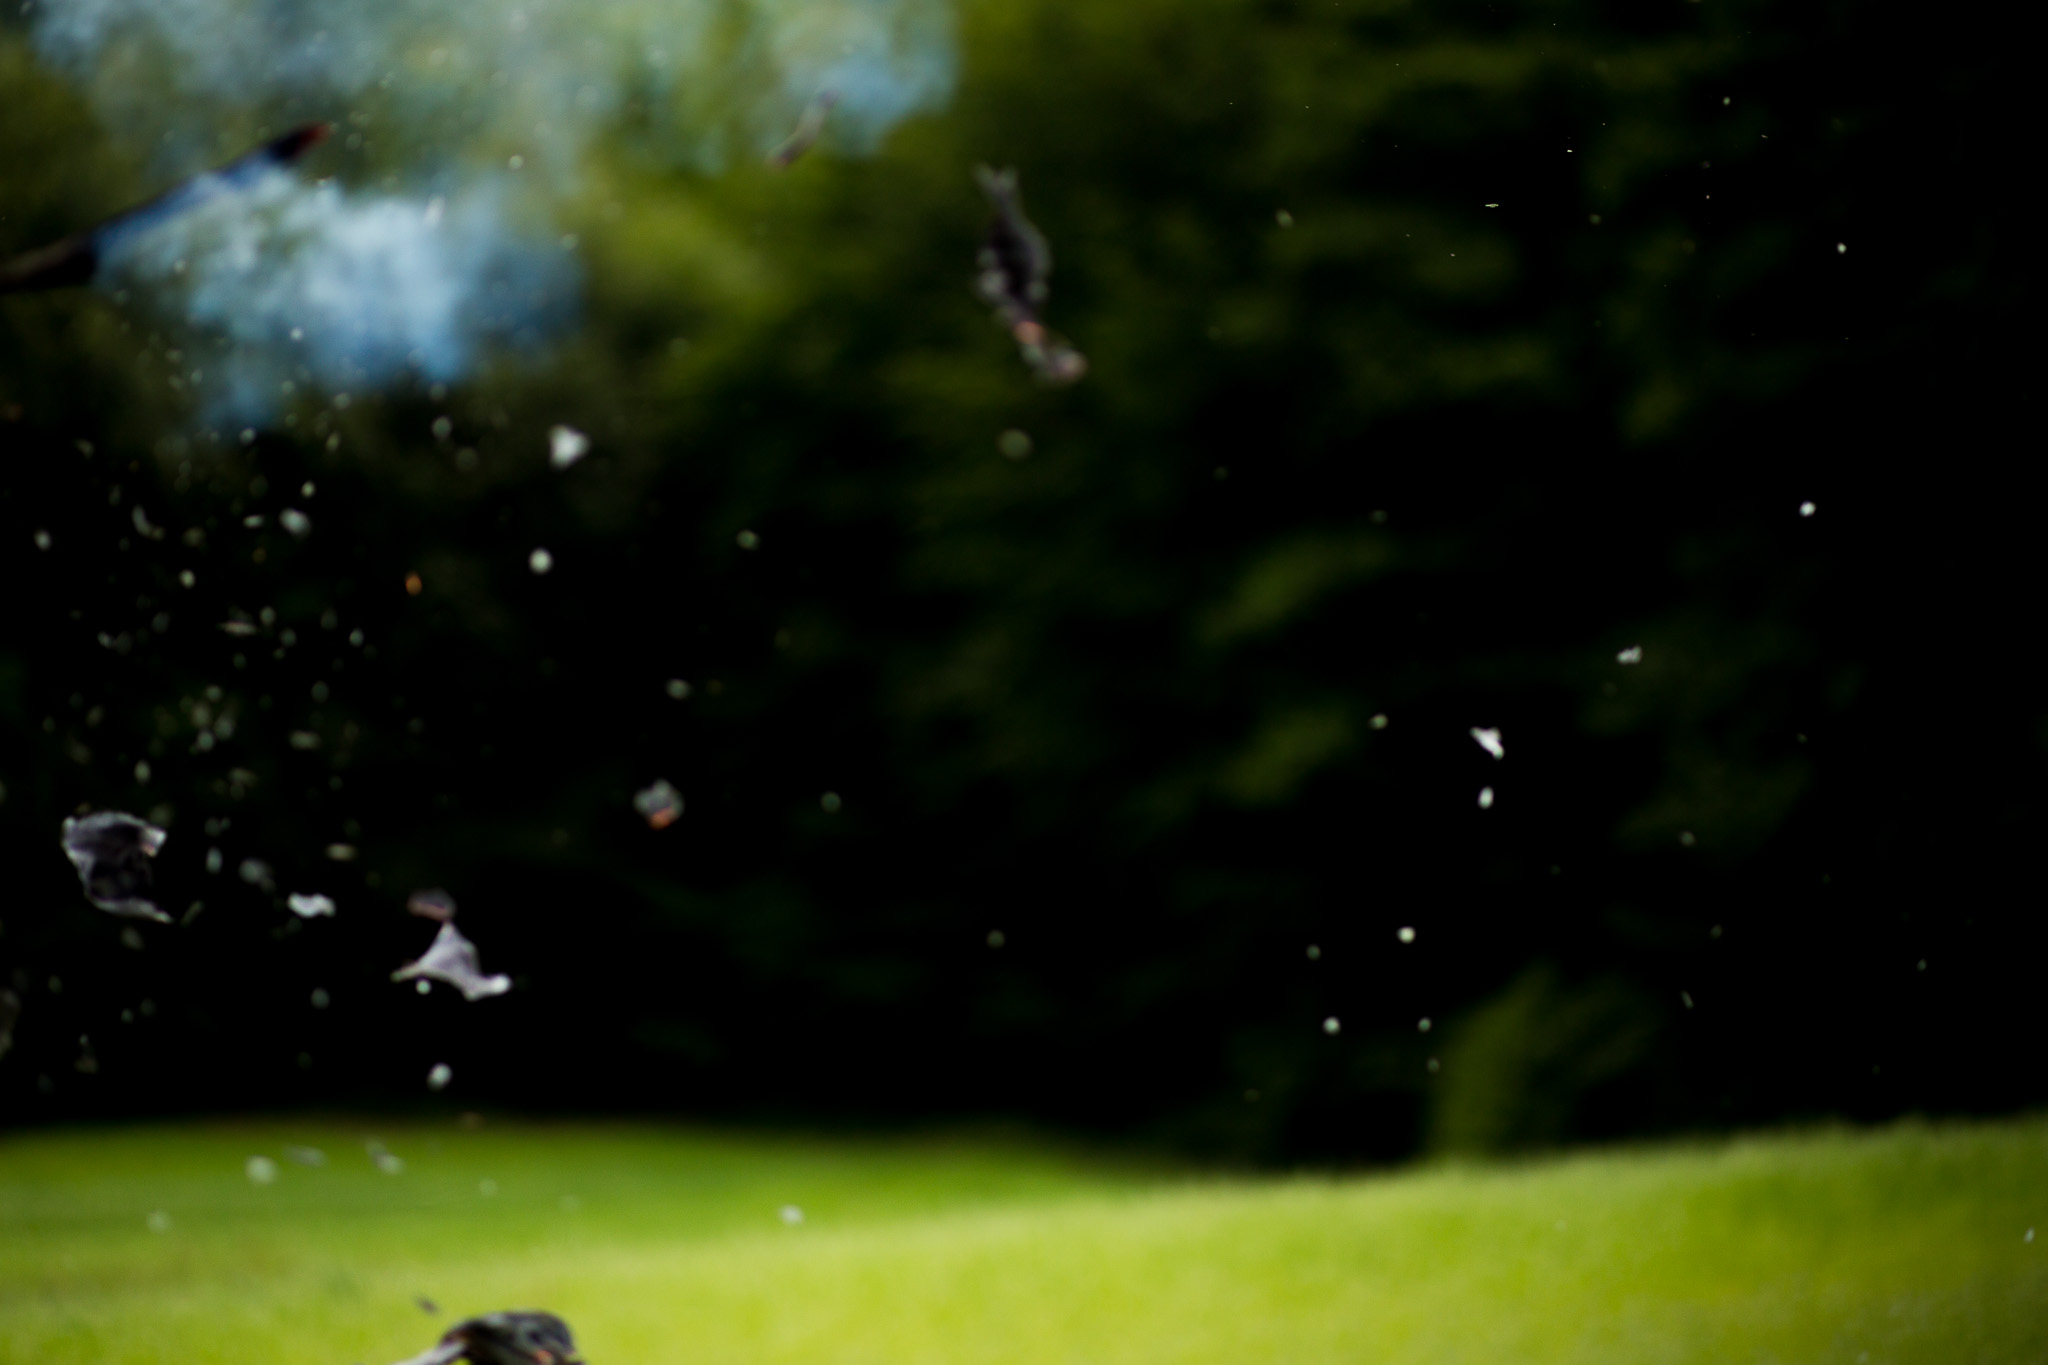
5. After that, ask your model to leave the frame. Then, take a clean, empty background photo.
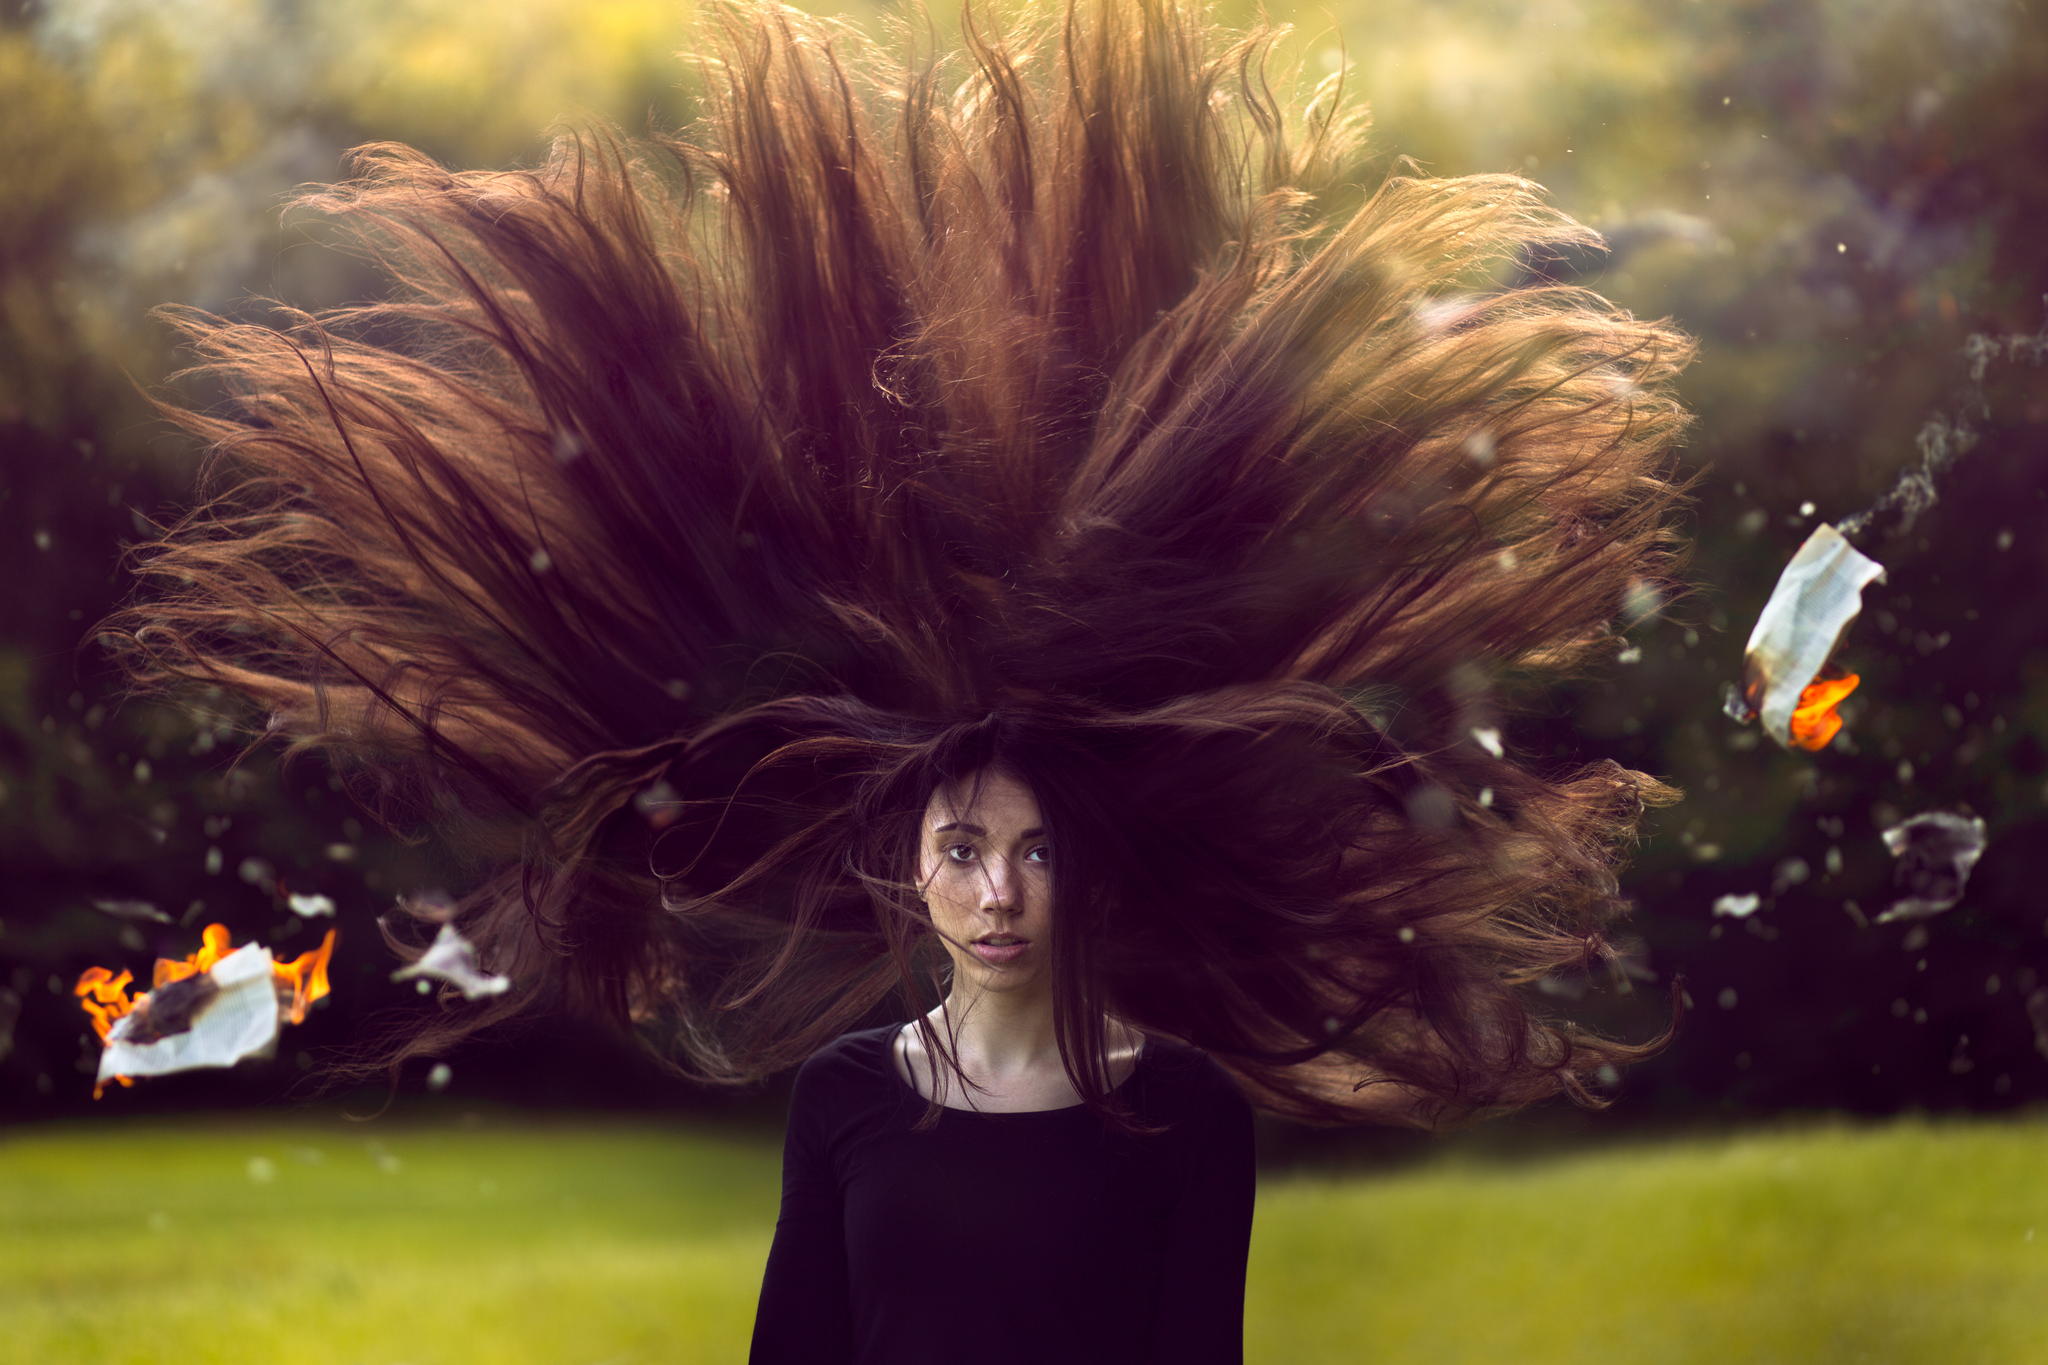
6. Now it’s time to add a dynamic element to the shot which will add drama and storytelling to your portrait. For this, I chose fire. It’s now time to shoot a burning piece of paper flying in the air. Crush some paper torn from an old book, stab it on a stick, light it up and burn it. This is what you’ll use as your flying piece of burning paper.
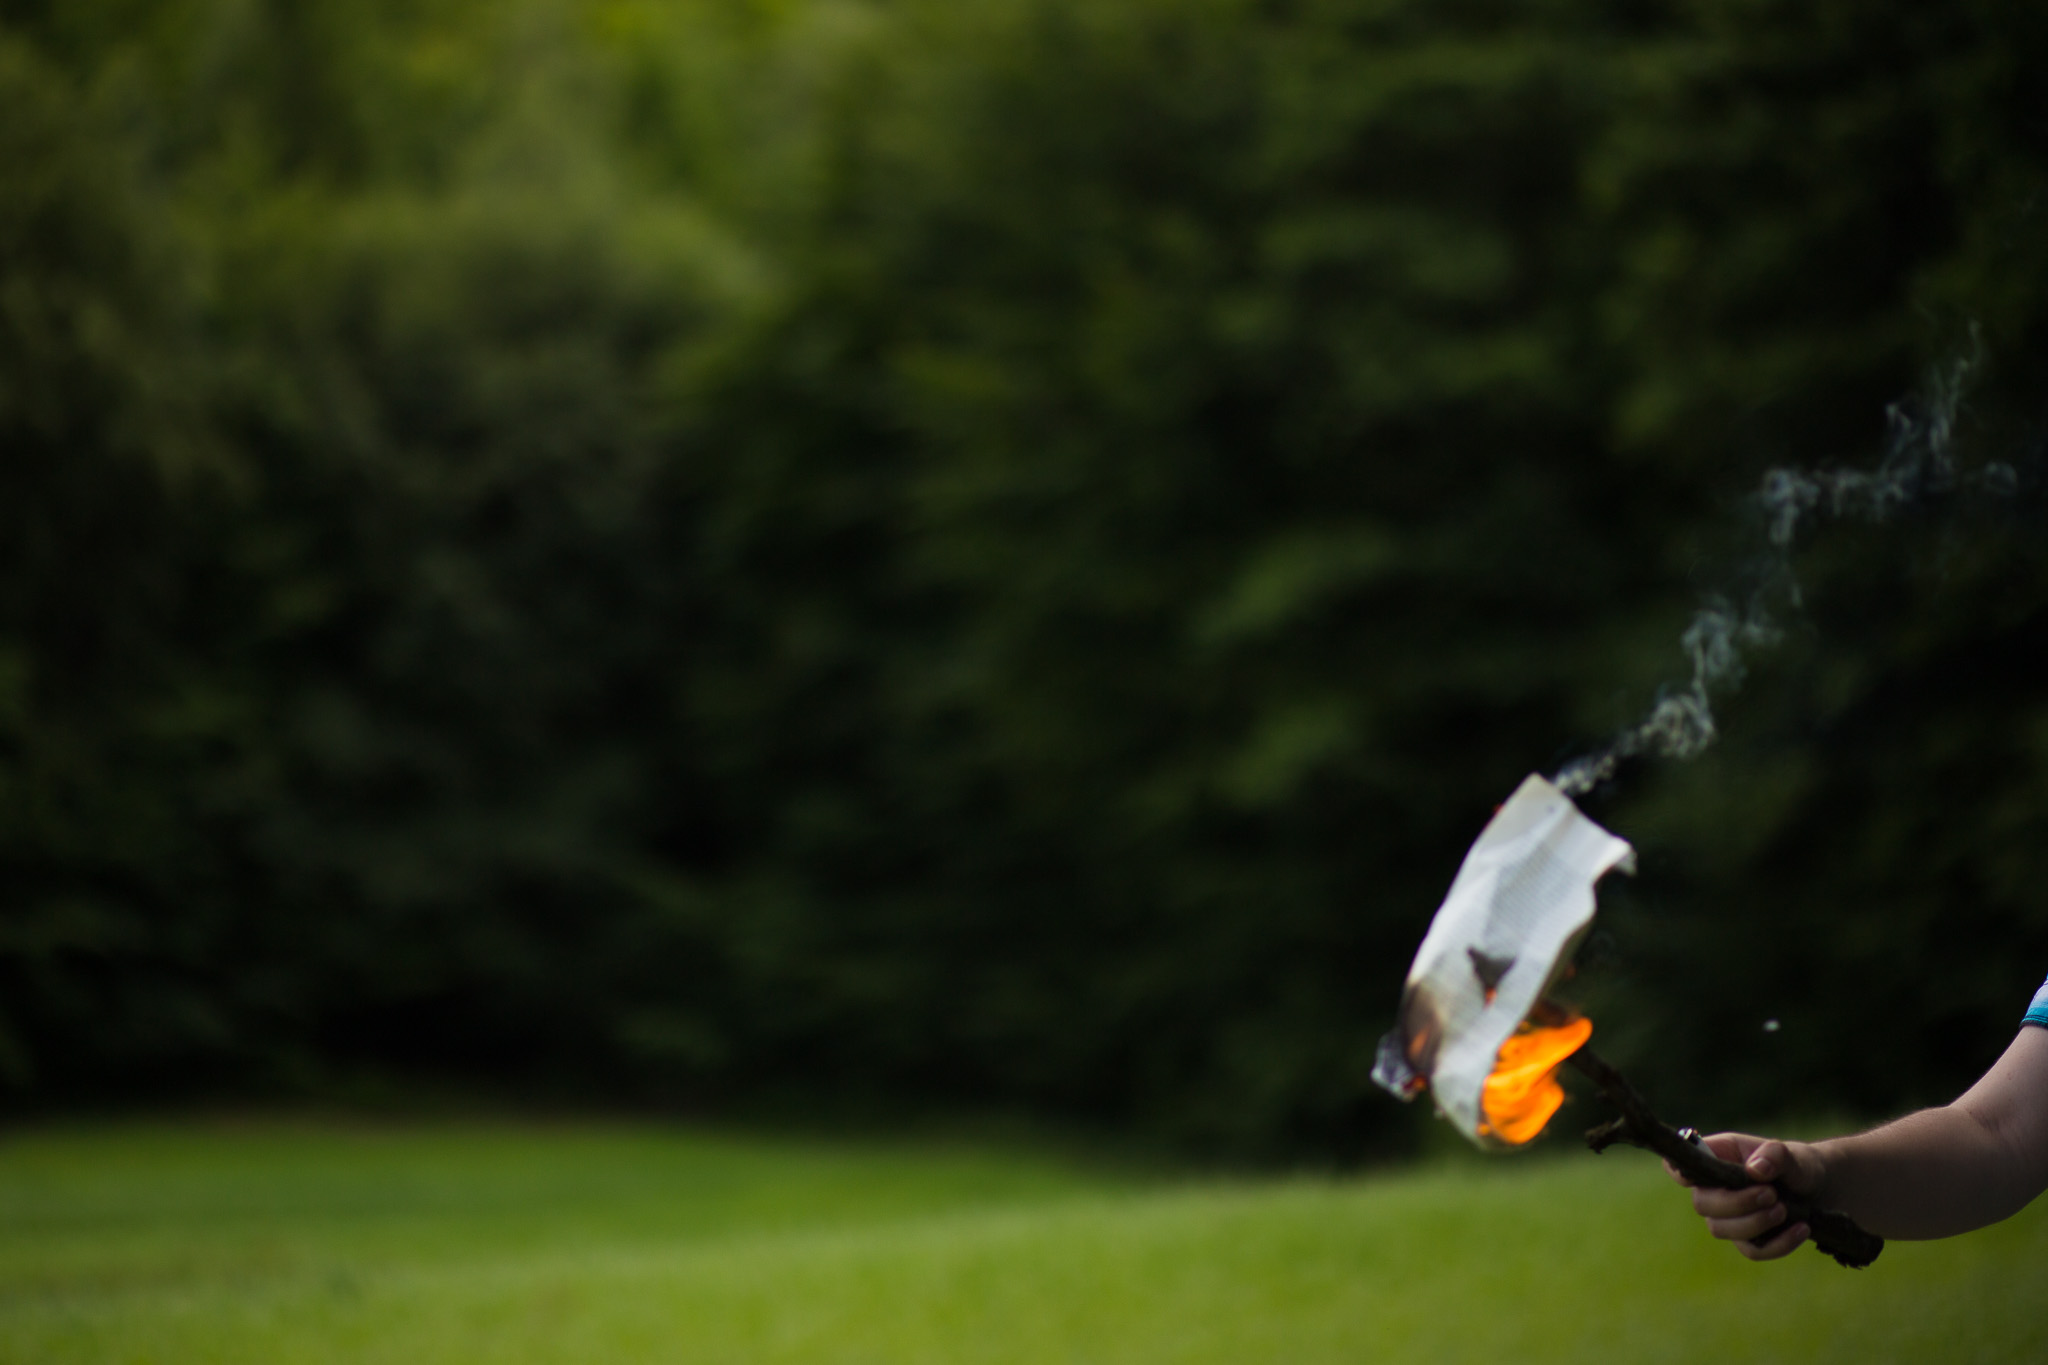
7. Take shots of your “flying” burning paper in different positions. Zoom in and zoom out of the camera to create a natural depth of field. Remember my advice at the beginning of this tutorial? The camera settings and focus must be identical.
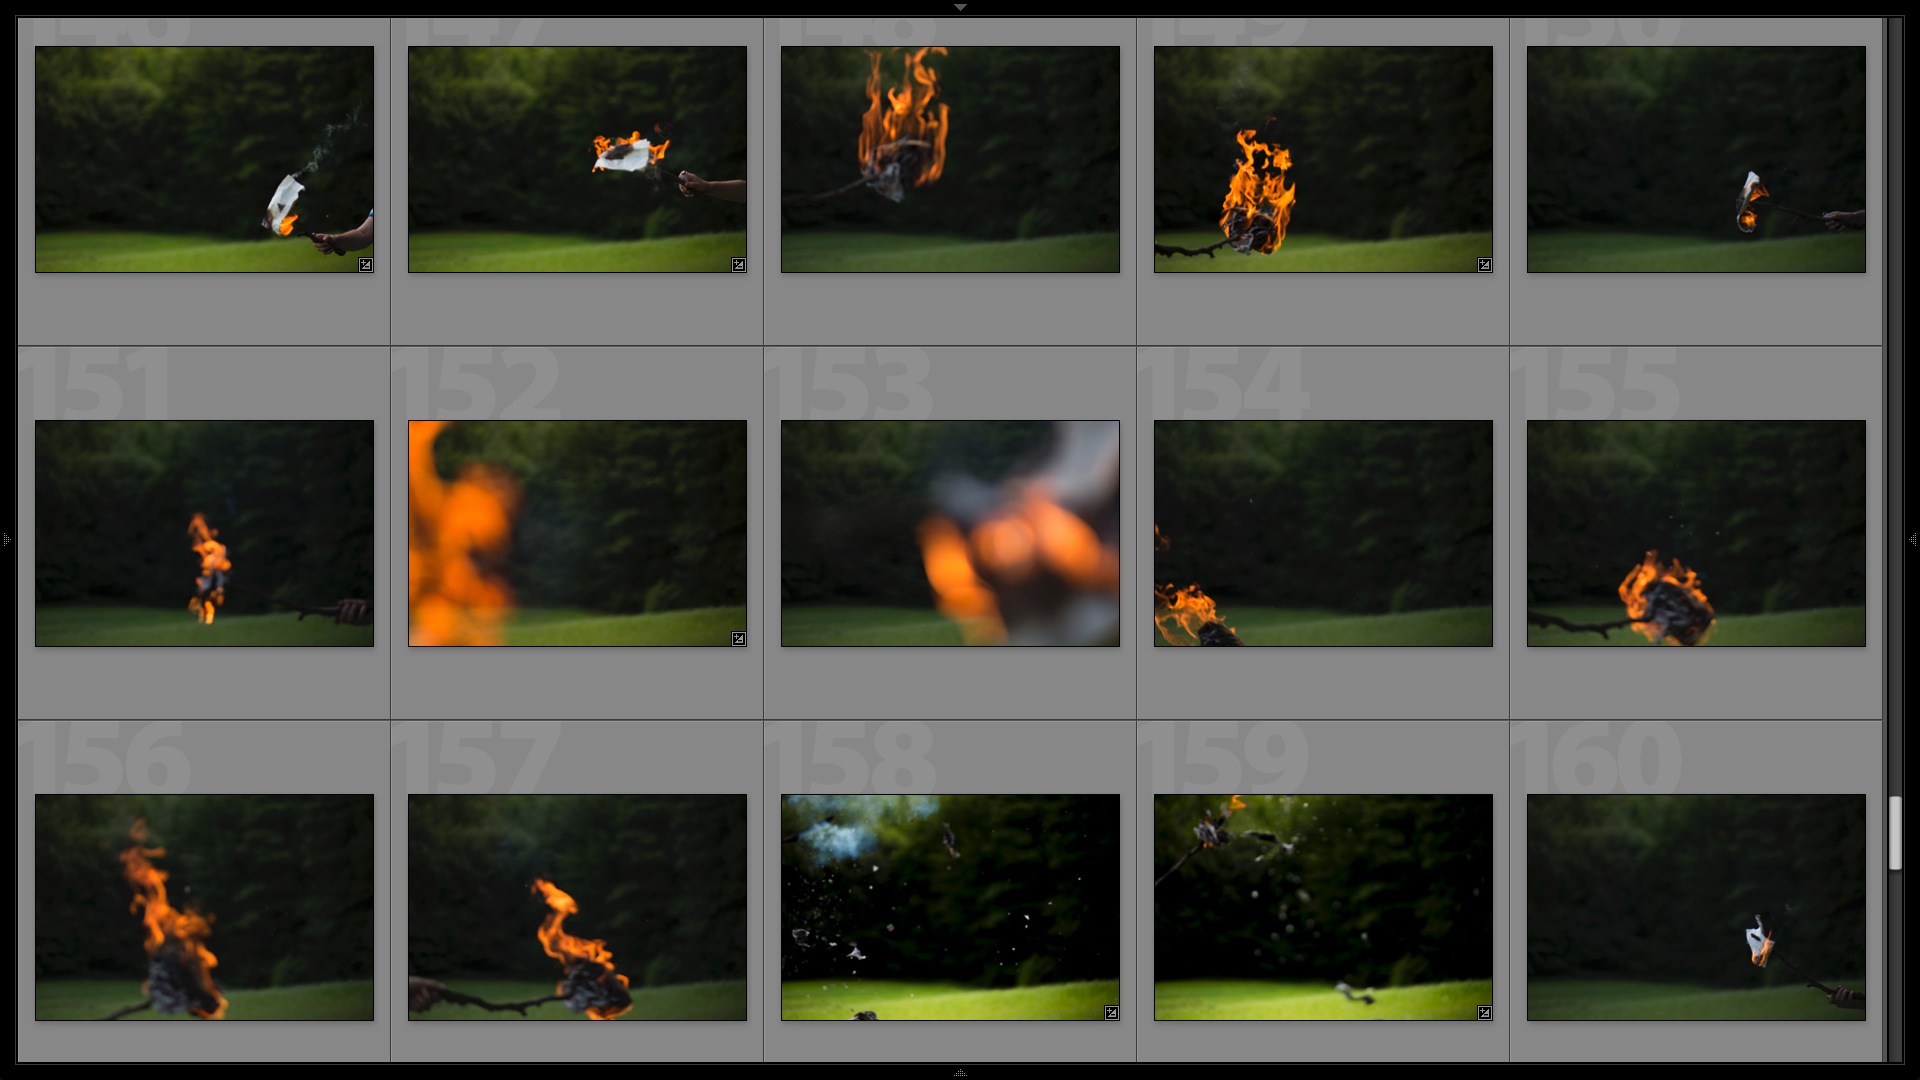
8. When the paper is already heavily burned, strongly shake the stick to create a beautiful, natural-looking flying pieces that you can capture on camera.
POST-PROCESSING
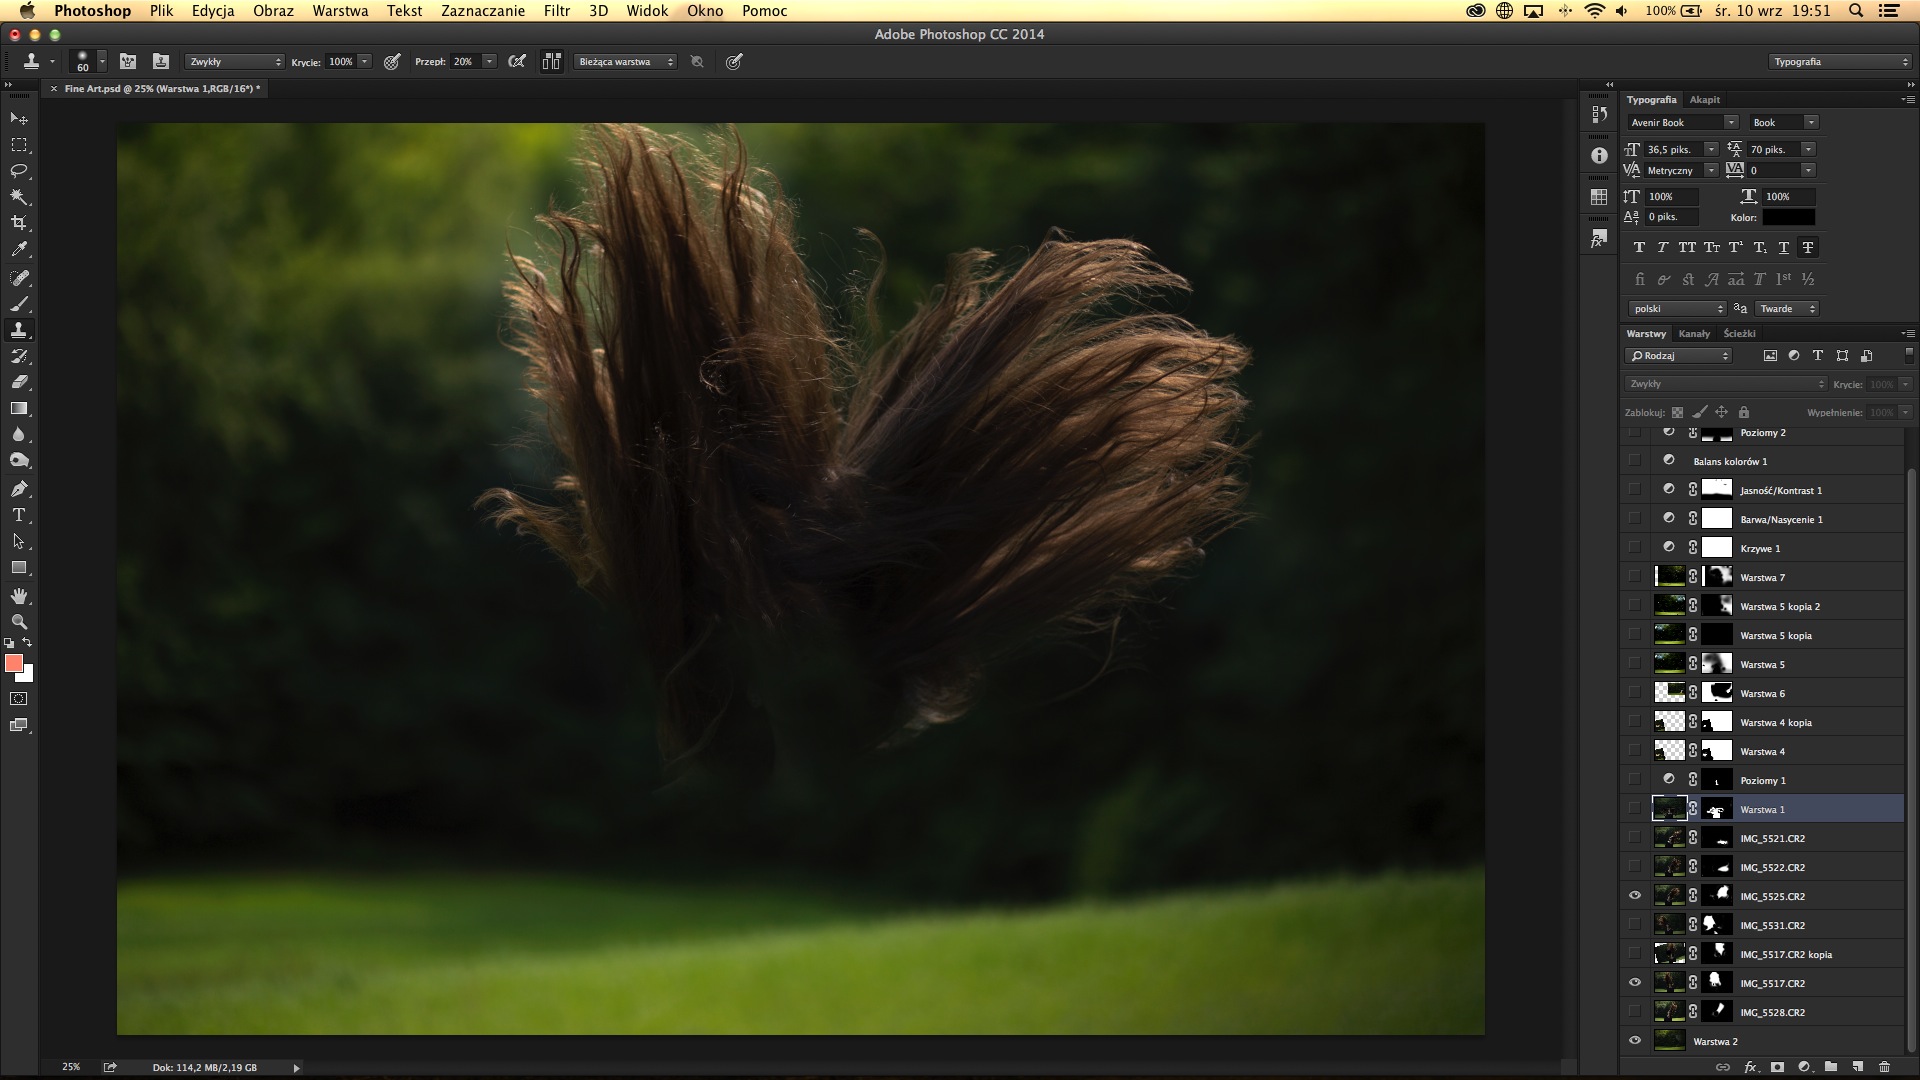
1. Select a clean background to the bottom of your image.
2. In the higher layers of your image, select the best photos of hair. Cut them using a mask, and set brush to 0% hardness. Remember to leave your hair ends with the background! It’s very important to keep the natural look of the hair. Don’t worry, they’ll fit into the background. The key is patience to do it right. I did this all day.
3. When you are done, paste the entire model and adapt it to the rest of the hair using the same method as above.
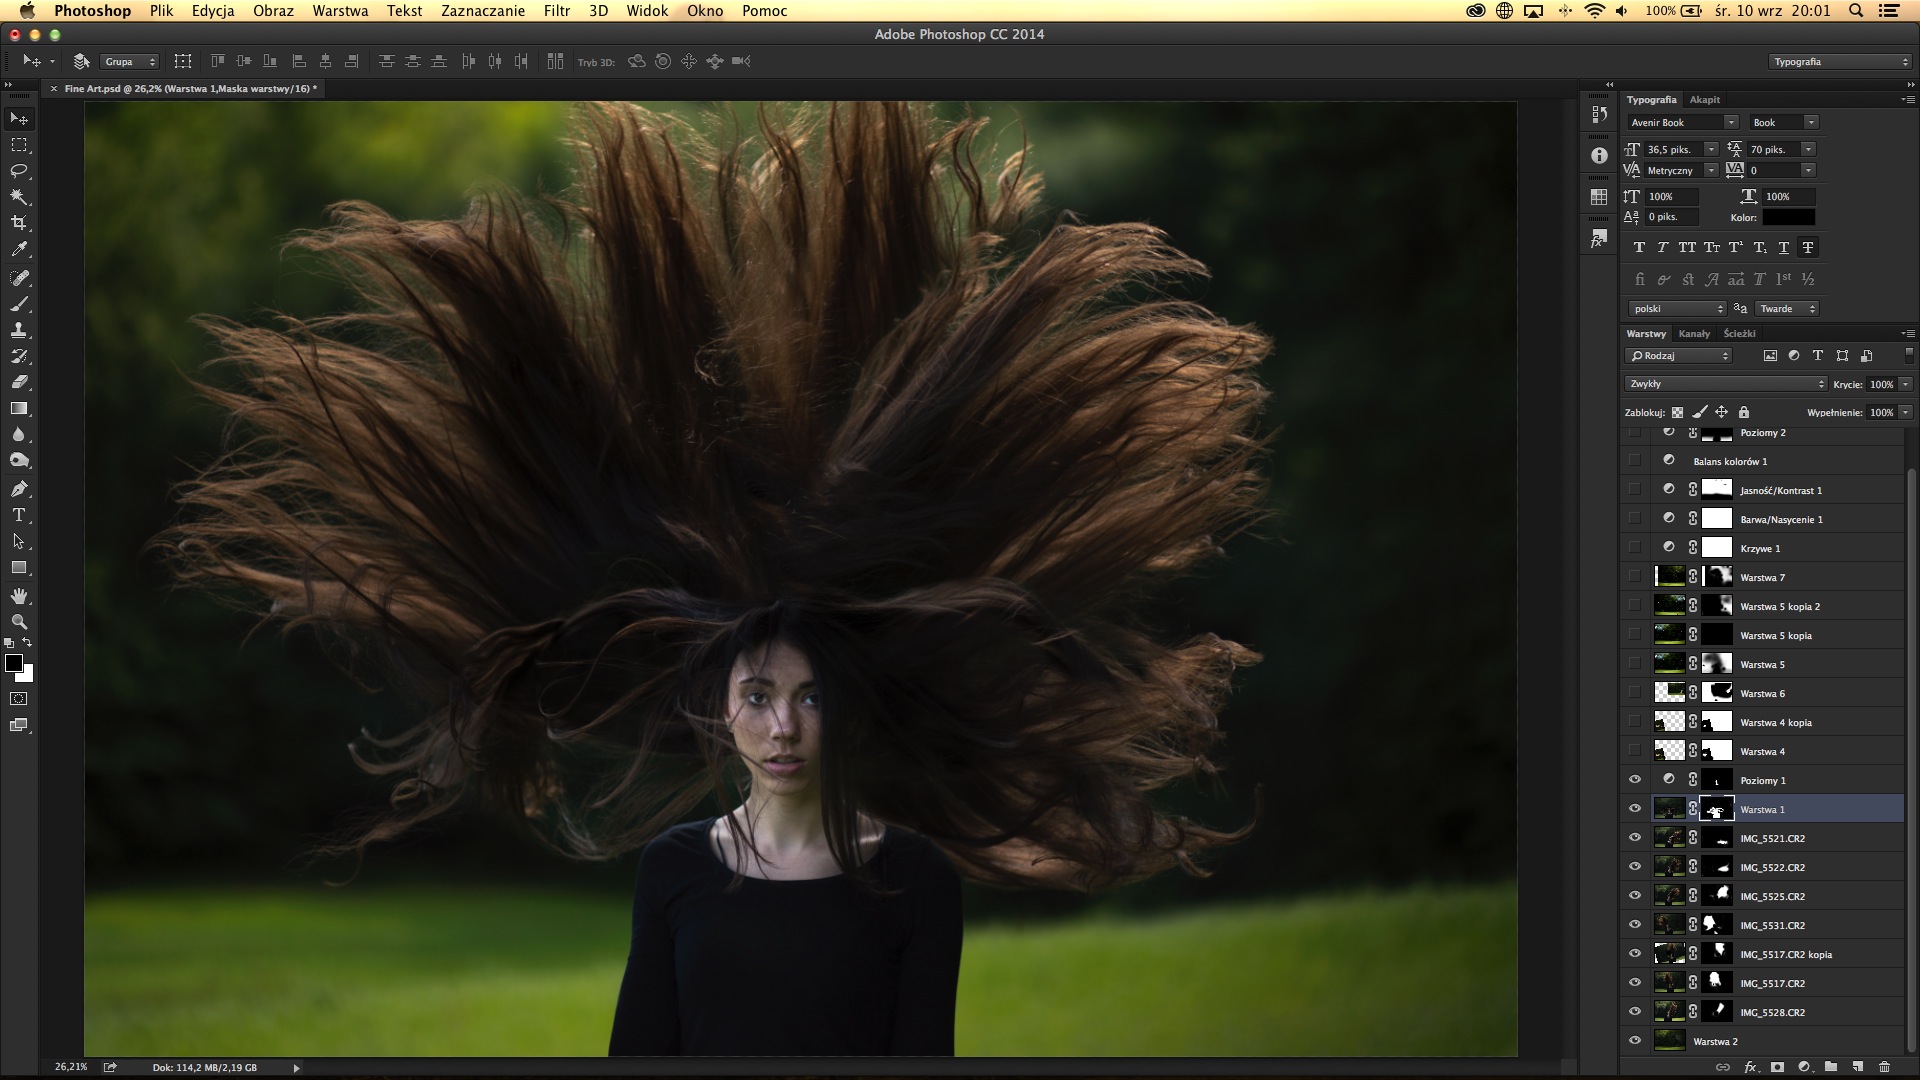
4. Then, using the lasso tool remove her hands, which she used for tossing her hair around.
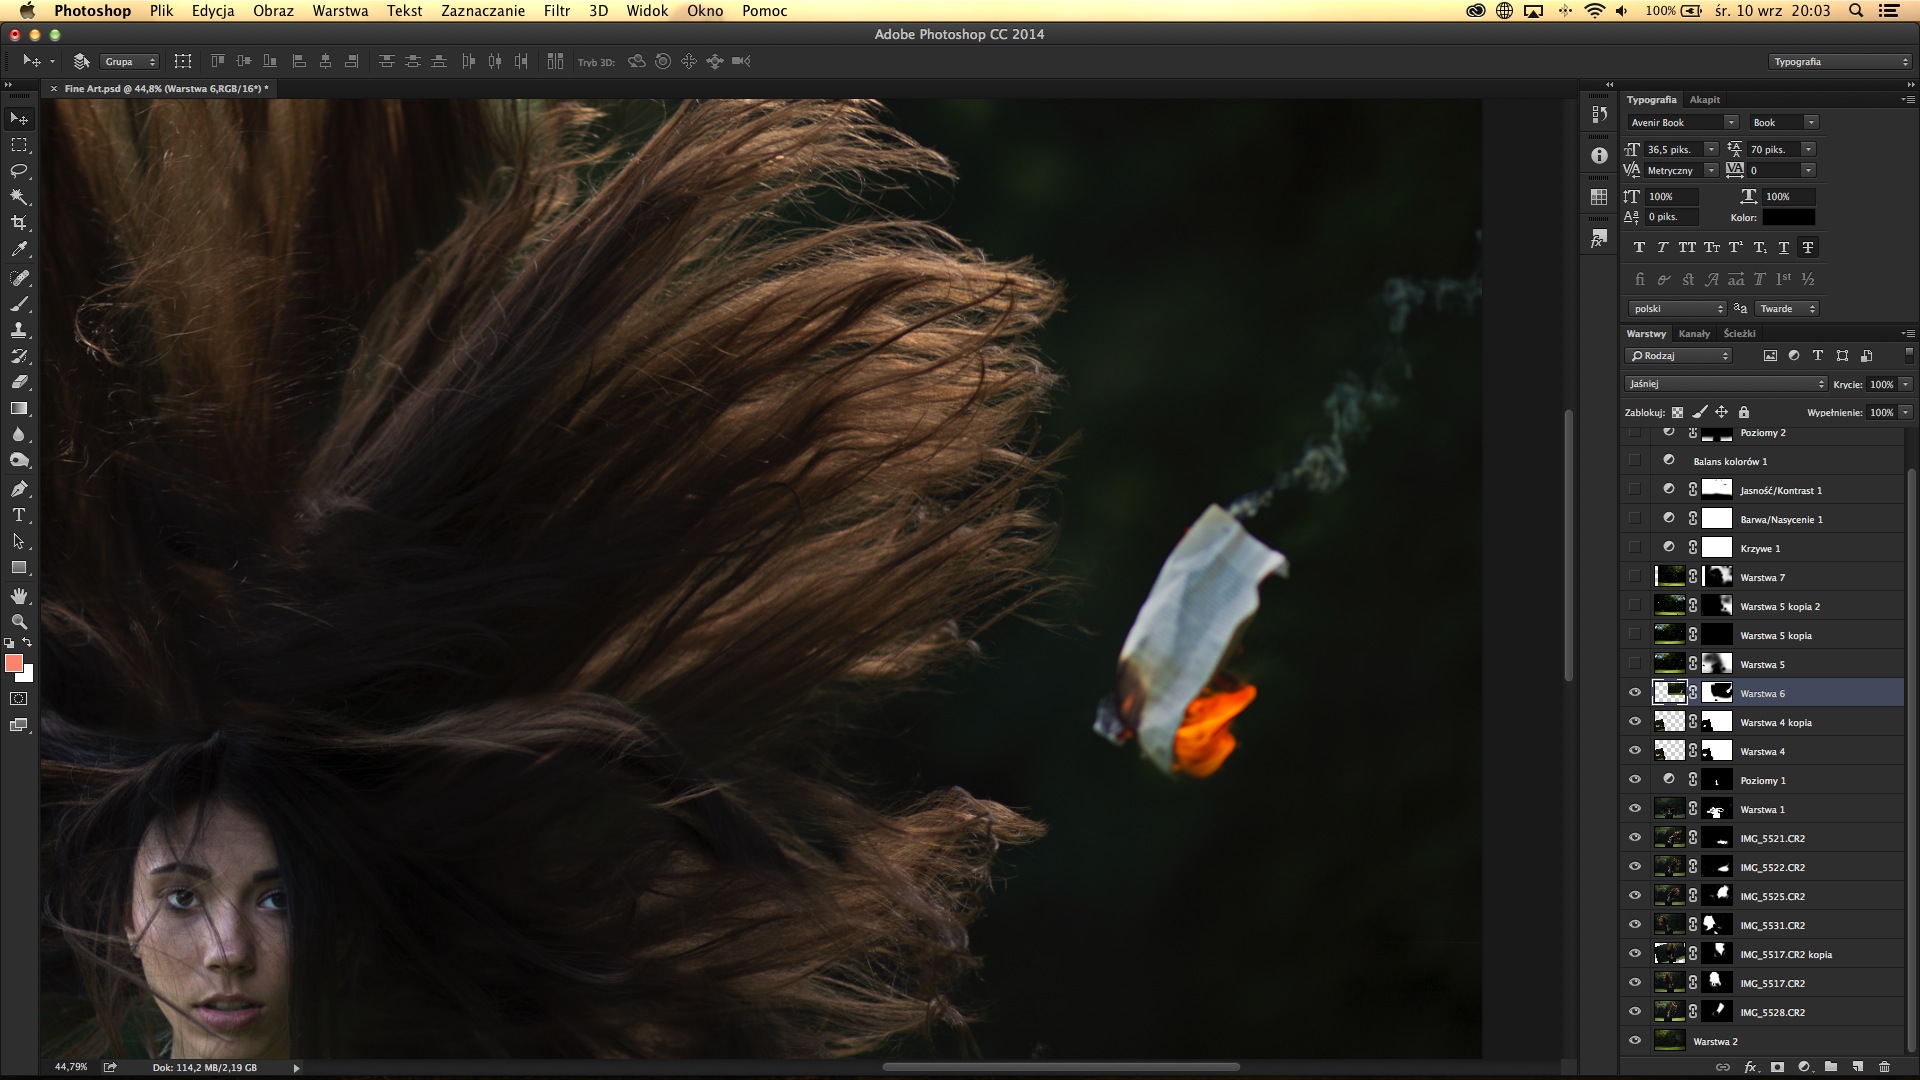
5. It’s time to work on the flying, burning piece of paper. Paste the pictures with the paper and remove the background in the same way.
6. Remove the protruding stick with the paper. To do that, use the clone stamp tool. You can also use transform tool to change the size or rotate the paper.
7. Change the layer blending mode to Lighten to make the smoke coming from the paper look natural.
8. Then, paste picture you have of the flying tiny pieces of burnt paper. Add a lot of contrast to brighten up these pieces of paper and darken the background. Set the layer blending mode to Screen, opacity to 90%, and then use a mask to adjust the intensity of the pieces of paper. As you can see, I completely removed them from the model’s face and the middle part of the hair.
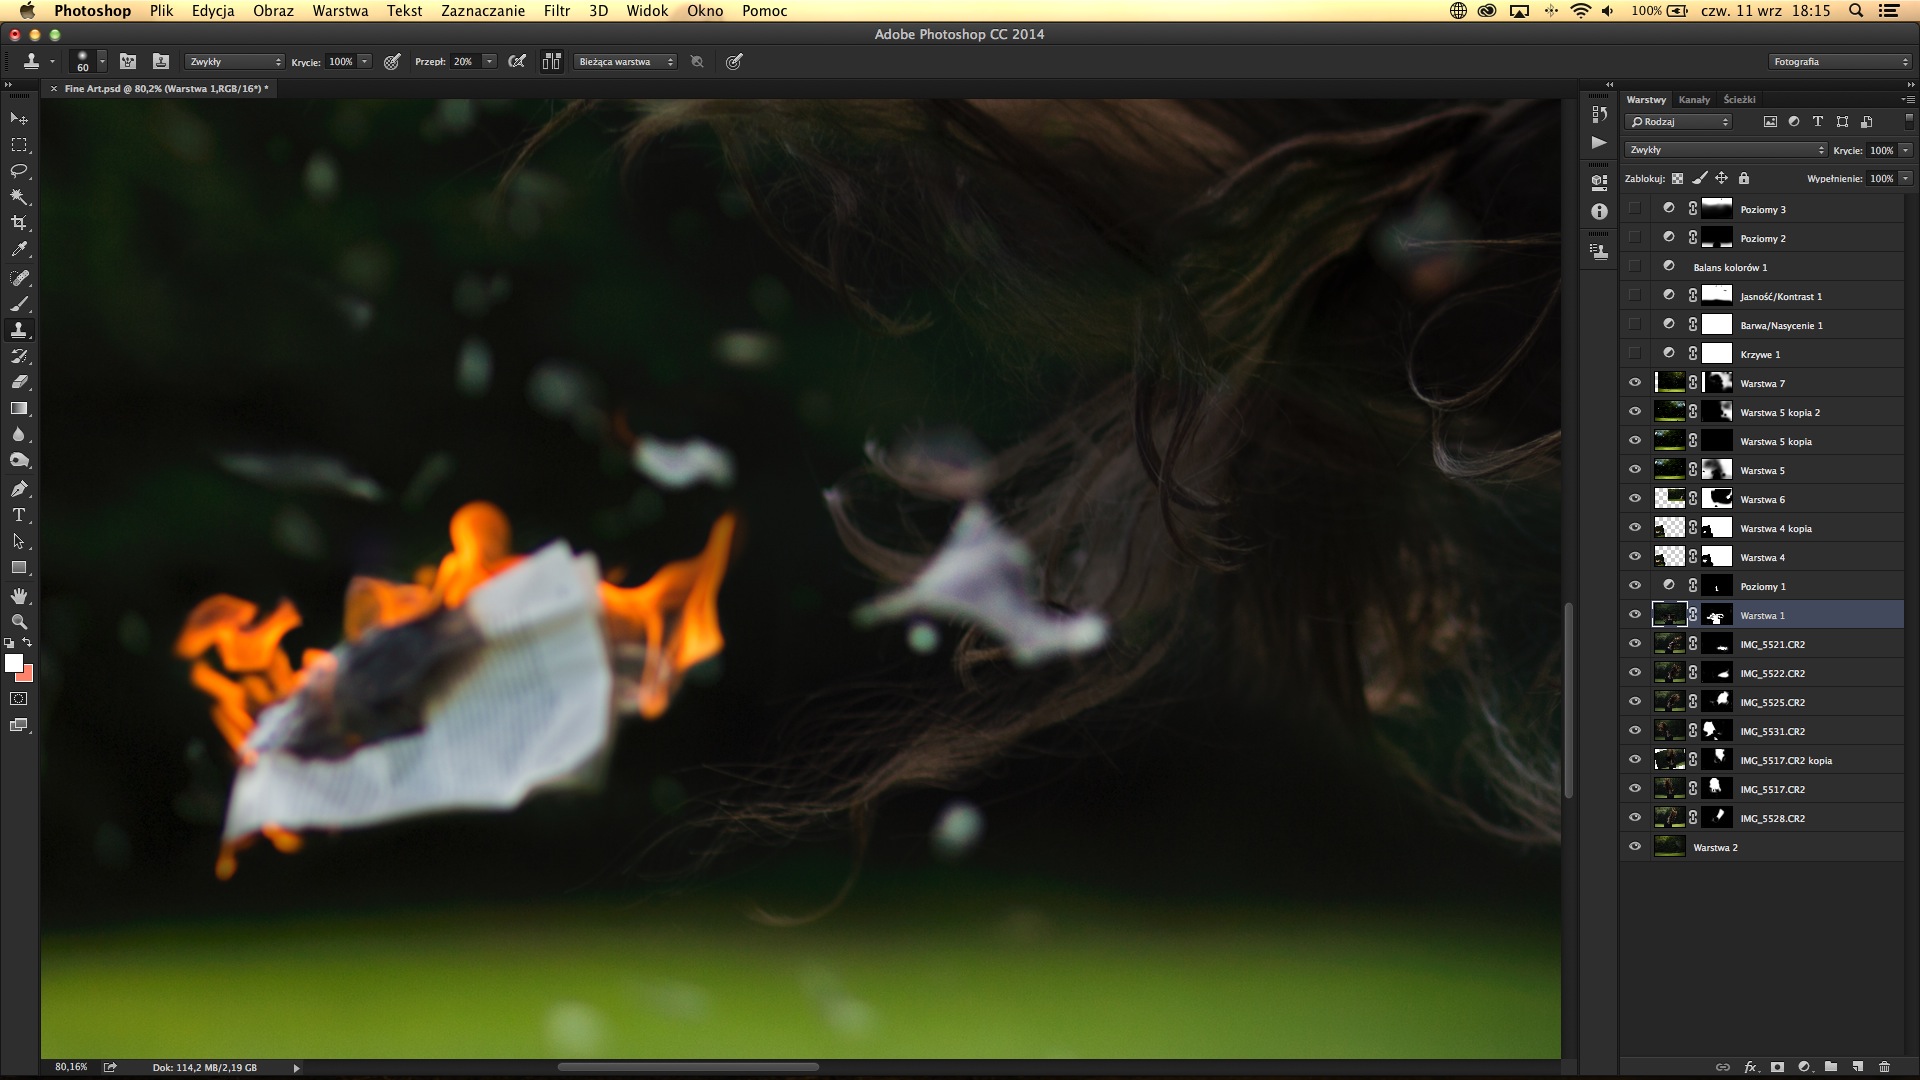
9. Do the same with the photo horizontally inverted in the right side of picture.

10. When you are done, apply color correction according to your own taste. I used curves, hue, saturation, brightness, and contrast in the upper parts of the picture. I used color balance and levels on top to create sunny reflections, and did the same at the bottom to darken the field. And even when you’re all done, come back to the image the next day to check if there are no mistakes anywhere in the picture. It’s very easy to make a mistake here. Ask for your friendss opinions if they see anything that doesn’t look natural. I found a lot of mistakes that I discovered after a few days. When you are absolutely sure that the image is perfect, you’re all done!
That’s all! I’m very glad that I could share this tutorial with you on 500px ISO. Did you know that this is the first fine art project I’ve ever done? It was a challenge to figure out how to realize my vision. Even when I found a way to do this, I wasn’t sure if I could really accomplish all that. So my advice is just to believe in yourself and the fulfillment of your own vision! Your own imagination is infinite.
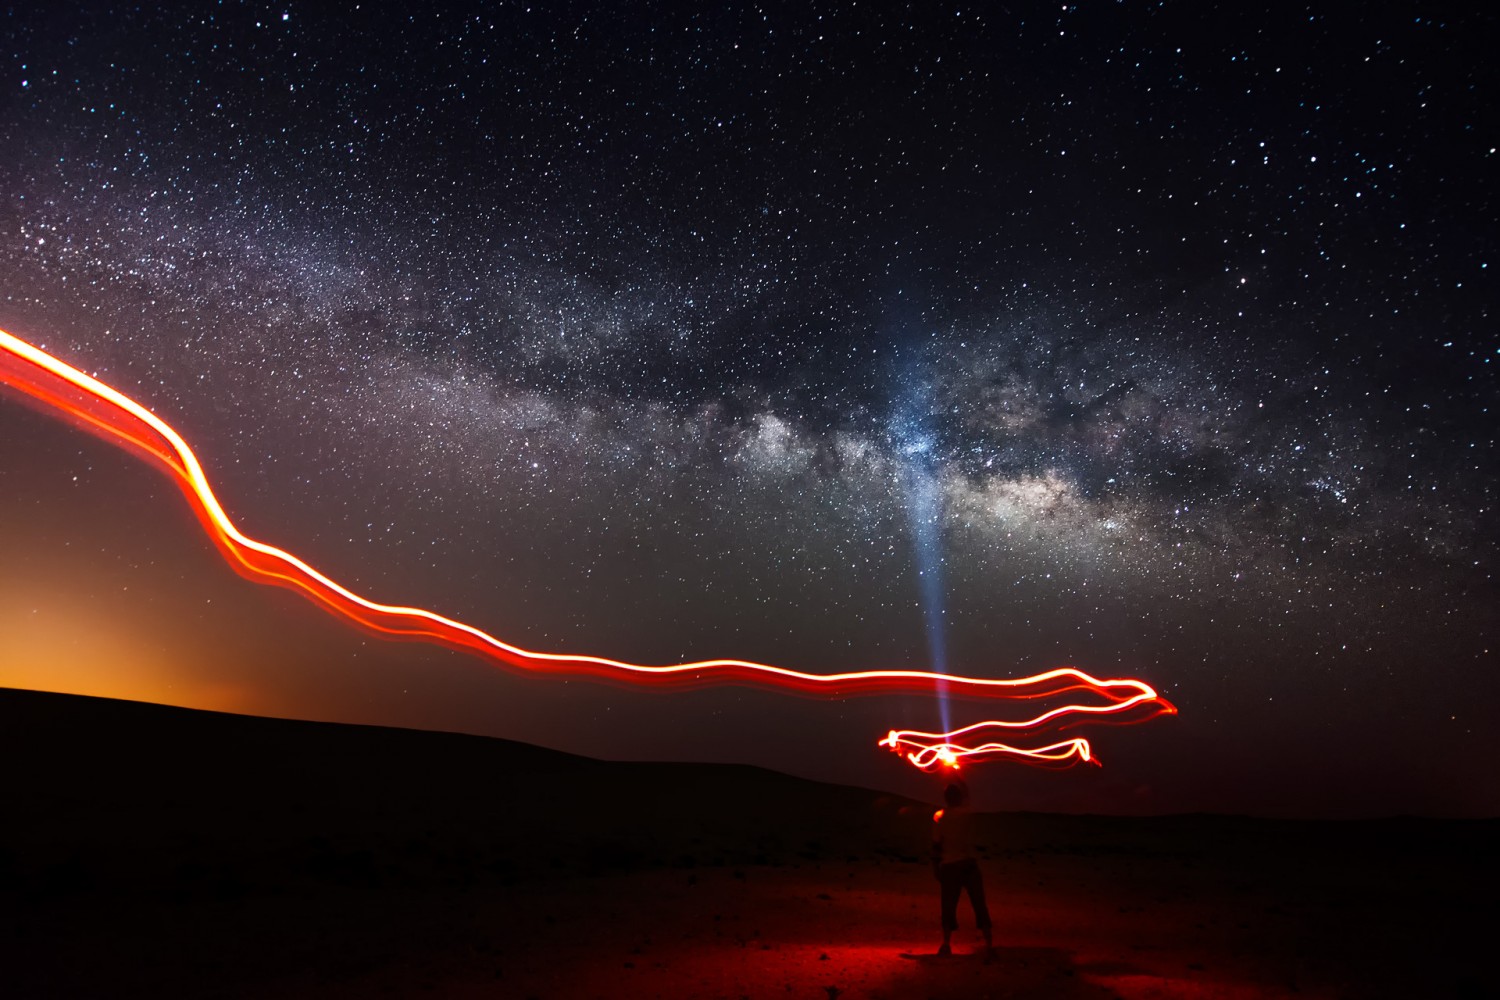
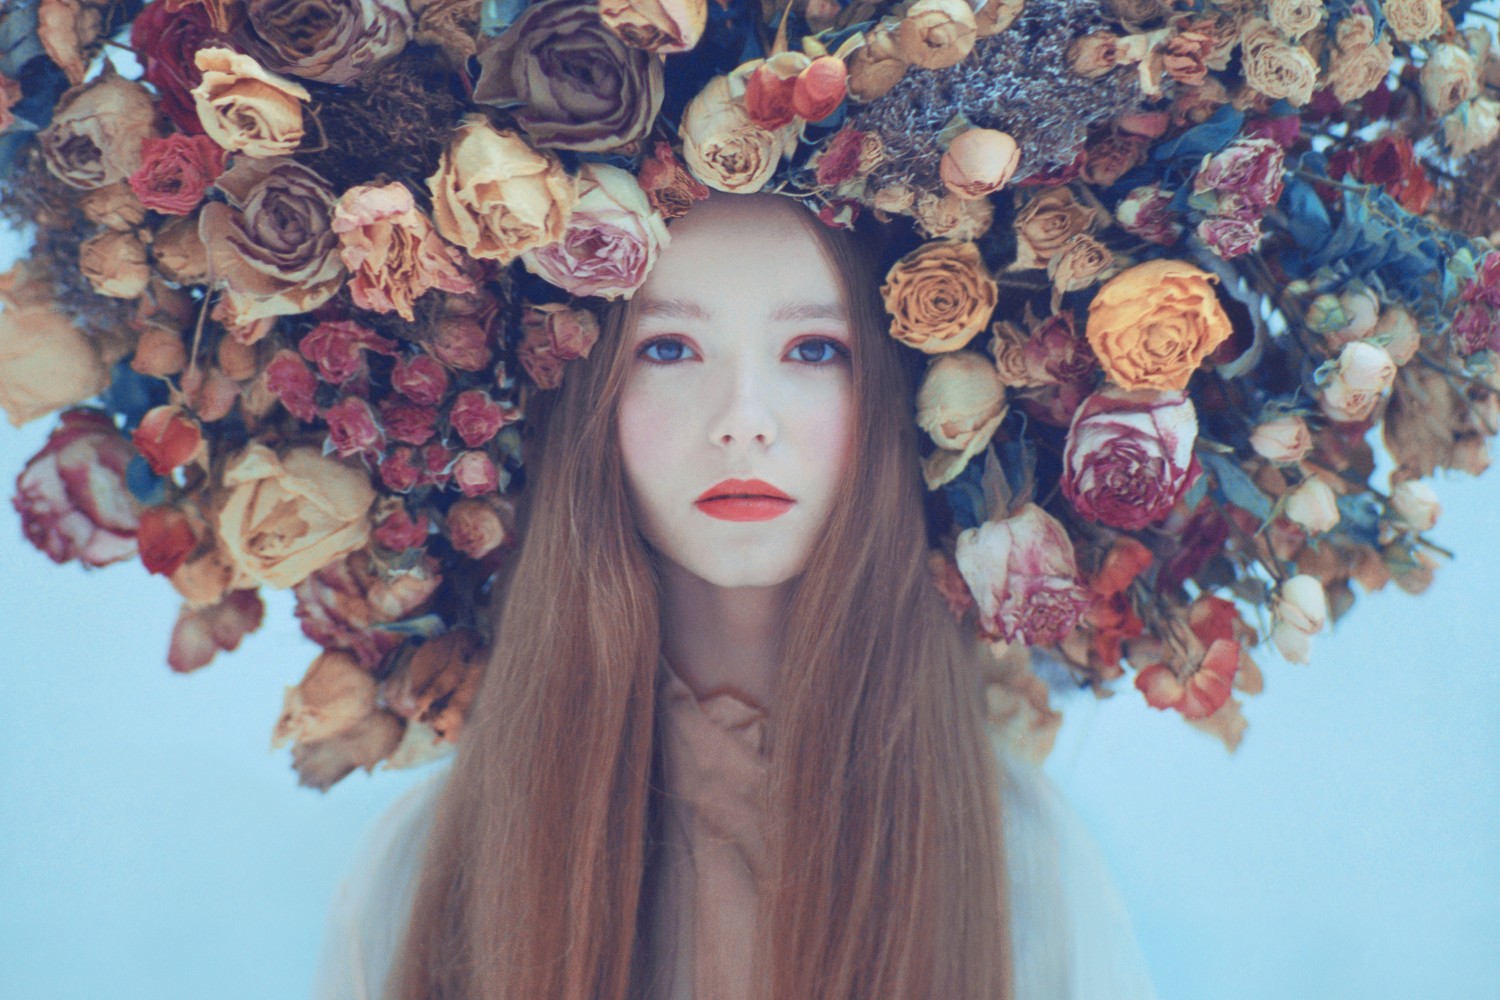
Want to see more of my work on 500px? Scroll down and check out some of my portraits:


To connect with me, please visit my website at www.adrianchudek.com, or follow me on Twitter and Facebook. I also have some short films available on Vimeo that you can watch.
If you have any questions for me about my tutorial and photo, please leave a comment below.
Leave a reply