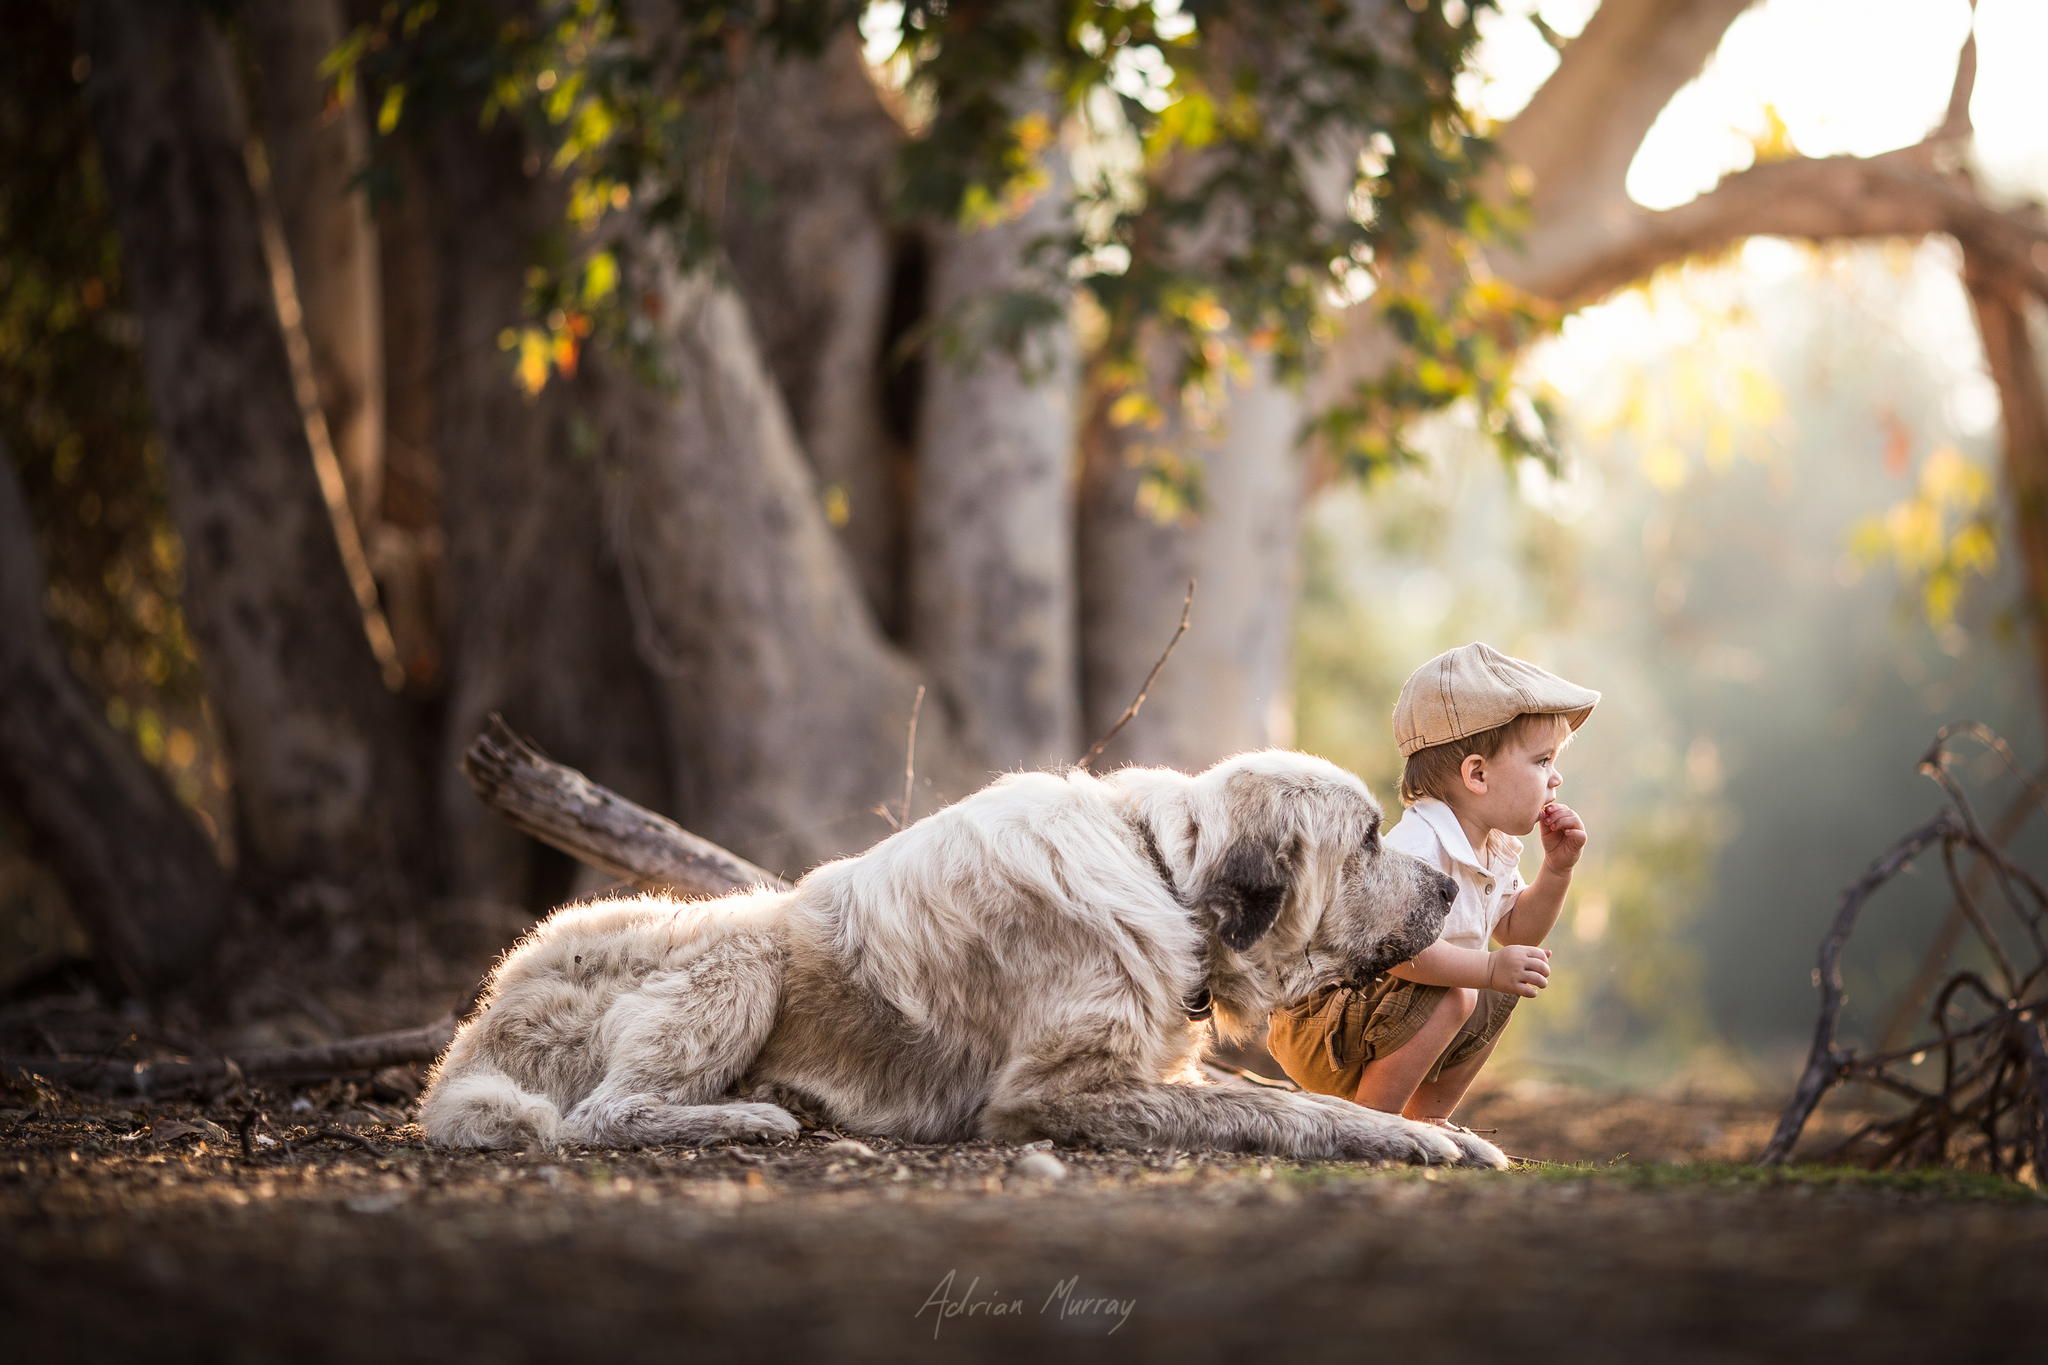
Adrian Murray is a portrait photographer and dental school student from Kentucky, USA. He discovered photography when he found out that the best way to help ease the stress from school was to document his family. Soon, his passion for photography grew. Today, he is one of the most popular photographers in the 500px community, contributing to the People and Family categories, and 500px Prime catalog with magical, striking portraits of his son. In this story, he shares his tips and techniques in shooting photographs of his children—from gear to lighting to post-processing.
GEAR
On any typical shoot, I have a Canon 6D around my neck with the 135mm f/2L attached to it. A telephoto lens on a full-frame camera offers a great tool set for photograph children. You gain a nice shallow depth of field, with the ability to change your composition with smaller movements. You’re also able to follow your subjects a bit easier. I also keep its lens hood attached at all times to minimize glare.
Strapped to my back is a sling camera bag which holds a couple other lenses—a 50mm and a wide angle—for those times when the 135 mm just can’t cut it. Another couple of items I keep at my side when photographing little tots, snacks, and an extra set of hands. Children seem to have more appendages then what meets the eye, so I simply try to level the playing field by having my wife help me out. If she wasn’t there by my side, there’s no way I could have been able to achieve half the shots I’ve gotten.
LIGHTING
Natural light versus augmented light is a source of much controversy in photography. I have a couple of flash guns, but have only used them a handful of times. I prefer using my environment to produce the light. Using natural light is also essential when photographing little ones who’ve just learned how to run. There’s no way you can keep them in your light setup. That’s why I position my children where they can interact with the world around them, but still give me the most desirable light for the scene. Sometimes that’s with the sun behind them, or completely in a shaded area. If it’s in the middle of a sunny day, that’s when I try to bring him into an open building, such as the Mini Indy photo. I try to keep the hard light to a minimum.
License this photo on 500px Prime
I am also very critical about when I go out and take photos. I think childhood should be filled with warmth. Therefore, the photos that record childhood should as well. That’s why I do my best to shoot early in the morning or late in the evening, right when the sun is near the horizon—also known as Golden Hour. This time of day allows for a natural warmth that can be brought out in post work.
License this photo on 500px Prime
CAMERA SETTINGS
The way I use my settings is strictly in manual. It’s how I learned photography, and it’s suited me well. My exact process is to shoot with my aperture wide open to achieve that nice shallow depth of field, and with the ISO at a spot where I have a good range of light. Then I adjust the shutter speed for slight differences in the available light. This allows me to keep the ISO grain to a minimum while keeping my shutter speed above the camera shake danger zone. Occasionally, I’ll have to adjust things down to when I want a certain shutter speed to show and stop motion. For instance, in the shot where my son is playing in my mothers pond, I wanted the splashes to show a slight bit of movement.
License this photo on 500px Prime
So I kept the shutter speed at an area where it should stop the motion of my son, but keep the droplets slightly blurred. For something like that, I wanted to be at about 1/160. I didn’t want to get much lower since that could introduce some camera shake. If you don’t know the rule for that, you just take the focal length of your lens and take the inverse of that. So for my 135mm lens I needed to be above 1/135. Plus, much lower and I risked having his hands blurred.
POST-PROCESSING
Like many other photographers I like to use Lightroom as my go-to software. I can do a quick and dirty edit in a few short minutes. I don’t like spending an exorbitant amount of time in post-processing because I just don’t have that time available to me. However, I don’t use a single preset either. I don’t believe in them. I feel like every single shoot deserves its own process. So what I’ll do is take an image from a group shot with the same settings in the same spot and tweak it in a general sense. I’ll alter the contrast, increase the sharpness (required when you’re shooting RAW), and so on. Then I’ll copy those settings, and apply them throughout the same set. This means that I create a preset for every group of images. Then, I start using the other tools to make micro adjustments.
License this photo at 500px Prime
Post-processing is such an encompassing subject. So instead of going into the “How?” I’d like to go into just a couple of the “Why?” As I mentioned earlier with the lighting, I tend to lean towards a warmer image. I feel like it allows a deeper personal connection with the photo. It also helps with the flesh tones to appear a bit more vivid and full of life. And that’s what childhood is to me—life. I also try to keep most of the focus on the subject. I try to do this with the depth of field, the available light, and also through my post processing. I will typically darken areas where the subject doesn’t land in the frame. This lets the viewer’s eye naturally gravitate towards the subject. Your composition plays a large role in this as well.
License this photo at 500px Prime
HOW TO BE MORE CREATIVE WITH YOUR SHOTS
While I would love to be able to direct my shots with poses, that just can’t always happen when your model hasn’t even reached their second birthday. Instead, I give my subjects opportunities to discover something wonderful. Sometimes, I rely on serendipity and being able to quickly think on my feet. I love the challenge of being on a shoot in a new area and not knowing exactly how you’re going to get the image that’s in your head onto your viewfinder. To me, that is the ultimate form of creativity. However, you should also be aware of the opportunities available to you before a shot. Take for instance, any of the shots of my son with the deer.
License this photo at 500px Prime
I knew I had a unique opportunity with these majestic creatures, so I took advantage of it. I didn’t have an exact shot, but after realizing what I had in front of me, I knew I was going for a storybook image. So I placed him in an area I felt could deliver a favorable composition, found a spot for me and the camera, and waited for that moment when everything else fell into place.
On the other side of this coin is the photo with my son reading a book with his teddy bear. This was obviously not an impromptu inspiration. I was previously inspired by the stories and illustrations from the “Winnie the Pooh” series. I found the right pieces, the right place, and hoped that my subject would participate. Fortunately, my son was really interested in the props we had next to him so it ended up working out.
License this photo on 500px Prime
CAPTURING CHILDREN’S PERSONALITIES
From the available light to the creative spark—when all of these elements come together, that’s when you’re going to be able to capture a child’s personality. It’s in the moments of wonder and discovery that their eyes light up. It’s up to you to be ready for the shot when that happens. Take your camera off of Burst Mode, and hover your index finger over the shutter button. Because that moment of childhood magic can go just as quickly as it comes.
Want more inspiration? Scroll down to see more of Adrian’s photographs:
To see more of his magical work with children, follow Adrian Murray on 500px. You can also visit his official website, or connect with him on his Facebook page.
To license this photos, visit his profile on 500px Prime.
Got questions for Adrian on his photos, gear, and process? Leave a comment for him below!


Leave a reply